

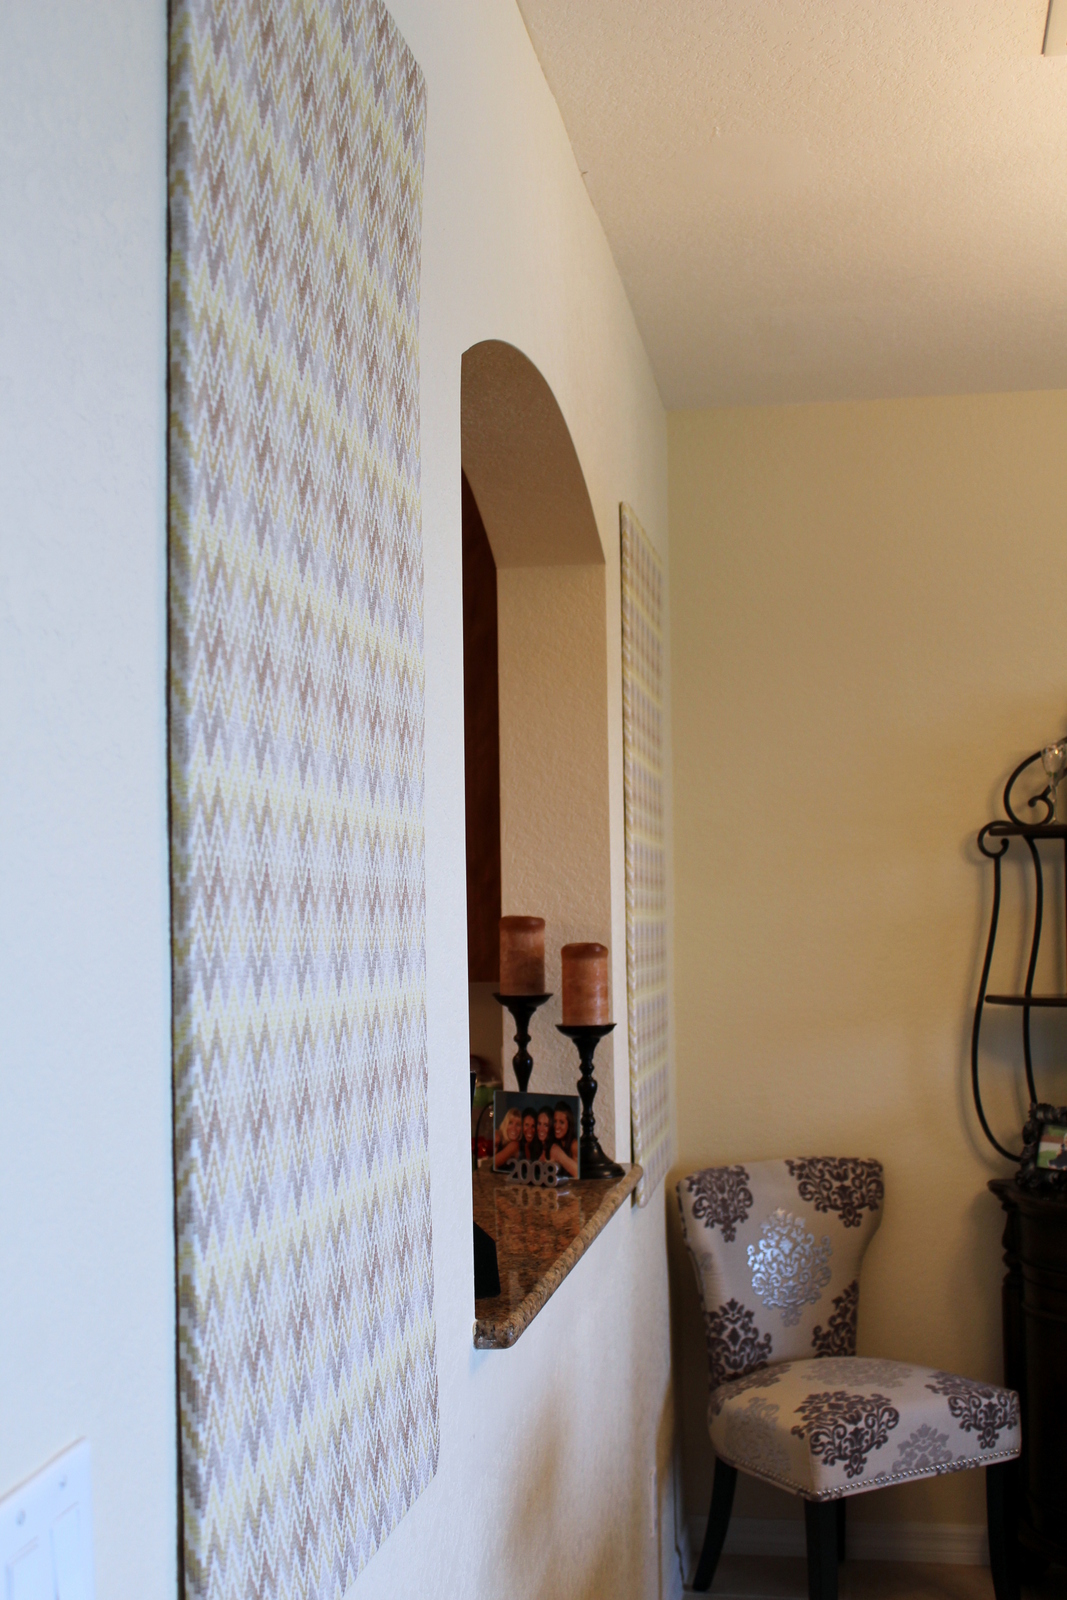
This DIY is seriously one of the easiest projects I have ever done. It cost under $30.00 and I love the impact it makes in the house.
The best part about this is that it is completely removable. When we leave the West Coast, my artwork gets to come with us. I think projects like this are such a great way to dress up a rental property. The thought of painting walls, and then having to paint them back to their original color makes me nauseous. By creating large, removable wall hangings of any type, you can easily add color and pattern to any space.
The basic list of materials is as follows:
Foam board 4 feet x 8 feet
Fabric of your choice (I went to Joann’s and there were tons of great prints to choose from, all different color schemes, textures, etc. They can run up to $50.00+/yard, so make sure you bring a coupon!)
Those were the only things I had to purchase for this project. I already had a staple gun. If you do not, you will need to get one. It will change your life.
*Beware of buying the foam with a toddler. A toddler who is still wearing her Easter dress because I decided to stop at the store for the piece of foam “real quick” after I took her to see the Easter Bunny.
Here’s how this went down…Miss Mini (who refuses to sit in a shopping cart) followed me all the way to the back of the store to pick out the foam. Once I selected it, I had to carry it back to the front while making sure she stayed next to me. I ended up having her just hold the back end of the foam as if she was helping me carry it. Seriously the foam weighs like 2 lbs. She probably could have carried it herself. If it wasn’t 4 x 8 feet big. This foam was massive. Every person I walked by offered to help. Nope, this proud Mama’s got it. All bad ass, with my tremendous piece of foam and pink tulle covered toddler. Got this. Thanks anyways. We were doing great. They opened up a separate line for us so we could pay and get out quickly. We were causing quite a scene. Not sure if it was Mini’s dress or the foam. Turning down help left and right I took a step out the front doors. I told Mini to grab my hand while we walked the 50 feet to the car. I was totally unprepared for what happened next. With the foam in one hand and Mini hanging on the the other, a big gust of wind blew by. And there I was, in all my proud glory, holding on to my foam for dear life, watching it buckle over my head, with my arm streched upwards, and praying it would not snap in half. Because I am not sure what is more mortifying, having to literally wind surf my foam to my car, Mini in tow, or have it break. At this point, a kind older lady comes over and says, “Sweetheart, I’ll hold your daughter’s hand and walk next to you. You better hold that puppy with 2 hands before it gets away from you!” We finally get to the car, and the next thing out of the ladies mouth is, “did you measure this to make sure it will fit?”. Shoot me. By now, Mini is spazzing out in her party dress in the middle of the parking lot, I am standing there like an asshole with a piece of foam that is larger than life and the helpful lady is slowing backing away muttering “good luck sweetie”. Thank goodness for the kind mother and son that came to my rescue and offered to follow me home with the foam in the bed of their Ford F250. I will not go into detail about how the foam did fly out on the first attempt of leaving the parking lot and soared 3 rows away. The son was absolutely cursing me and his mother the entire time he helped. And if he wasn’t, he should have been. Regardless, thanks to the nicest of folks here on the West Coast 😉 I finally got home with my foam and my daughter. All safe and sound. Moral of the story, go to the store alone. Better yet, make your husband deal with picking up the supplies.
So you wanna know how I made it??? That’s the easy part!
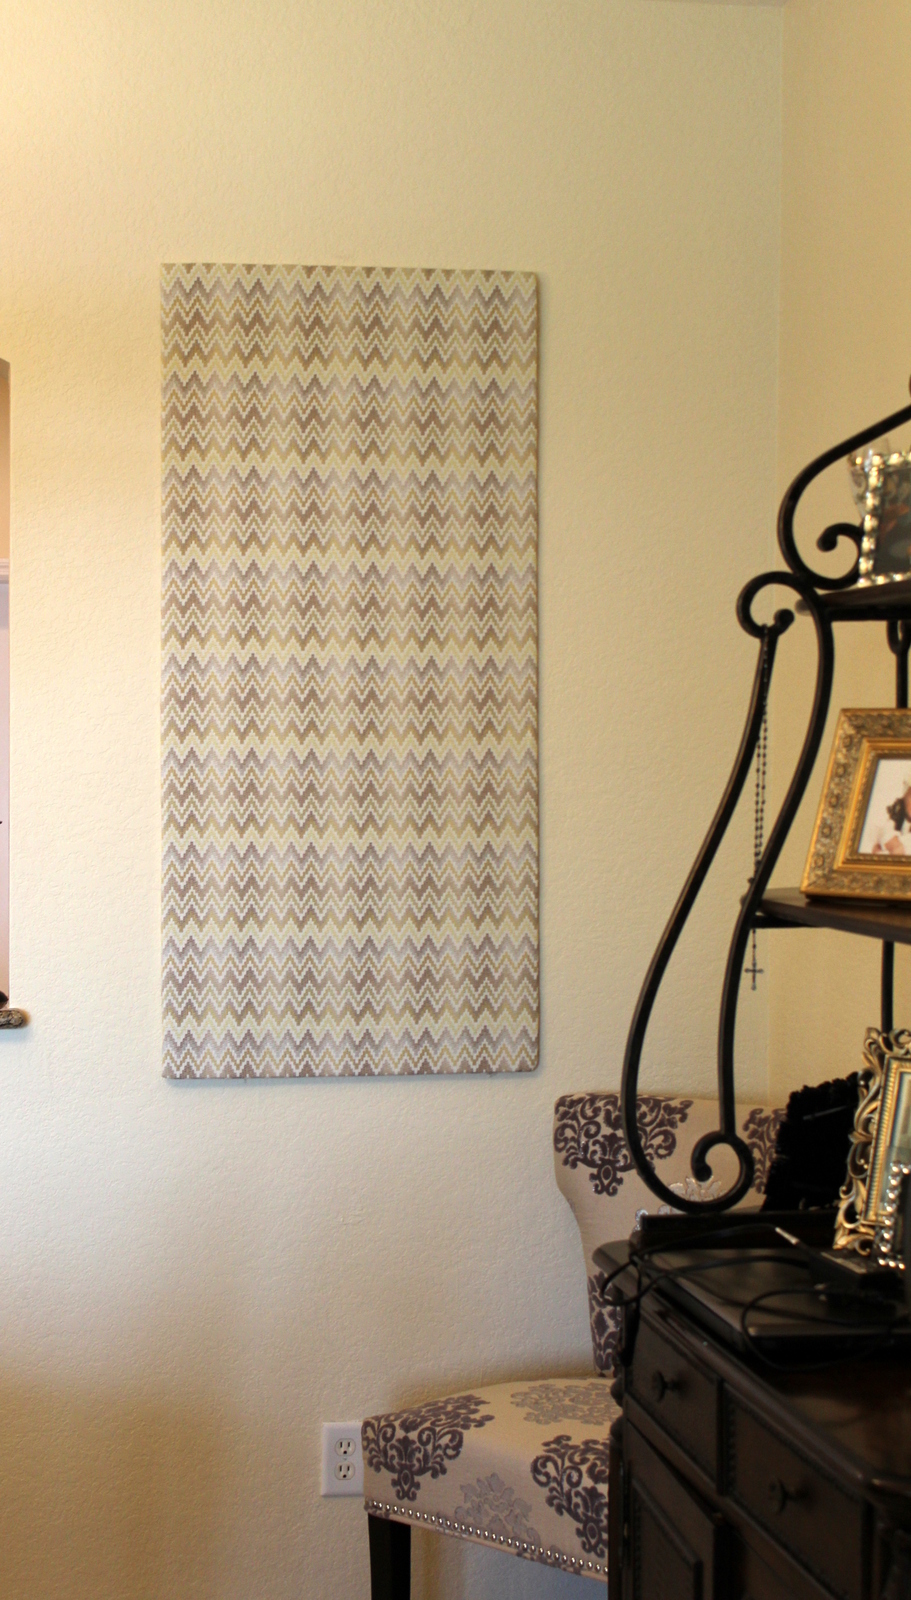
Cut your foam board to the size you want. (I cut mine 2 feet wide x 4 feet long)
Place a piece of foam onto your fabric and cut the fabric around the foam leaving approx 2-3 inches of extra fabric around the entire perimeter.
Once all your foam and fabric are cut, start with once piece. I had Mike help me actually because I wanted it to be lined up right and I needed an extra set of hands. Who am I kidding, he loved using the staple gun. I sprayed my foam board with the spray adhesive and quickly and carefully laid the fabric right on top of the foam. I pressed down evenly to get out any bubbles that were created. Then we carefully flipped the foam and took the excess fabric and folded it over and stapled away.
I was able to hang these with command hooks because they are so light.
Seriously easy. Even easier because Mike was so helpful. Do it. You wont be disappointed. I think it would be great to even cover 10×10 canvases with different prints of fabric to make a wall collage. You can come up with a ton of ideas. I love the impact it has on my walls, and you will too.

1 Comment
Plaid & Burlap Wall Hanging — DIY | Mini's Mama
December 2, 2014 at 7:20 am[…] am absolutely in love with my latest $20 DIY project. You may have read about the first wall hanging DIY I created in our last […]