


Happy Tuesday! I wanted to share a really simple DIY Furniture makeover with you today. For the longest time I have been wanting to re-do a few pieces of furniture that Mike and I have had for ages. I chose to first go with an easy project that I could complete the fastest. Figured it would give me the confidence I need to tackle some of the harder projects (like painting an entire bedroom set…ha).
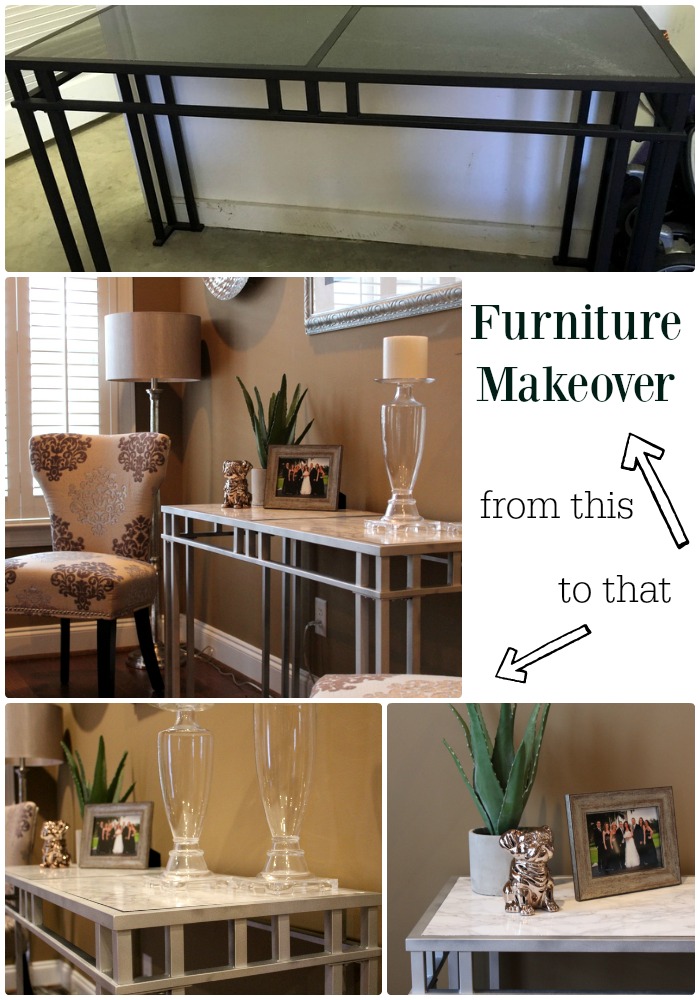
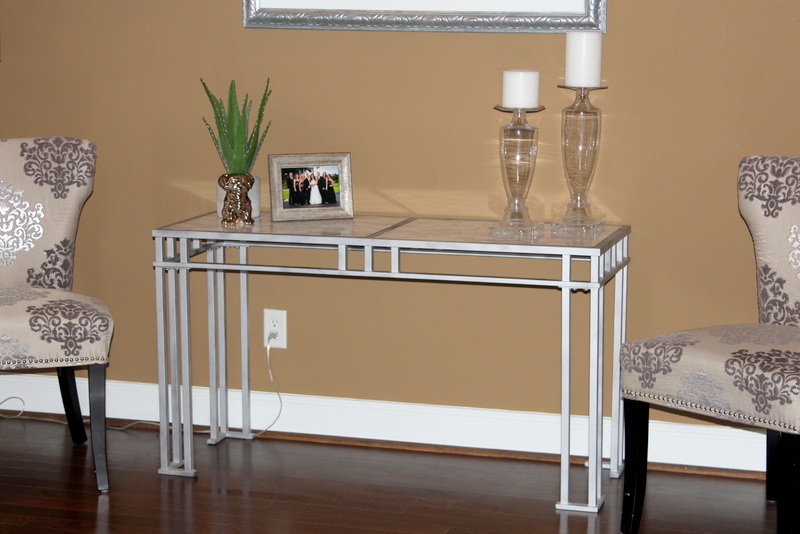
Mike has had this modern looking console table since he was in college. He used to use it as a computer desk and when we moved in together years ago we used it for the same purpose. A couple of years ago, I got a real computer desk. One that matched our decor and wasn’t sticking out like a sore thumb like this one did. And so out into the garage it went. But I knew it had potential.
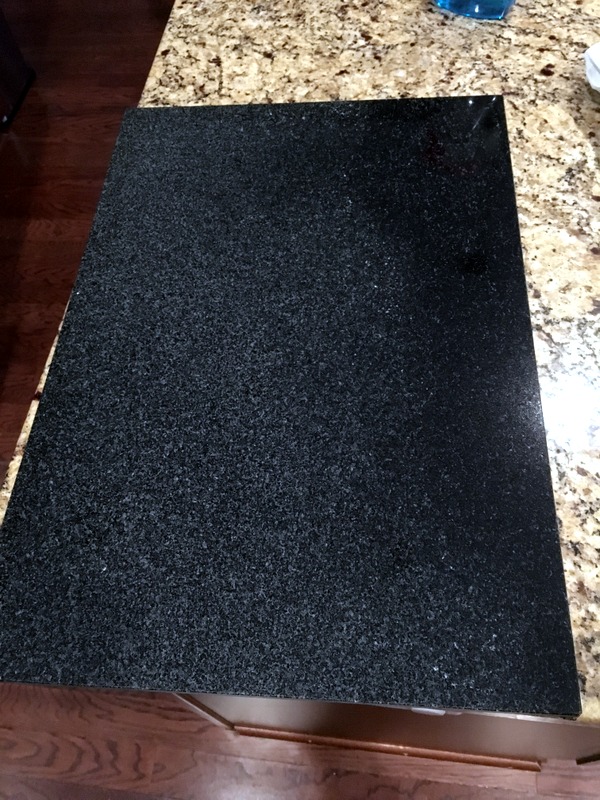
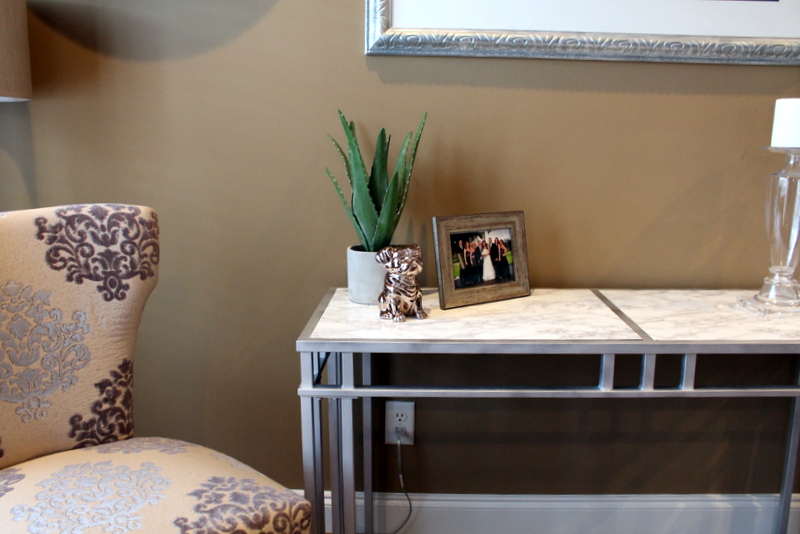
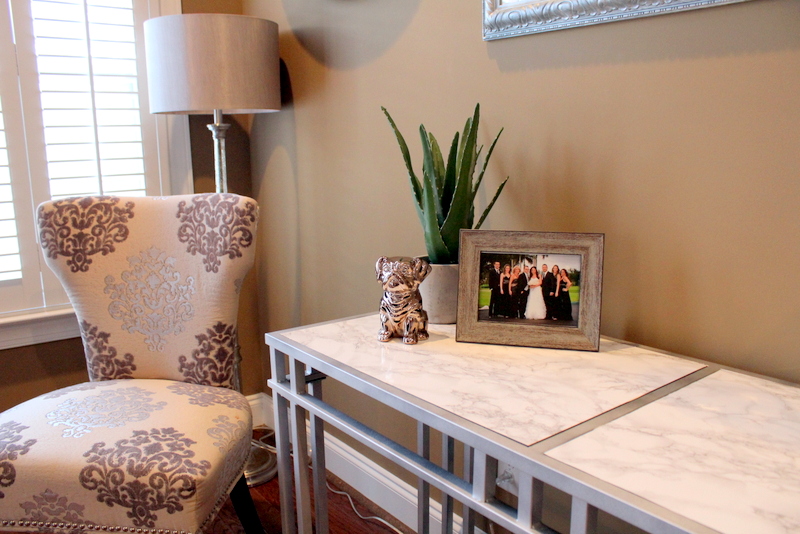
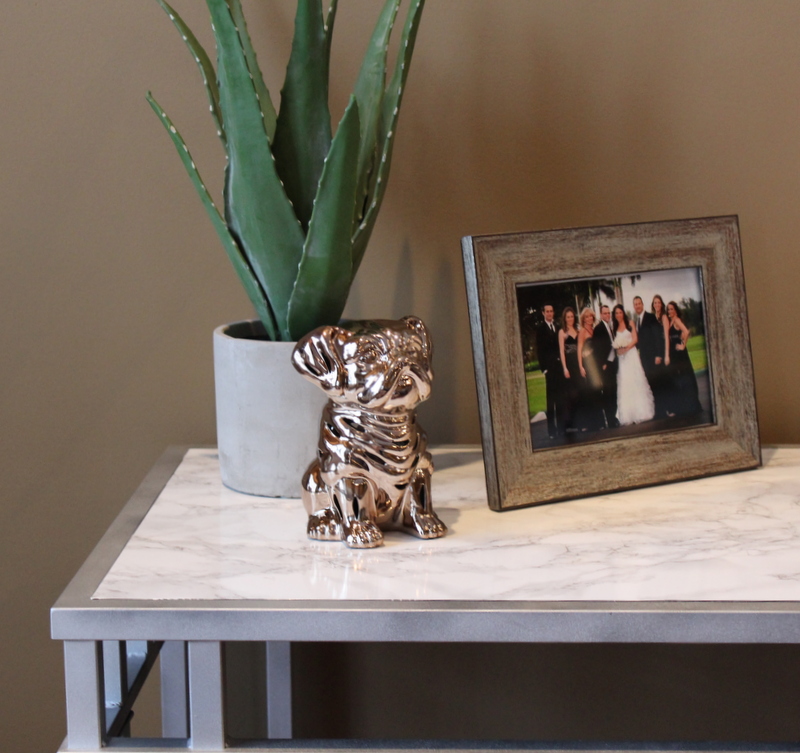
The lines of this table just scream MODERN and we have a semi-modern feel to our family room so I hoped I would be able to blend the piece in. I knew the black had to go and since our couch is a steel grey and most of our accents are silver and white, I headed in that direction. The top of the table is actually 2 slabs of thin, dark granite that are removable. I decided to cover the granite slabs with a grey marble adhesive film, spray paint the actual base of the table, and hope for the best.
Here’s how I did it:
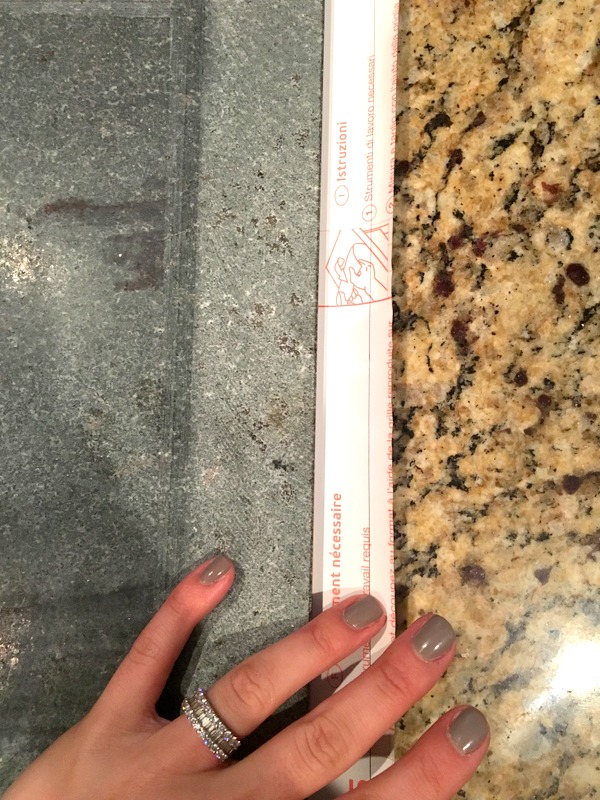
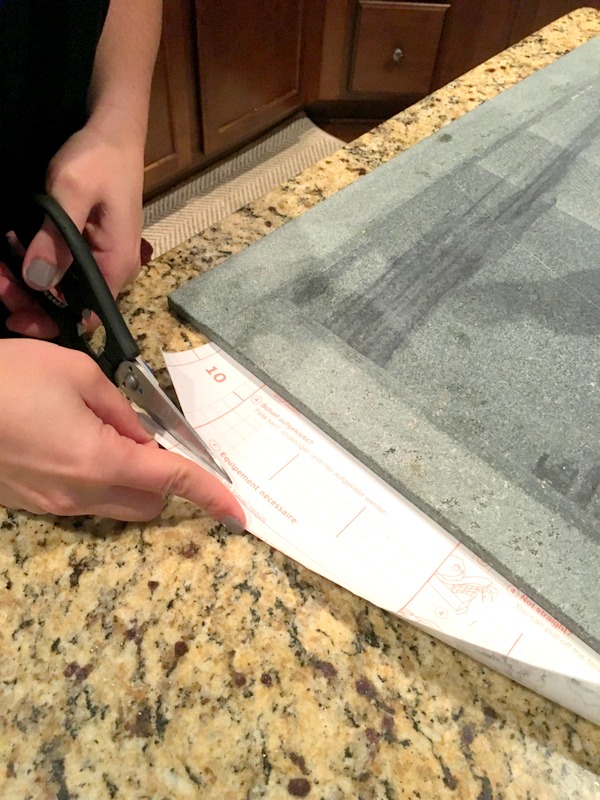
1) I removed the granite slabs and researched 100 ways to lay this adhesive film without getting bubbles. After watching all the youtube videos I could find, I felt ready to go. First I unrolled the roll of film and turned my granite slab upside down on top of it. I traced the amount of film I would need to cover the slab with a pen. Then I took the slab and moved it and cut the piece of film to fit.
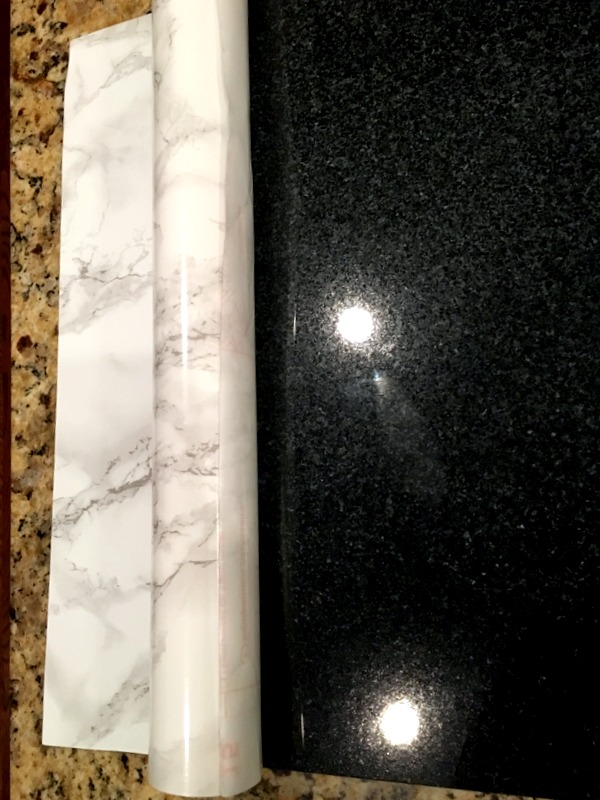
The first time I placed the film I had a ton of bubbles. I tried to push them out by using a squeegee and a ruler but wasn’t having much luck. However, the film does peel off pretty easily for you to try again. (confession, I tried 4 times. And only the last time did I tear the film. Luckily I had enough of the roll to still cover my 2 pieces of granite, but be careful!)
2) I read about placing the film down with a “wet” method. Basically you will spray windex onto the surface and then carefully unroll the film onto it. You will squeegee as you go. The wet allows the film to slide around a bit and helps when you use the ruler to squeeze out any bubbles. That method worked the best. (And I hope that made sense!)
3) Once the granite pieces were covered, I took the table into the garage and spray painted the entire thing. Word to the wise, I wanted to use up a small bottle of spray paint and then had to get 3 more small bottles to cover the table because I couldn’t find a large bottle to match. I would suggest using the Rust-Oleum Universal spray paint in the color of your choice. (How pretty is that brass color that I linked? I think I’m going to have to get another project going with that!)
4) After waiting the 24 hour drying time for the paint, I used Martha Stewart’s Gloss spray paint to finish it up. Again, had to wait 24 hours for that coat to dry but then it was finished! I inserted the granite (turned marble) slabs into the table and moved it back into the house.
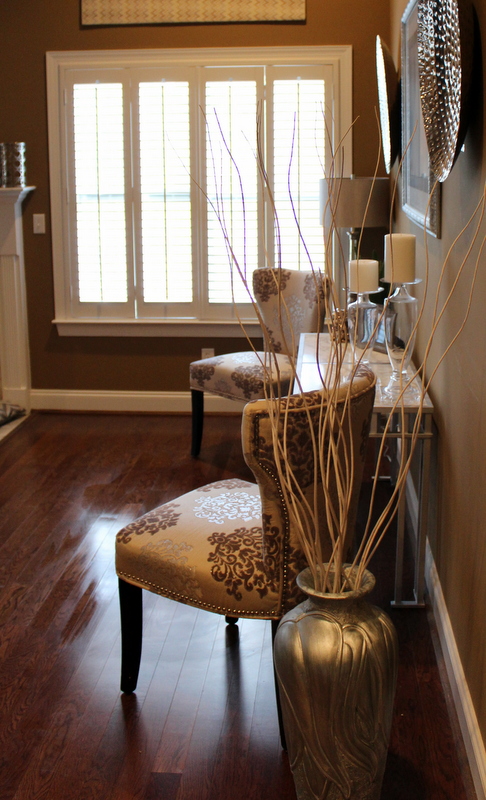
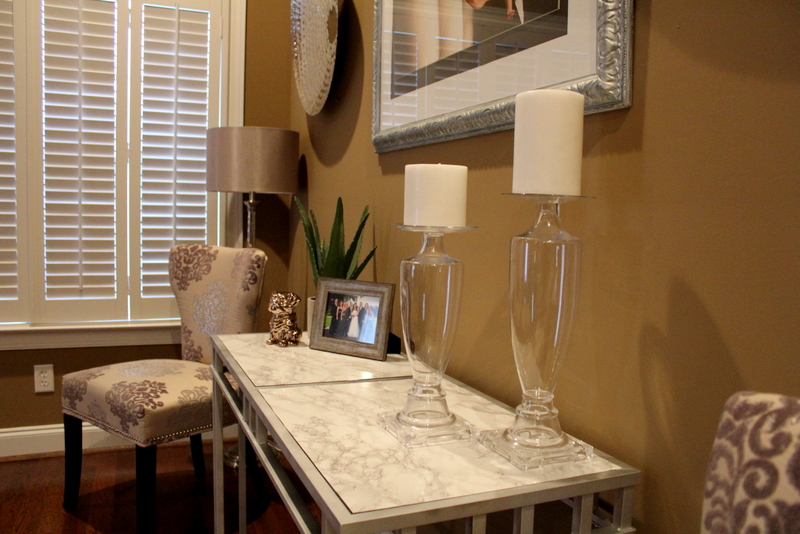
I am so happy with how this table turned out. I am still working on styling it, but I think it blends perfectly with our family room. Unfortunately for Mike, who will have to spend the next year of his life dragging pieces of furniture into the garage for me to makeover, I totally have confidence now to do some of our other pieces!
I know the whole applying film process can be hard and confusing (trust me, I spend a great deal of time and research getting it just right!) so comment here or email me if you have any questions. I’d love to help if I can.
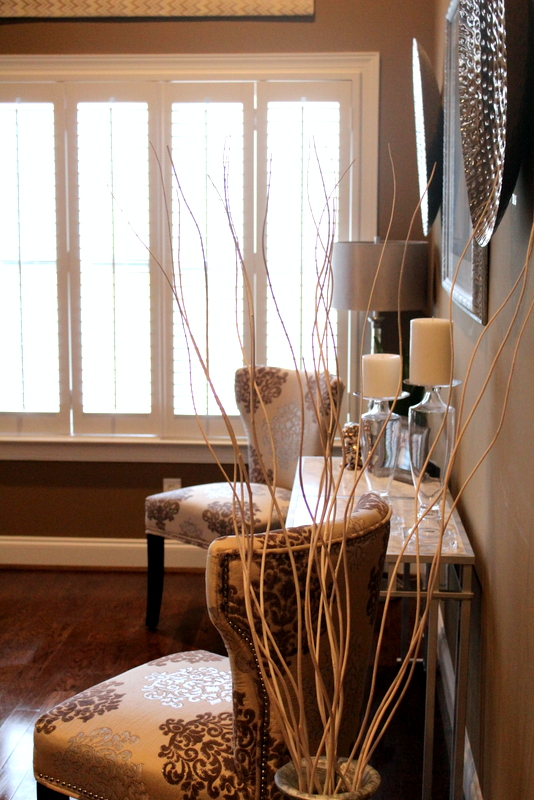
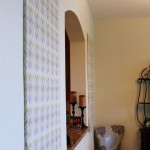
Here’s some more photos of the console table all finished 🙂
XO Danielle
I love to connect with my readers on social media, so feel free to share this with a friend, and find me on Instagram and Facebook.


No Comments