

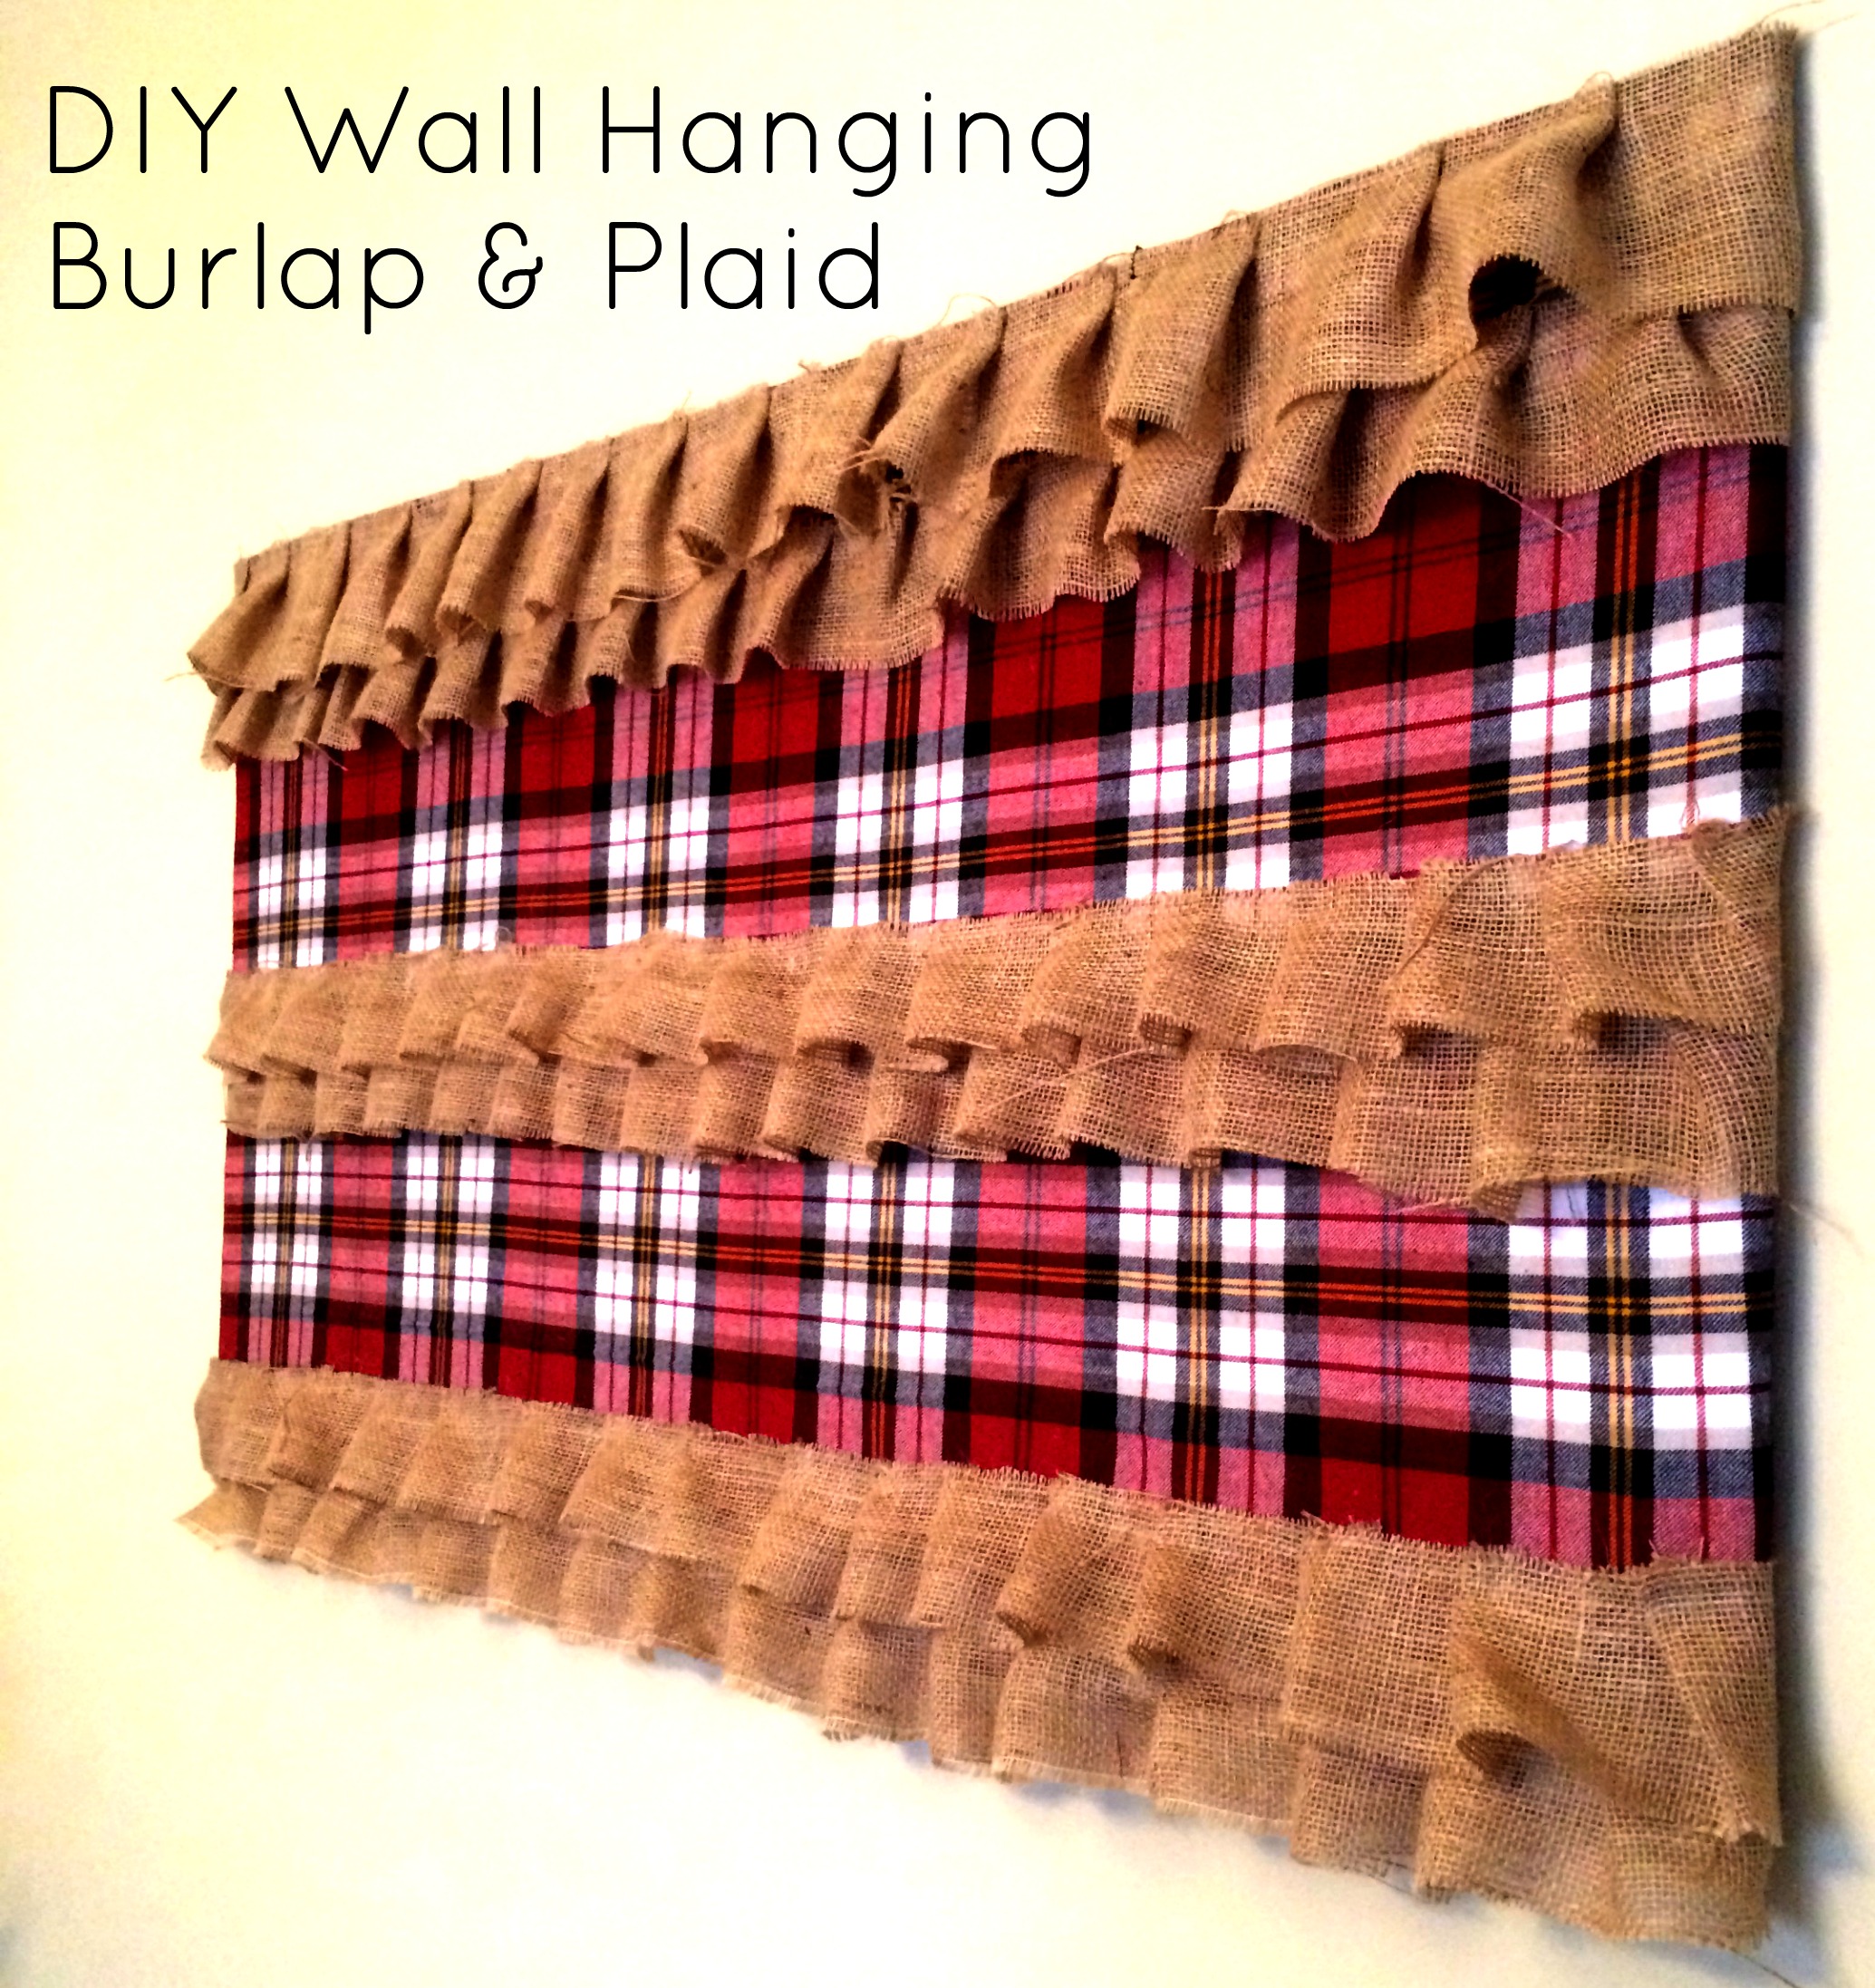
I am absolutely in love with my latest $20 DIY project. You may have read about the first wall hanging DIY I created in our last home.
Well this time I wanted to go for something a little more rustic to hang in our dining room. I have been obsessing over burlap since last Christmas and I just can’t seem to shake it. And well, we all know how popular lumberjack and buffalo plaid are this season. So wah lah. My latest project was born.
TIME: 30 minutes
COST: $20.00
MATERIALS:
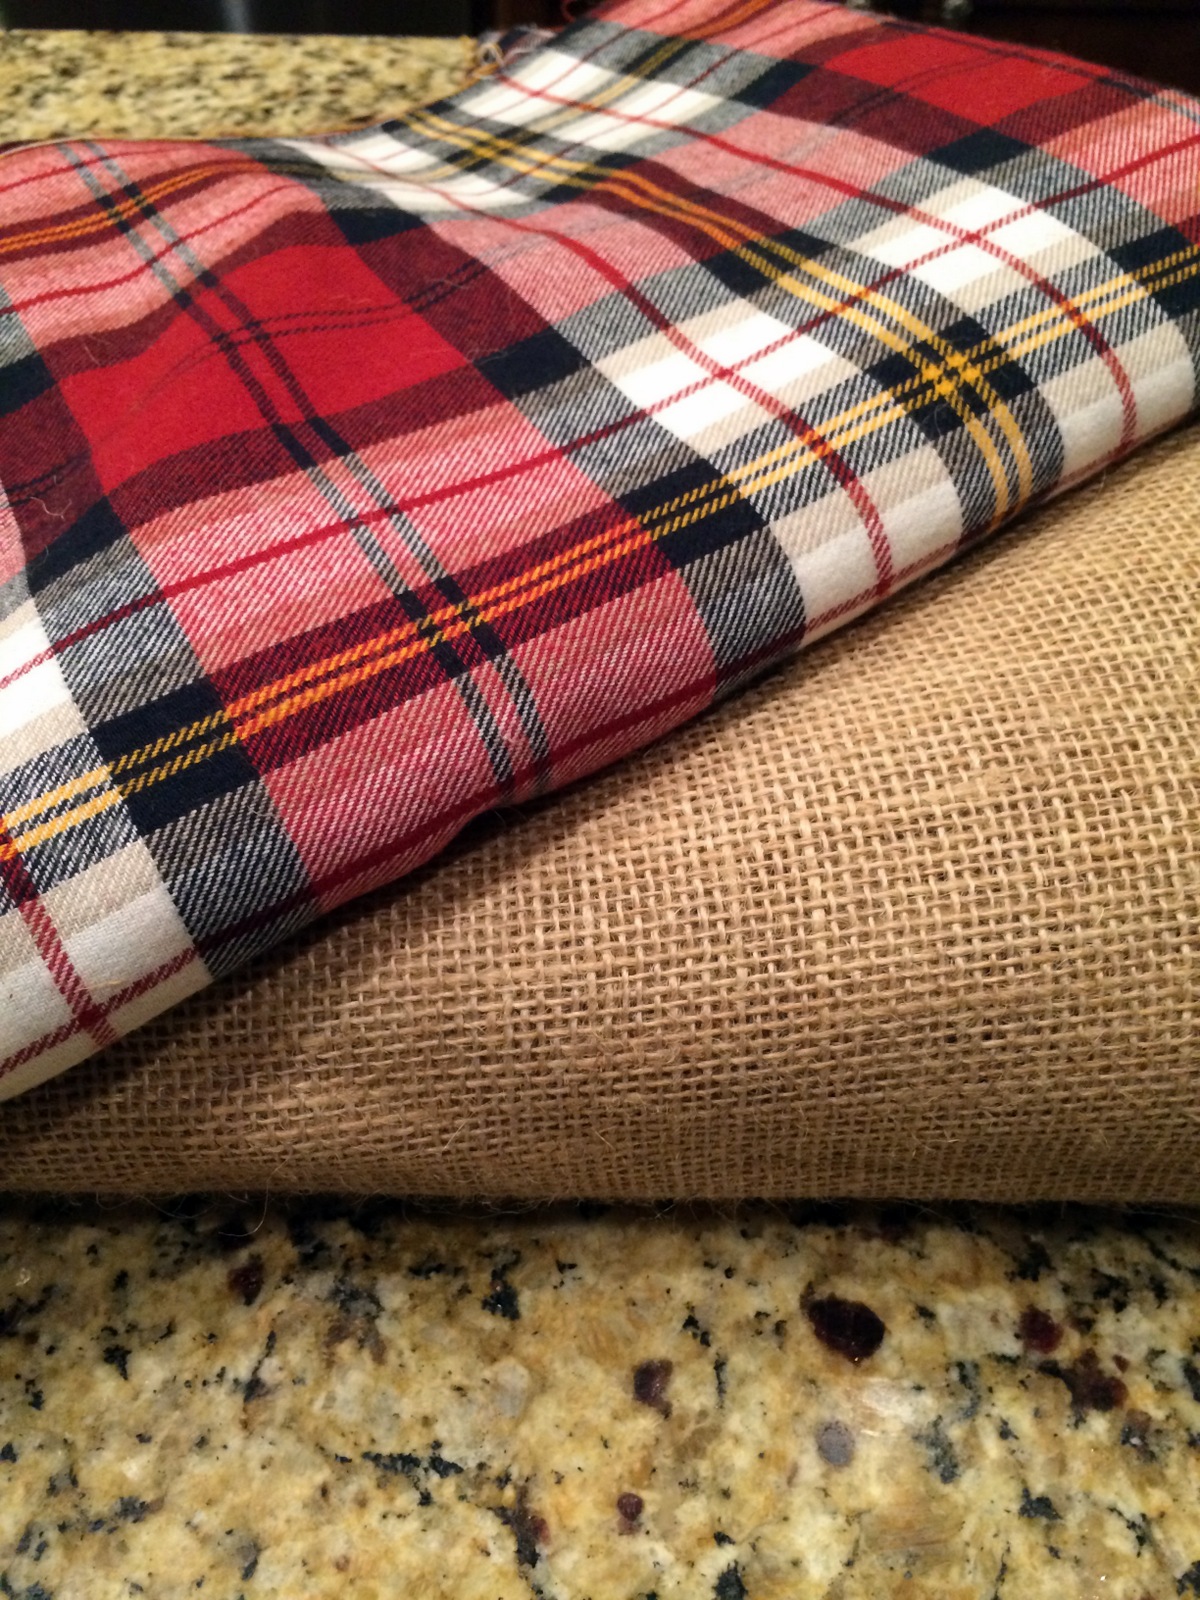
Foam board
Plaid fabric
Burlap fabric (cut into 3 in strips)
Hot glue gun
Staple gun
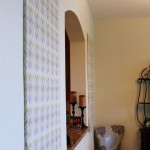
First things first. Lay out the plaid fabric on a large flat surface (my dining room table). Place the foam board on top of it (already cut to size). Trim around the foam board leaving an approx. 3 in border. Pull the fabric around the foam board and use the staple gun to secure it in place.
Flip your newly covered foam board over and lay the burlap strips where you want them. I chose to do 3 rows of 2 layers with room for the plain to stick out between each row. I was originally contemplating leaving 10 in of plaid on top and just making burlap ruffles on the bottom half. There are plenty of options, so do whatever you think will look best.
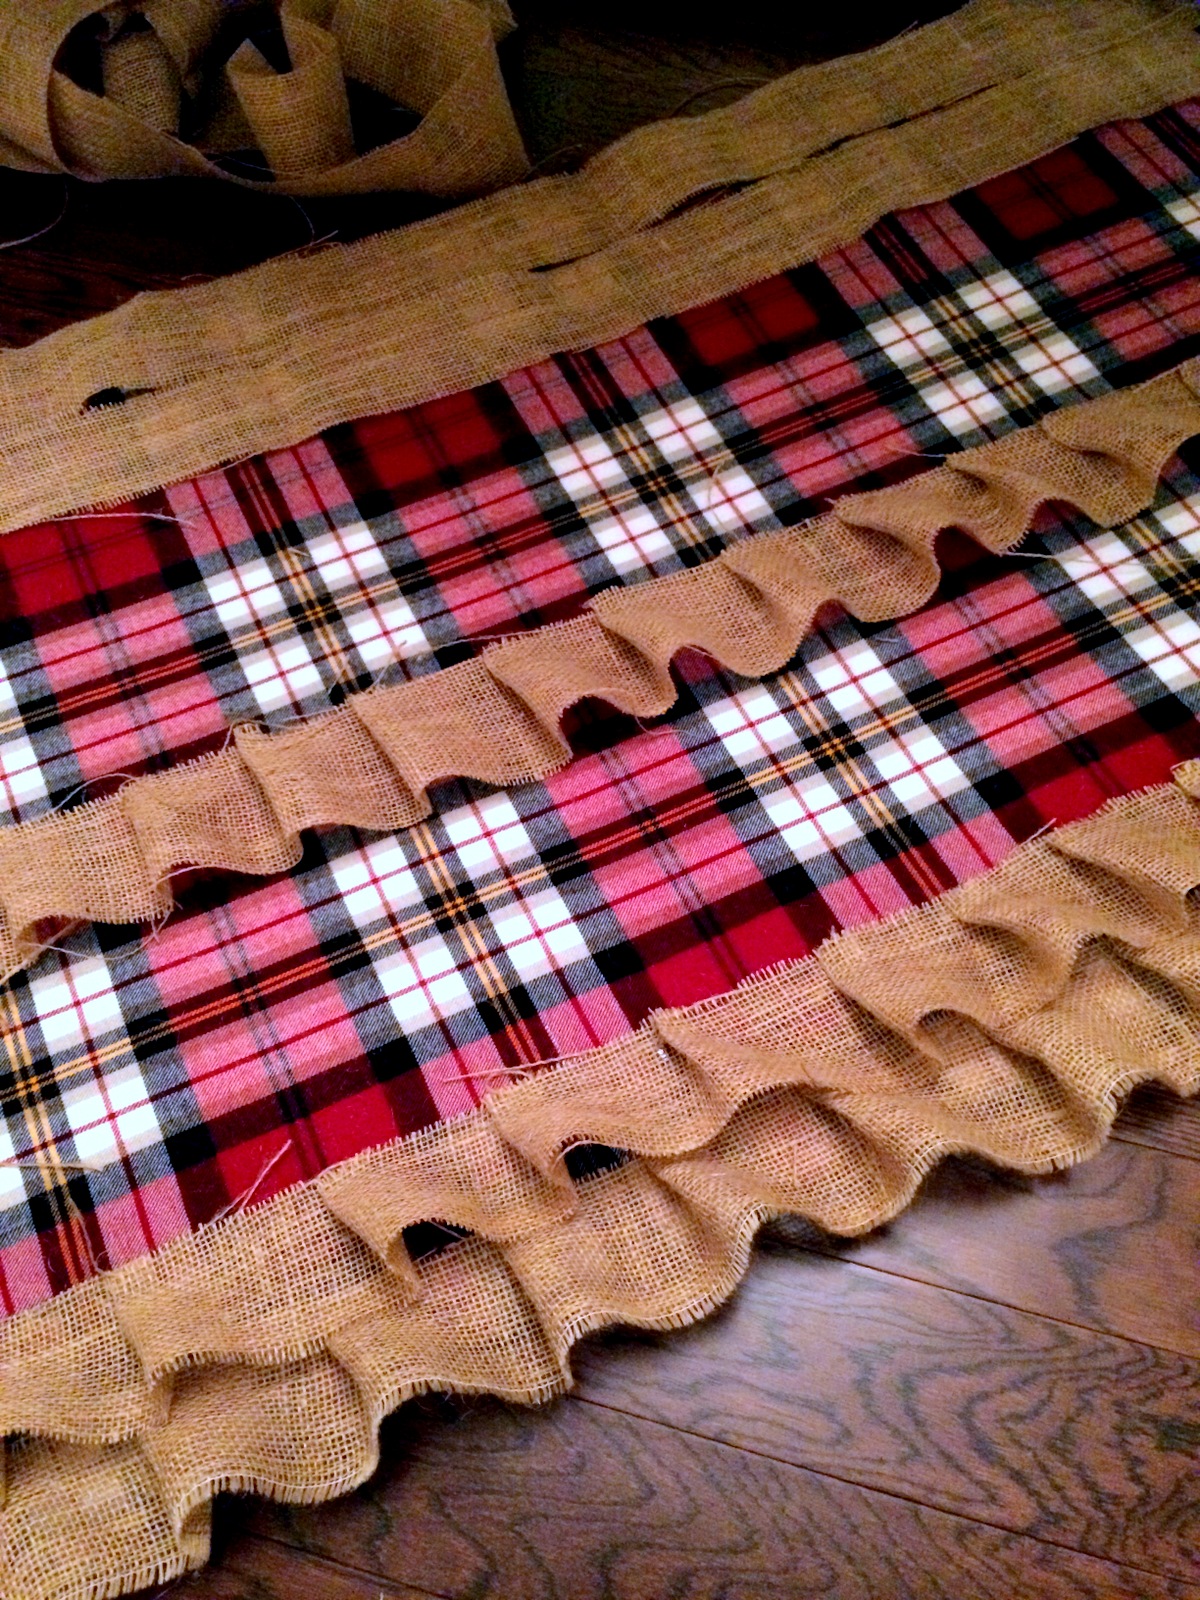
Using your glue gun, slowly and carefully glue the burlap down to the plaid fabric. Every 3 in bunch a piece and place glue to make it appear ruffled. I cannot stress enough that your fingers will get burned if you are not careful. The burlap fabric naturally has holes in it so as you press down the hot glue will seep through those holes and burn your fingers. Please be careful. I have been nursing burns ever since hanging this project.
Once you have glued all of the burlap in place, wrap the remaining burlap strip around the back of the foam and staple gun it to the back. Then trim the burlap if any of the layers started to shed.
I hung my hanging with 1 command strip. Easy peasy. I love the color it adds to the wall. I love the fabric. I love that it only cost about $20 (I had a leftover foam scrap) so if I decide in a couple of years I don’t like it I can always take it down or change it without feeling too badly about it.
All in all it’s a great project. Play around with different fabrics. Move the burlap around. Experiment. I love that I created this. It is nothing you would find in a store. Be creative. Go for it. XO


No Comments