


Ok, this project is honestly a lot easier than it looks. I have wanted a headboard for our bed for the longest time. I always see gorgeous headboards at Z Gallery, but I can find better ways to spend $700. Even TjMaxx and Homegoods charge $299-$499 when they have them. Never gonna happen.
I decided to turn my headboard dreams into my next DIY. And by do it myself, I mean…I made Mike do it.
I helped. I instructed. I picked materials. I got him water. I told him what he was doing wrong. I honestly could have done it myself. I was just lazy.
We, (he) did a damn good job, if I do say so myself. The project was completed during naptime, which means that it didn’t take longer than 1.5 hours start to finish. You can totally do this. I promise.
Here’s what you need.
1 Big piece of plywood (measure the length of width of your bed and how tall you want it to stand) Remember, the base of the headboard starts just a few inches lower than the top of the mattress, in other words, it does not start at the floor. Our measurements were 62 (width of bed + 1 in on each side), 48 (from where I wanted it to start and end).
1 2×4 piece of wood (have it cut in half to make 2 pieces, these are the “legs”)
Foam (I got mine at Joann Fabrics, I picked a thick piece and had the ladies there cut it into 3 pieces that would fit my size plywood perfectly when lined up next to each other)
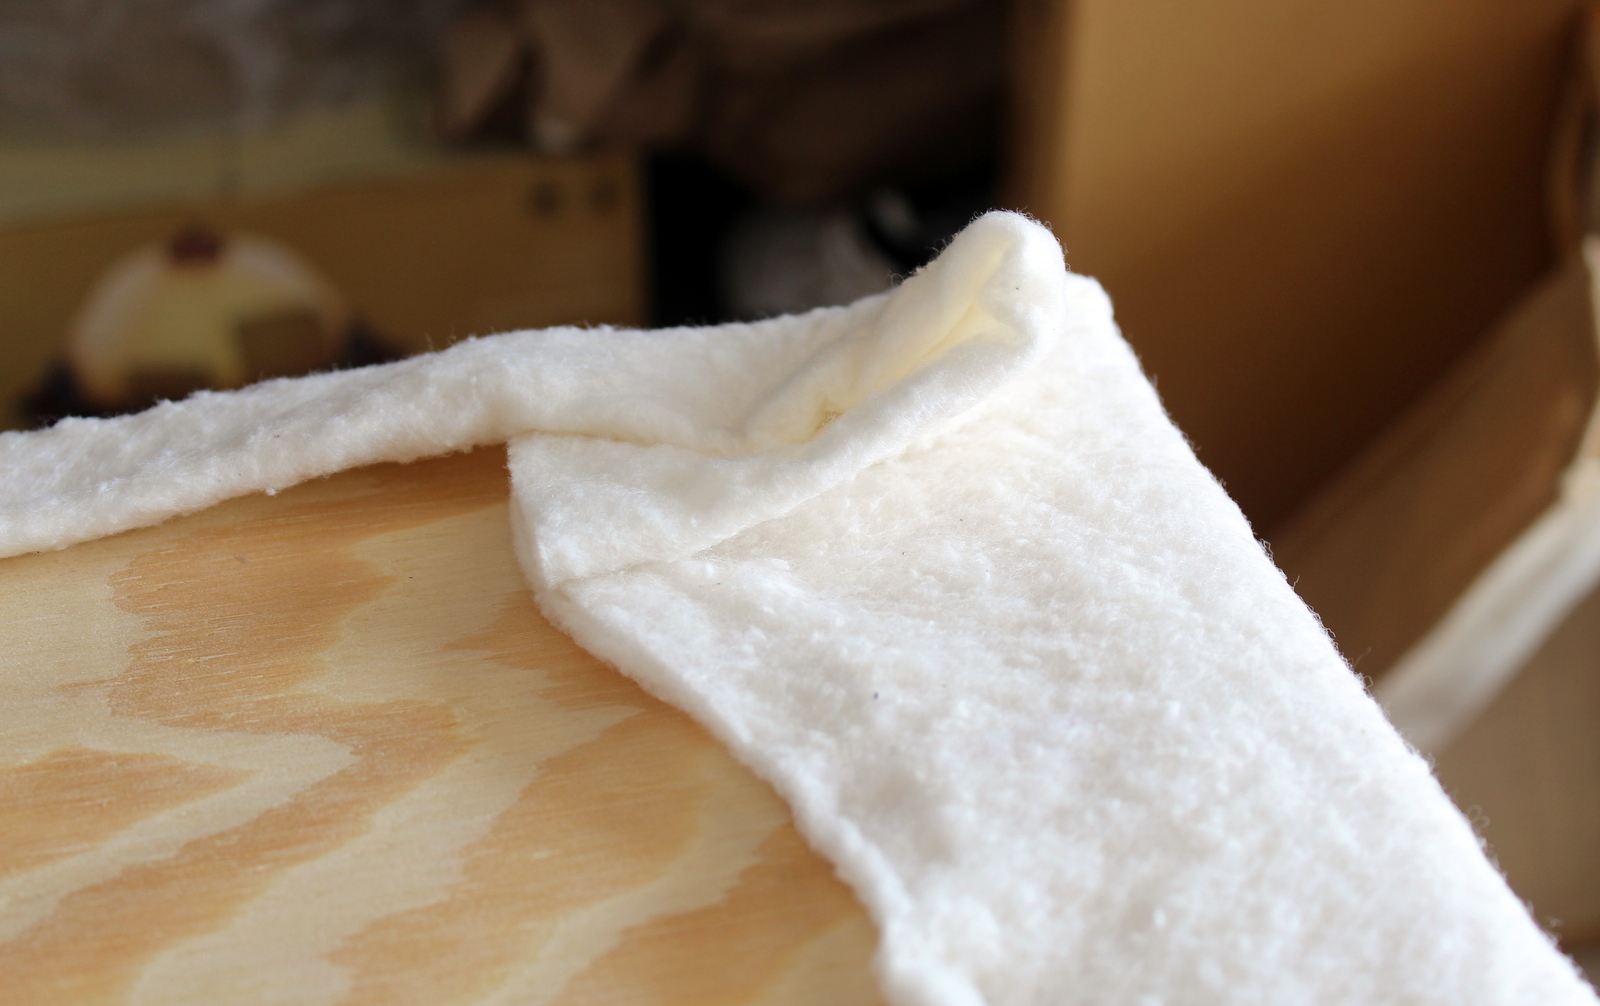
Batting (again, Joann Fabics, came in a big bag, rolled up. Once unrolled it covered my plywood perfectly)
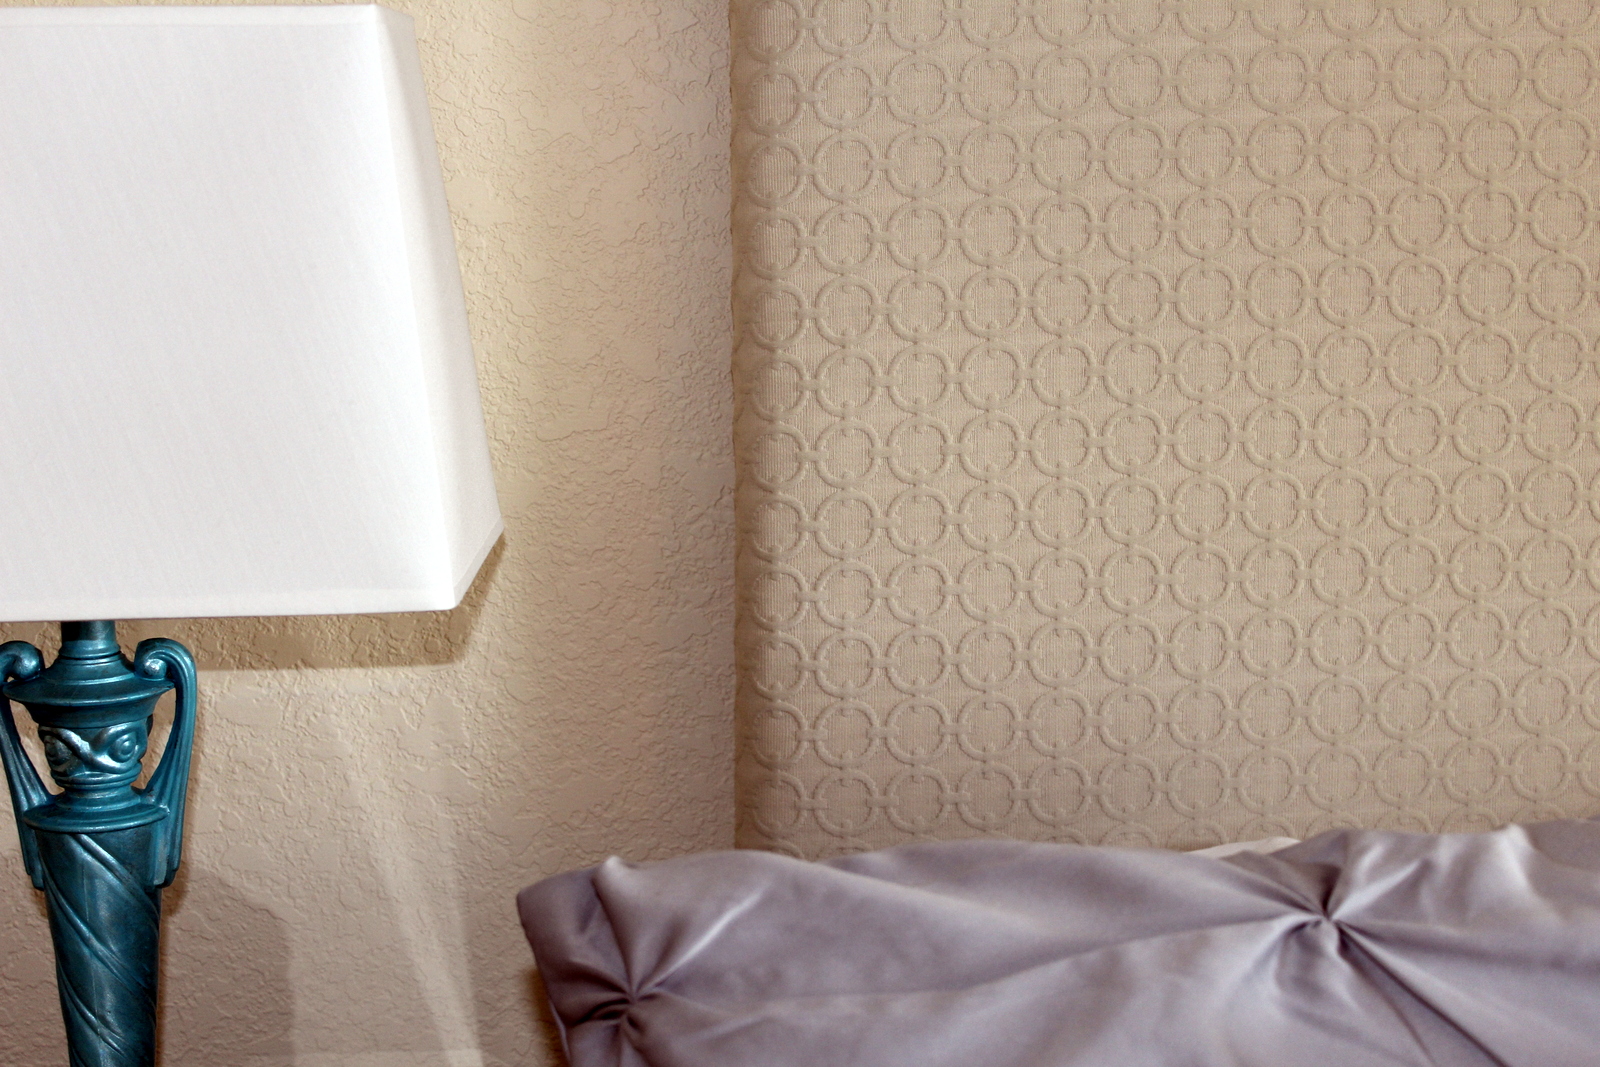
Fabric (Please note that fabrics that have design need to be lined up correctly so the design shows straight. For example, if you are a first time DIY-er, I wouldn’t suggest stripes)
Staple Gun
Spray adhesive
Power drill + screws
Here’s what you do:
Go out into the garage (I don’t want you to spray the adhesive in your living room. Your husband will never forgive you. Mark my words). We placed our plywood on a huge box so we could work on it. We sprayed the adhesive all over the plywood and laid out the foam so that it covered it in it’s entirety.

Then unroll your batting. Lay it over the foam. Carefully flip the plywood over so you are looking at the back. Pull the batting taught and staple it to the back of the plywood. Do this all the way around. Pay attention to the corners. You don’t want lumps and bumps on the front. This is good practice, because the fabric part comes next.
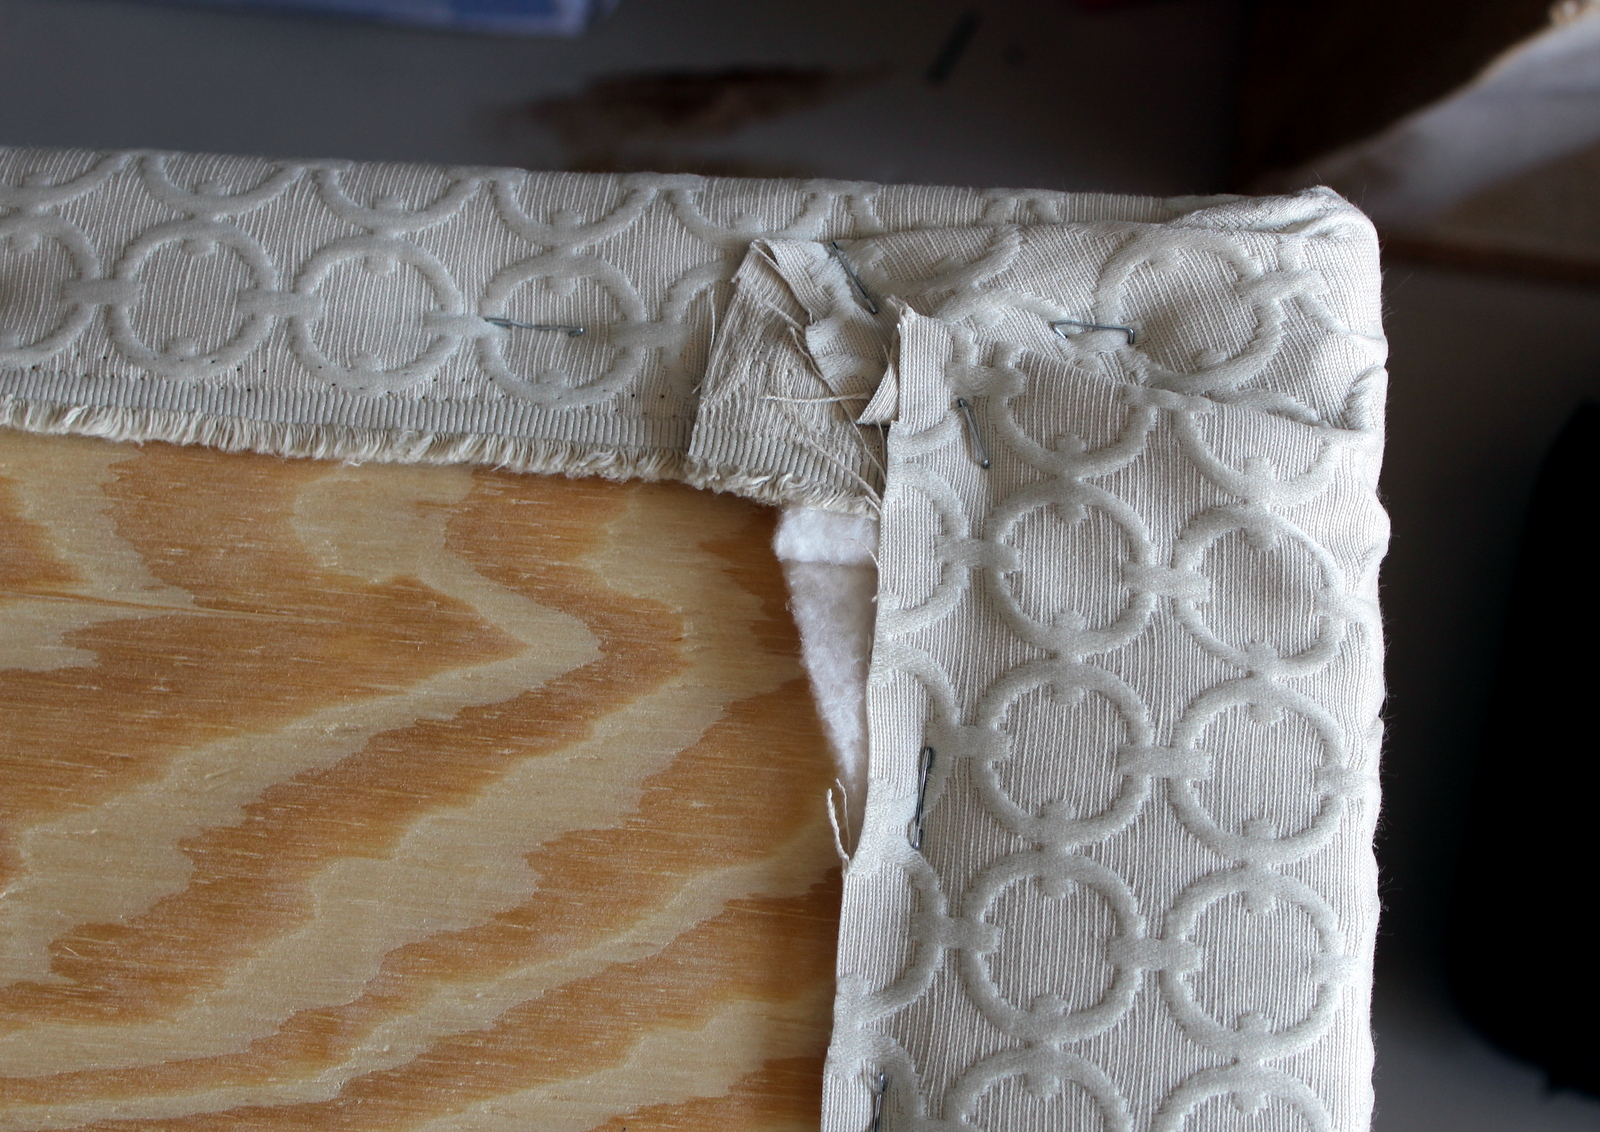
Now lay the fabric over the batting and do that same thing with the fabric. Again, close attention to the corners. Mike thinks he is amazing at corners. He’s not. But whatever. He says its like wrapping a Christmas present. I don’t know when he does that, because mine usually come wrapped straight from the Bloomingdale’s customer service department. Now, they know corners.
Now that the hard part is finished. Make your wife go get you water. Oh wait, that was me. Go get your whining husband some water. Flip the plywood over and admire the handiwork. Looks good right? Impressed yourself? Almost done.
Take your 2 wooden legs (2×4’s) and use the power drill to drill the legs into the headboard. There. Now you are done. Try to carry it up the stairs without knocking it into the walls and waking Mini.
After we finally got it into position behind the bed, Mike asks how come we never do any HS projects. I’m like HS?? What the hell is that. He says, you know…Hire Someone. I told him I did. I hired him.
He agreed that the project came together very quickly and easily.
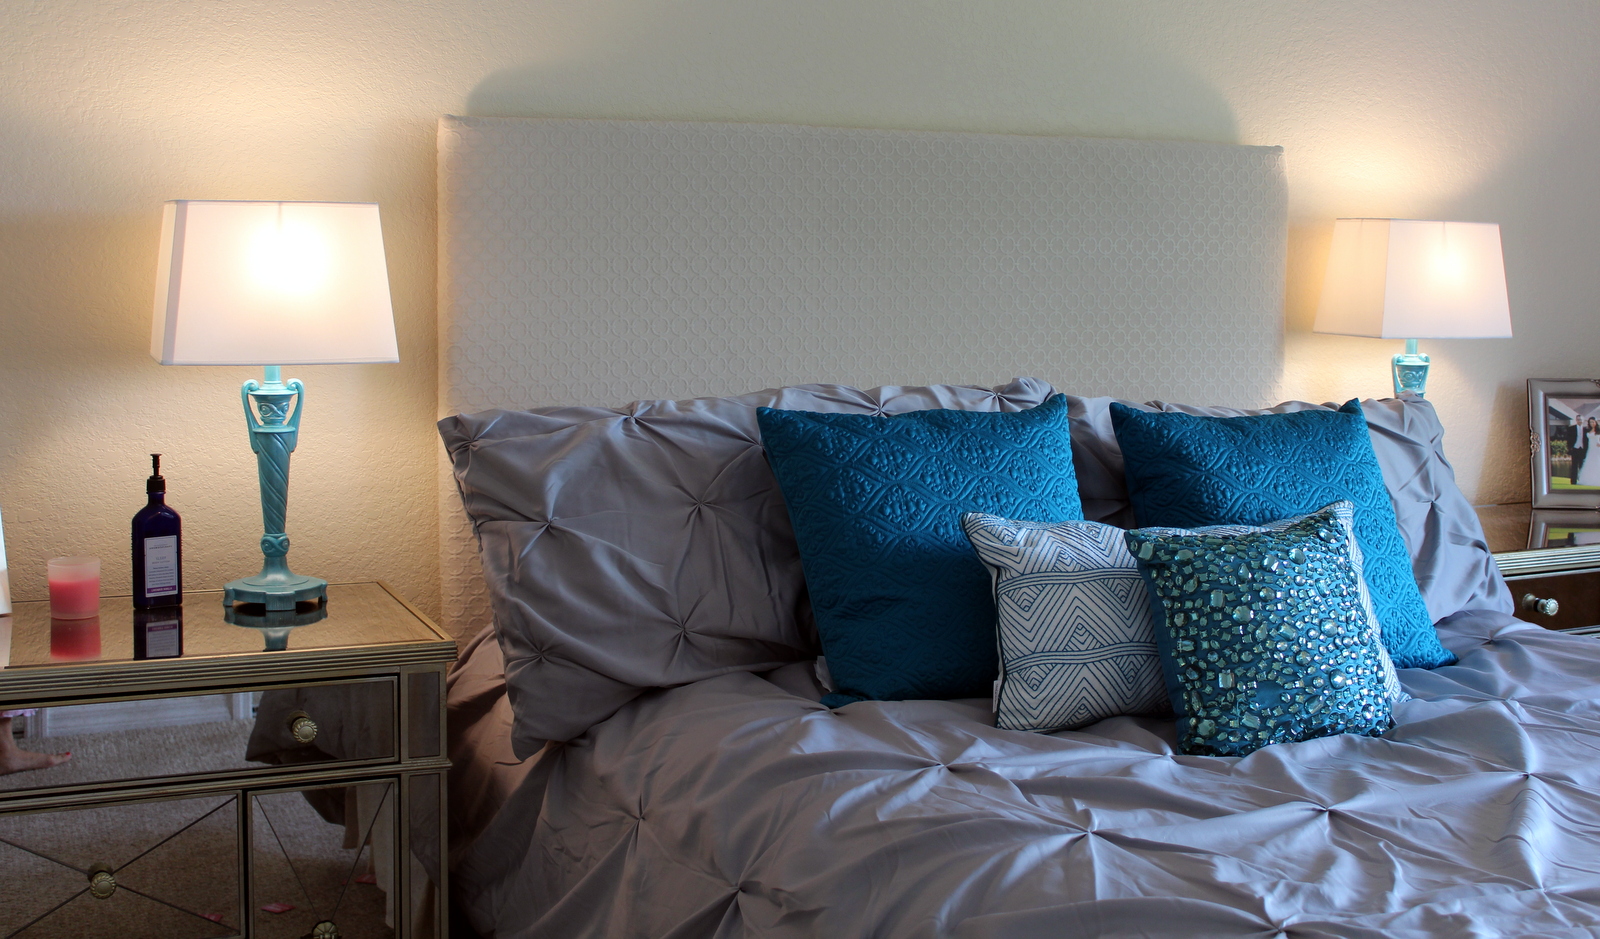
Nice, right??? Saved myself a WHOLE lot of money. The entire project came out to approx $75.00. I already had a staple gun, power drill, and spray adhesive. Also, being the couponing whore that I am, I bought the foam, batting and fabric all on sale with coupons from Joann’s. Please don’t ever spend full price at Joann’s. I will think you are an idiot. I don’t want to think that. Trust me, they don’t need the money. Joann is doing just fine 😉
ENJOY! Hope I made sense. Hope you try to make one. Just do it already. You know you want to.


No Comments