

When we moved over to the West Coast I decided to get a little funky. I wanted to add a nice pop of color to my seemingly boring cream walls. I did however have some criteria…
I didn’t want it too bright.
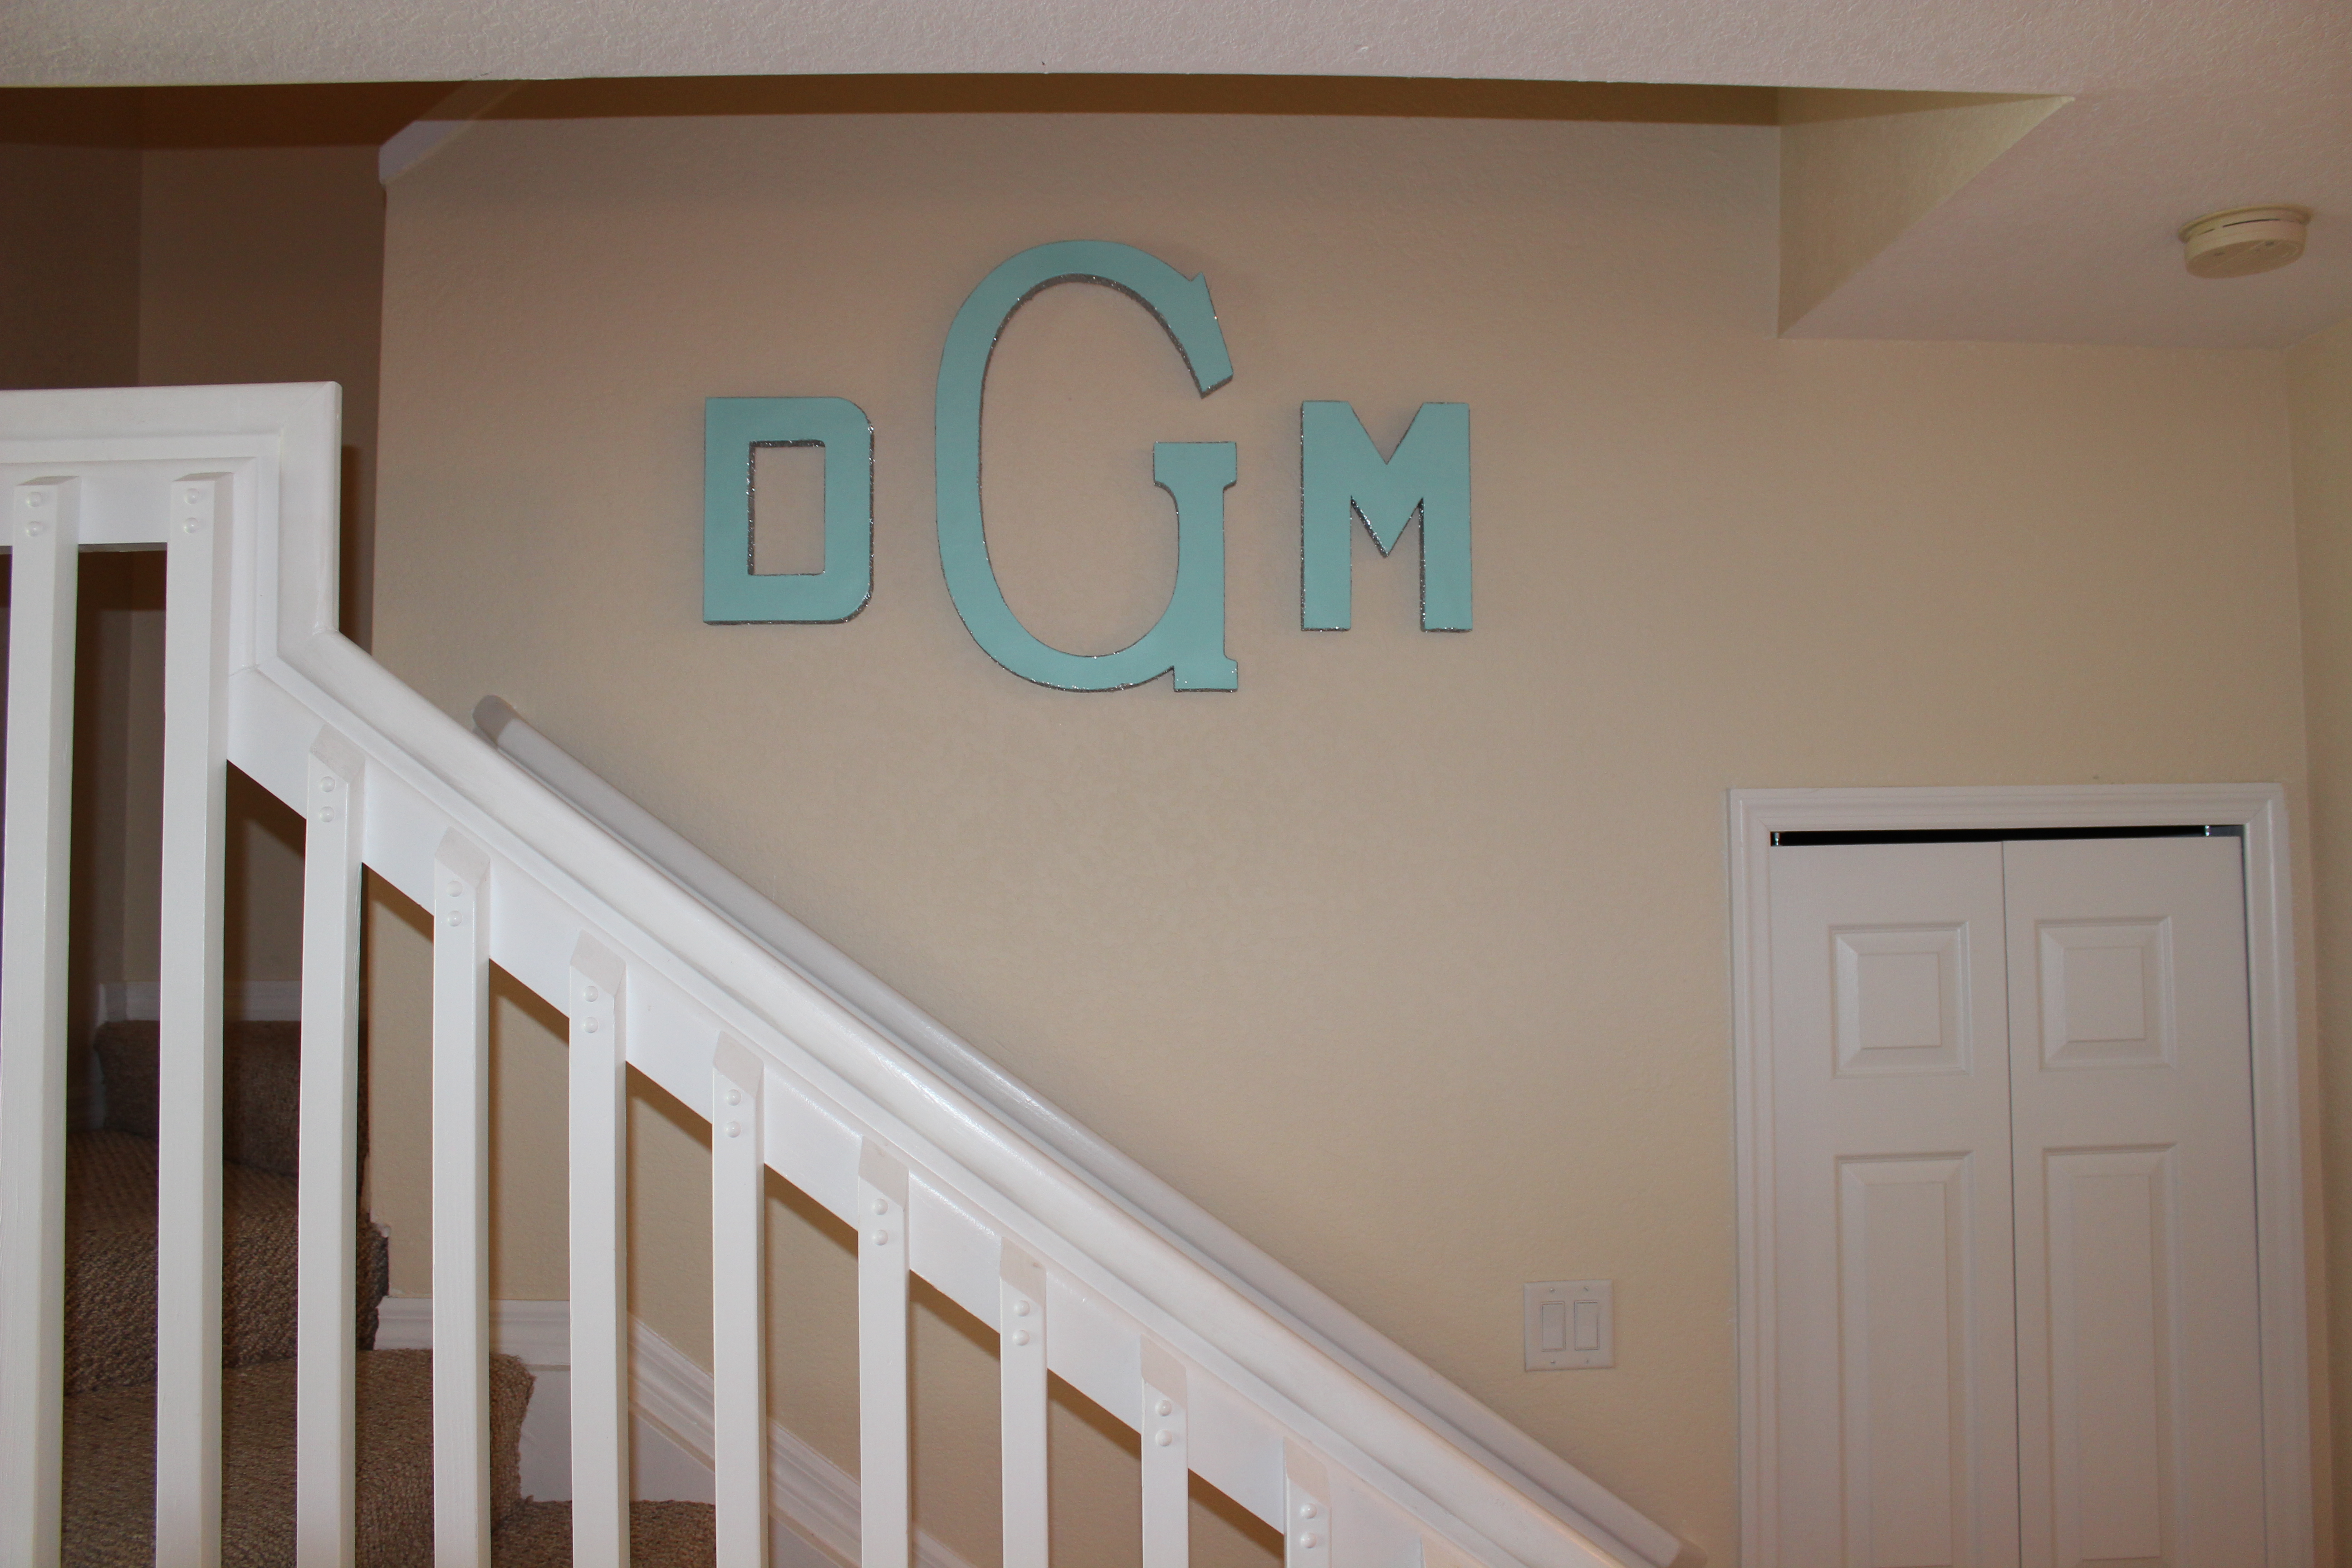
I didn’t want it right smack out on the wall in the living room.
I didn’t want to spend a lot of money.
And lastly, I did NOT want to finish creating something, convince Mike to finally hang it, and then end up hating it.
That however, is not the case here. I am so in love with this latest DIY. Check out the details below!

I must say it was by far one of the easiest projects I have ever done, and in my opinion has the greatest impact! I’m sorry the pictures don’t do it the justice it deserves. The stairs don’t really get natural light…and I don’t know how to use my fancy camera…
Here’s the quick breakdown:
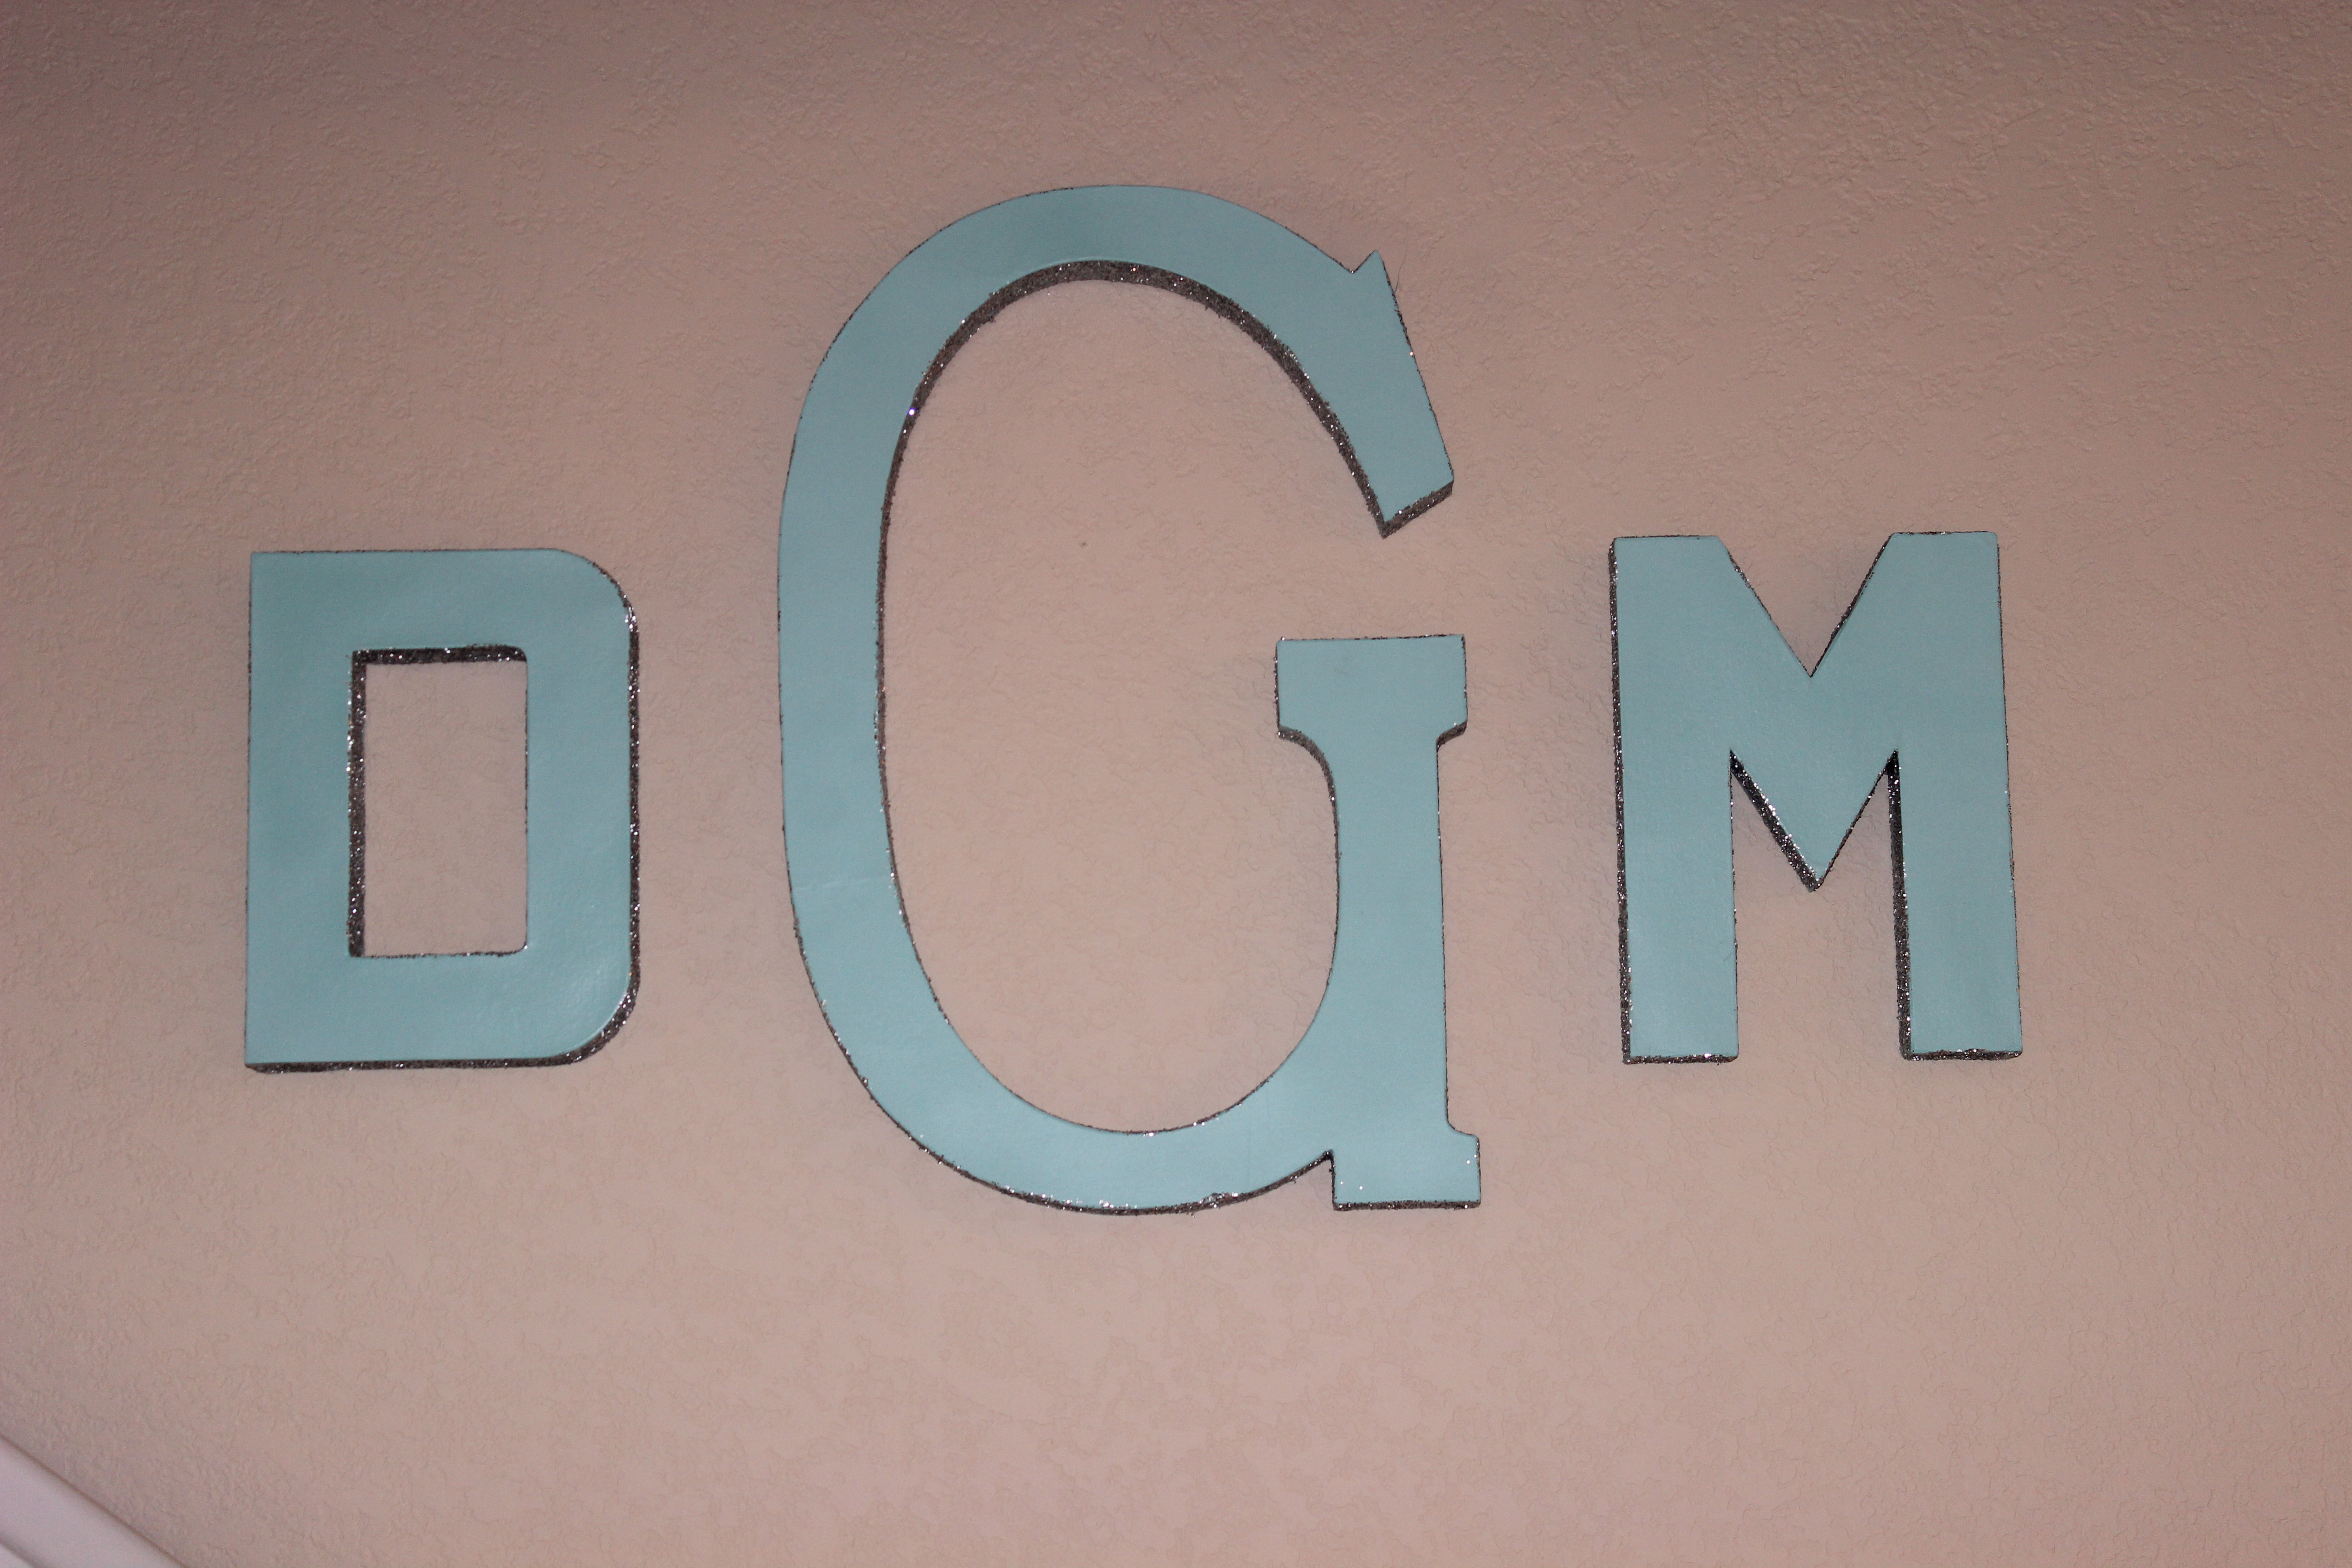
Supplies: Large wooden letters (Mine are the 3d light brown ones from JoAnn Fabrics, and they weigh all of 2 oz each), Acrylic paint in any color you choose (I chose FolkArt #320 Jamaican Sea, its a cross between a minty green and sea foam blue…makes sense I’m sure), GLITTER, Clear spray paint (which I used as a sealer to keep the glitter from falling off everywhere, and Elmer’s glue (or whatever liquid glue you have on hand)
The directions are simple:
1) Paint the letters, the front, the bottoms, the sides, inside the cut outs and all. Don’t worry about the back, but you want it to be a finished piece no matter what angle people look at it from. Being as mine is on the stairs, I see glitter when I am going down the stairs, up the stairs, etc.. Let dry completely, I did 2 coats. Acrylic paint dries seriously fast so this took about 40 minutes.
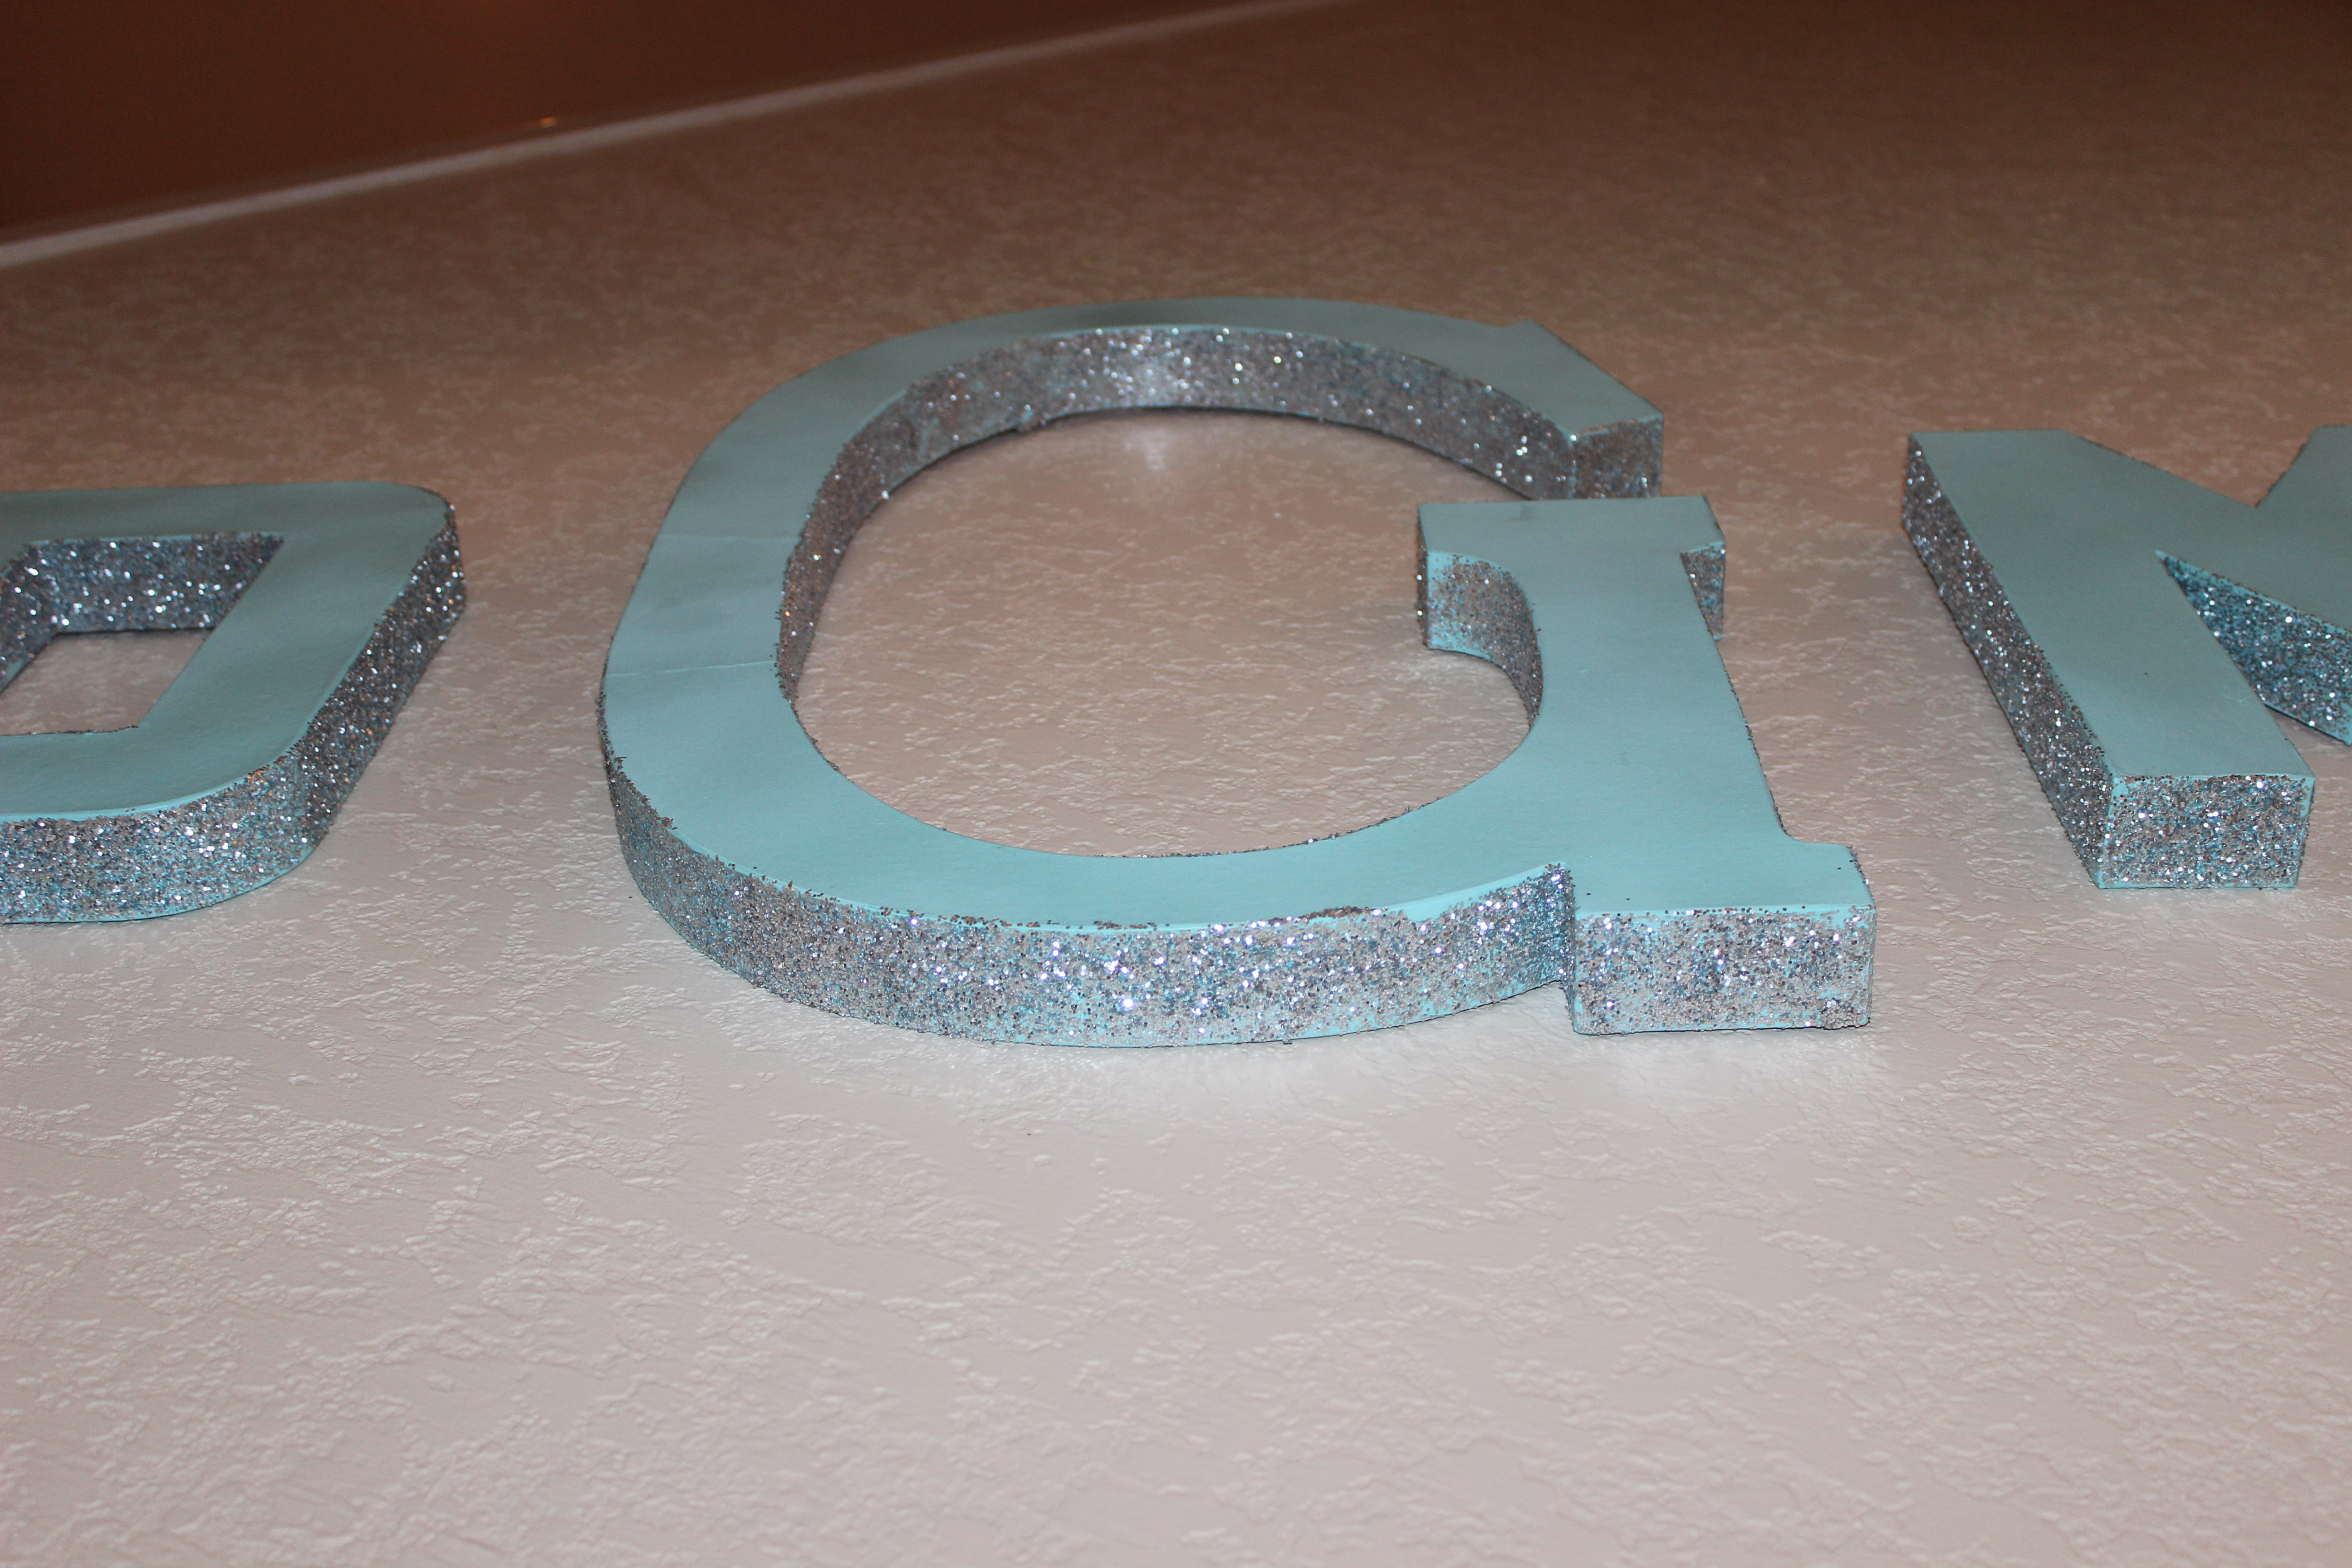
2) With a sponge brush, paint glue around the outside of the letters (on the pop out part). Add glitter as you go, working a little bit at a time so the glue doesn’t dry up on you. This part can get tricky because it is hard to get the glitter in allll the creavases, like on the M. Remember the more glitter the better. I just kept shaking off the excess onto a piece of huge paper and dumping it back into the paper plate I was working with.
3) Lay flat until completely dry. Remember go easy on the glue. Too much glue and the glitter will look clumpy, gross and will start to drip.
4) Go outside on your driveway in your pajamas at 7 am in the morning and spray paint the shit out of the entire project while waving bye, with no bra on to your neighbors, who probably think you are bat shit crazy.
5) Hang on the wall, or lean up against a wall on the nightstand, put them wherever you want. I am dying to make Juliana’s name in complete glitter to hang vertically in her room, but perhaps one glittered wall hanging is enough for now. We used command velcro pieces to hang these and it was perfect. Just stick them to the letters and pop them on the wall. So easy, and will make it easy to take them down.
Make one, I dare you. You will love it. Grab a friend, (my sister was in town and helped me with mine), and a glass of wine and just go for it! And if you think it’s too hard, I’ll make one for you, because I had a great time doing it!


4 Comments
Sulay
April 30, 2013 at 9:05 pmI have been dying to do something like this but want to do the ABC’s for Michael in different sizes! Thx for the idea 🙂
Minismama
May 1, 2013 at 3:03 pmYou should totally do it! I’ll help!
Melanie
October 19, 2013 at 1:47 pmWay cool! Some extremely valid points! I appreciate you penning this post and the rest of the website is extremely good.
One year later… | Mini's Mama
September 6, 2015 at 3:41 pm[…] of monograms. I do like them. Really, I do. In fact I made this wall hanging, and had my sister hand paint Joey’s monogram in his nursery long before we even knew we were […]