


I am deep in the mix of planning Miss Mini’s 2nd Birthday Party. Or shall I say, Juliana’s Bowtique Birthday Bash. I have cricut cut so many Minnie Mouse heads I am going to explode! This party is going to be such a hit. Once I get started, the ideas keep coming…I have officially lost my mousey mind.
So while this party will still be kept under wraps for another few weeks, I thought I’d share some of the pictures from Mini’s 1st Birthday party.
Starting with the invitations. I really wanted to do something different. So I decided that I would take all the video I recorded of Mini’s first year and make it into a little mini movie. I made a zillion copies. (I lie. My best friend and technical whiz made all the movies. Thanks again Dev). Then I placed the movie into a DVD case. The cover was the actual invitation. With a picture of Elmo (Totally Sesame themed) and the details right on the cover. Check out Mini’s first year. Still brings me to tears.
I also went a big cricut crazy and basically turned everything I wanted to do into a DIY project.
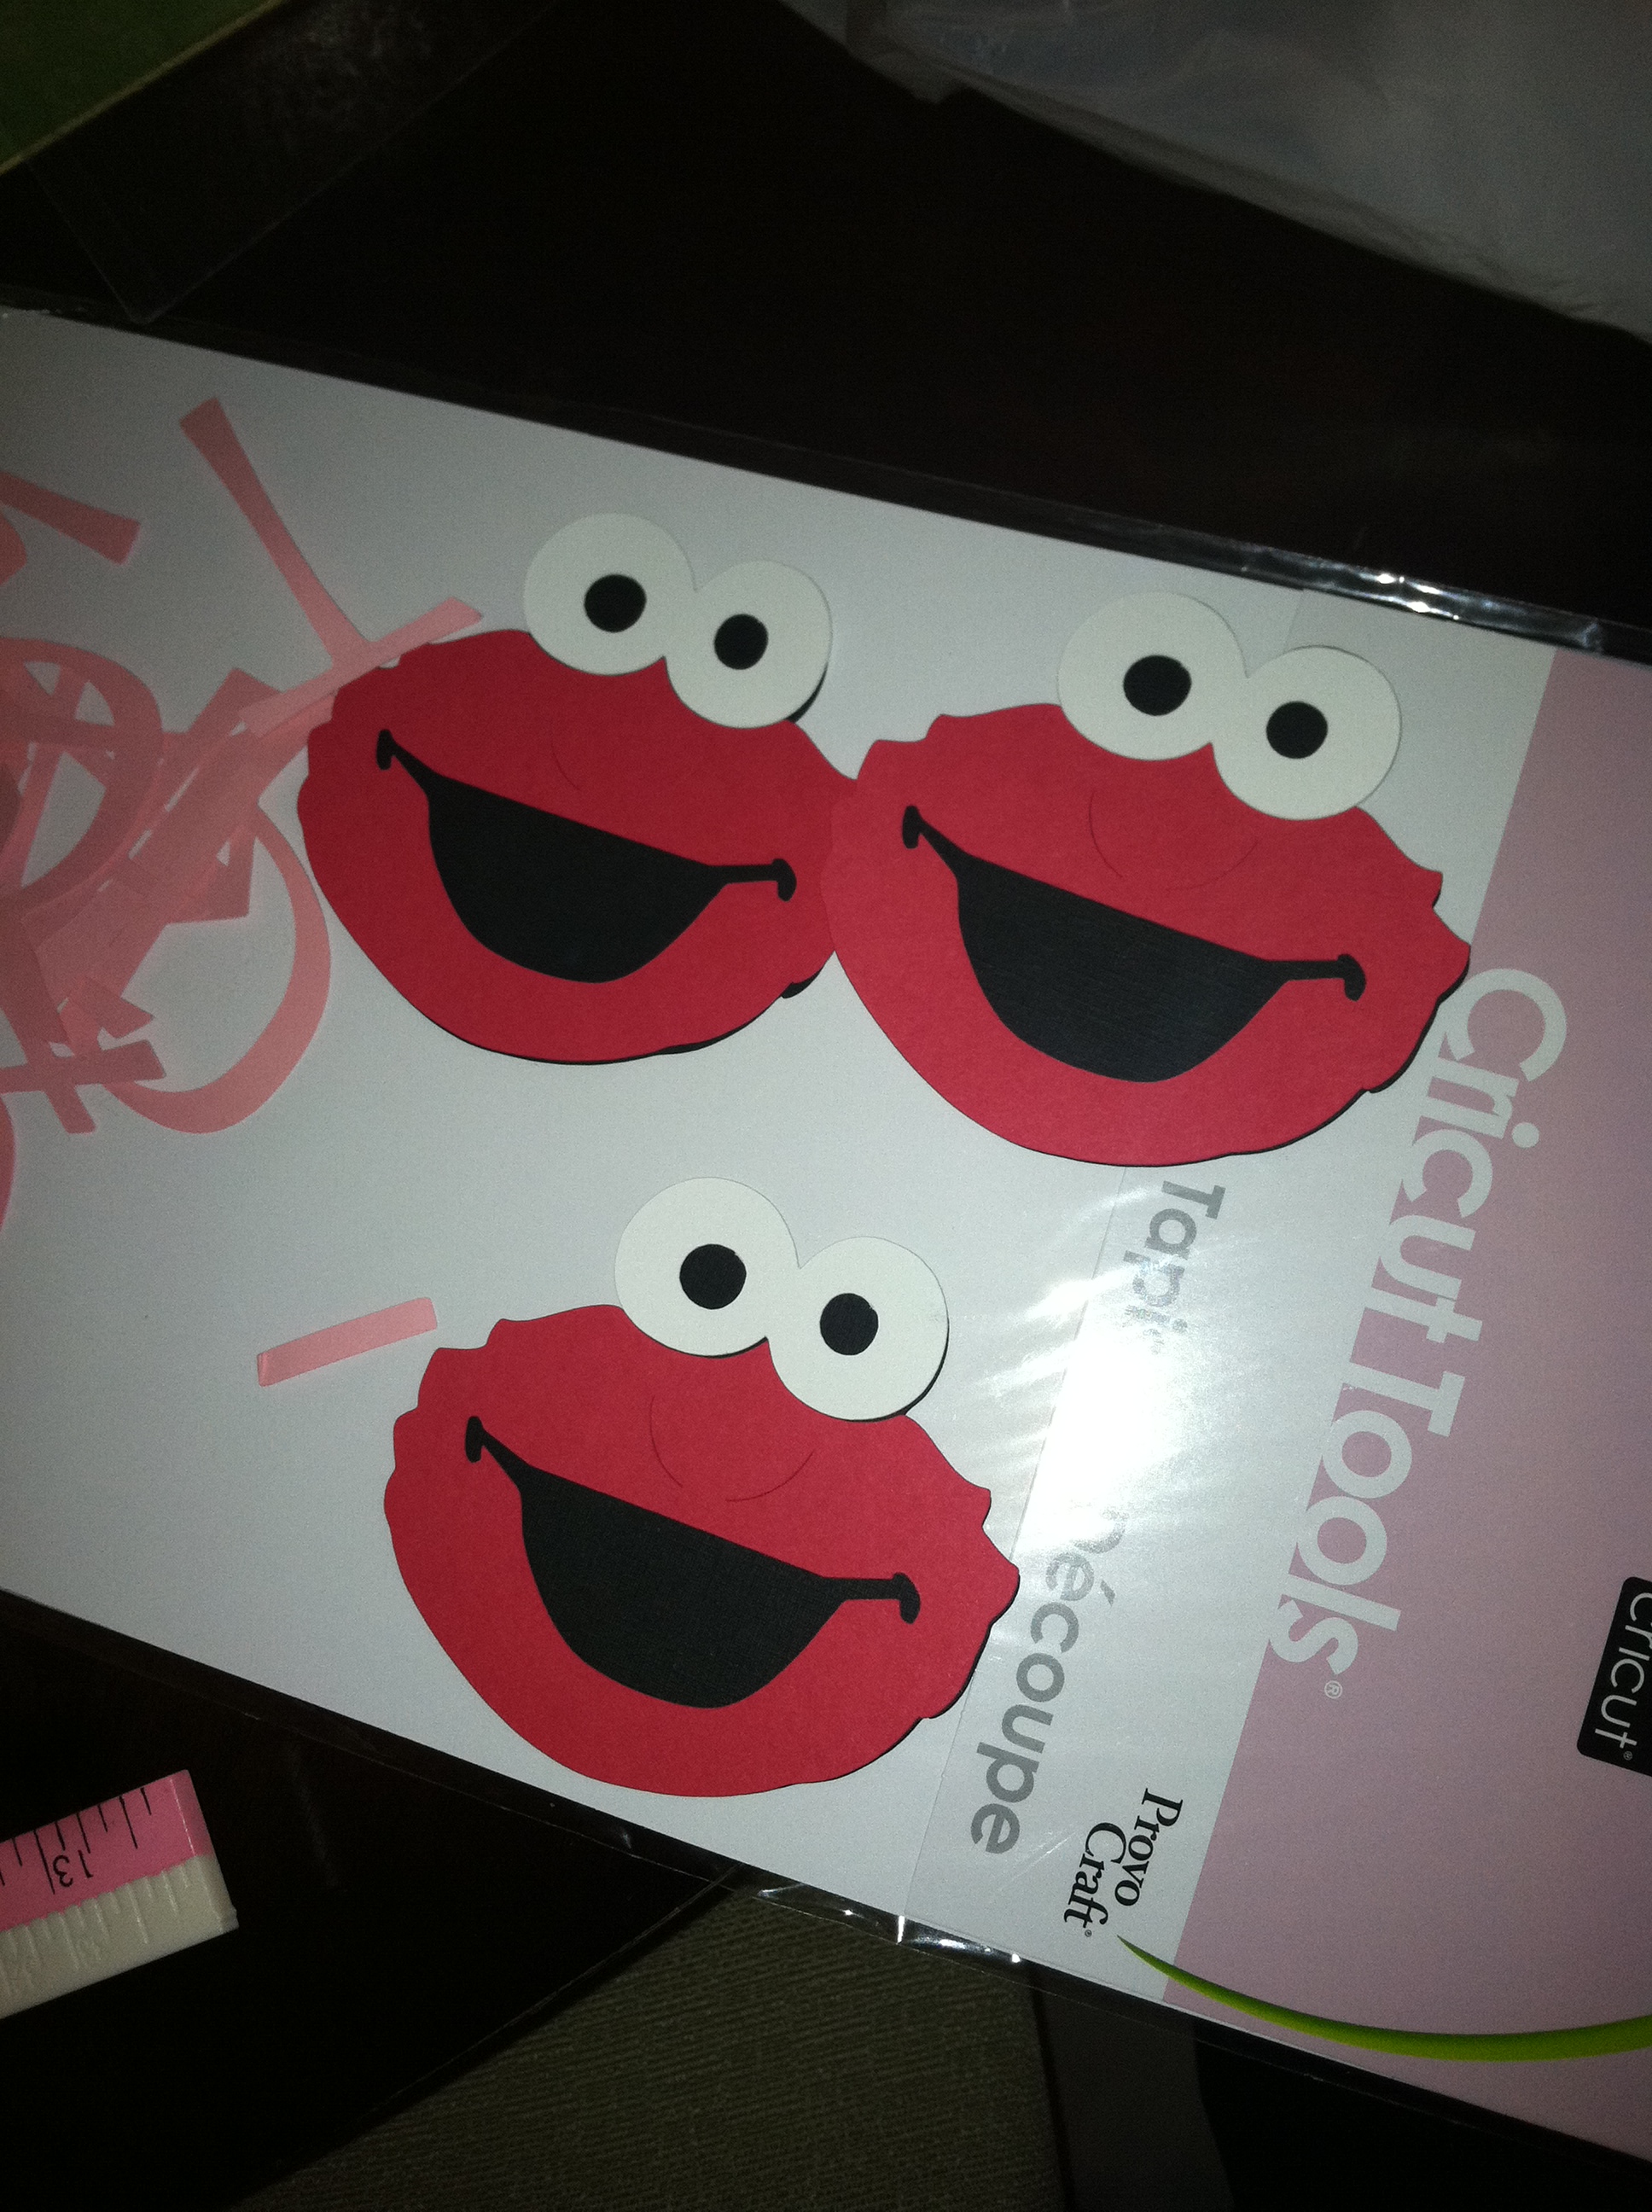
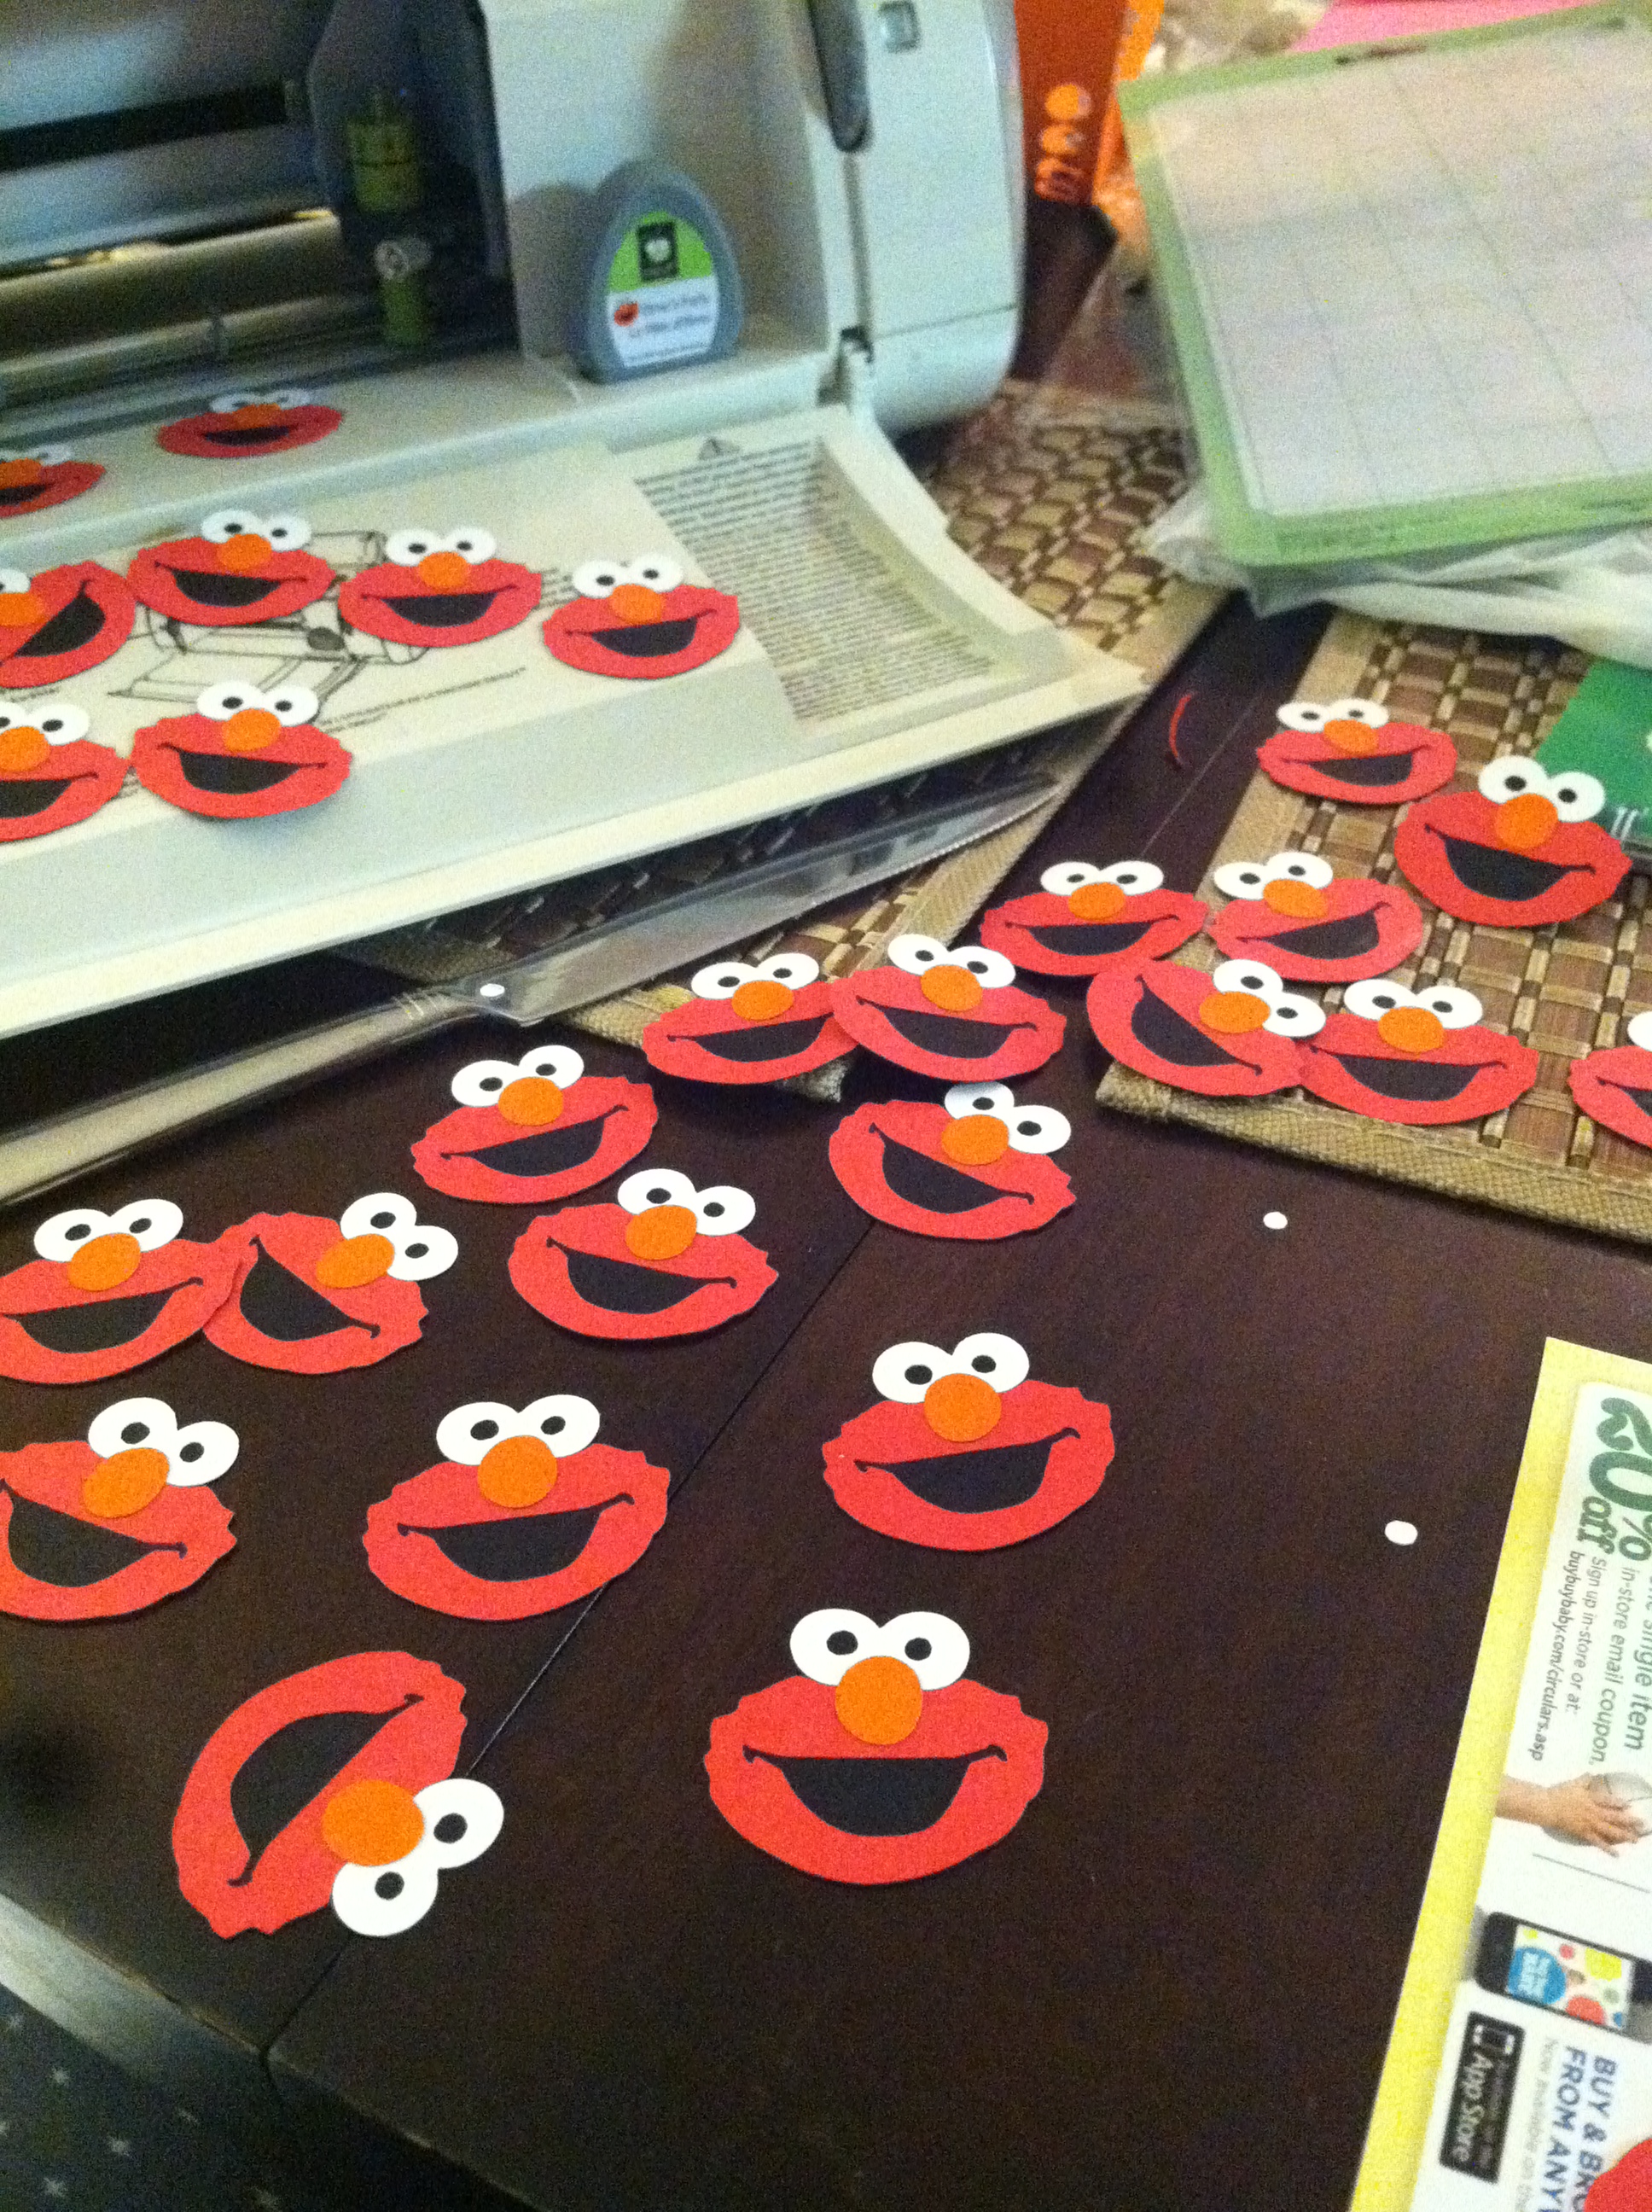
These are the elmo’s that were on the actual invitation.
Below are the cupcake toppers. I cranked out 40+ little elmo heads. Super easy project. Just adhere them to a lollipop stick with a little tape.

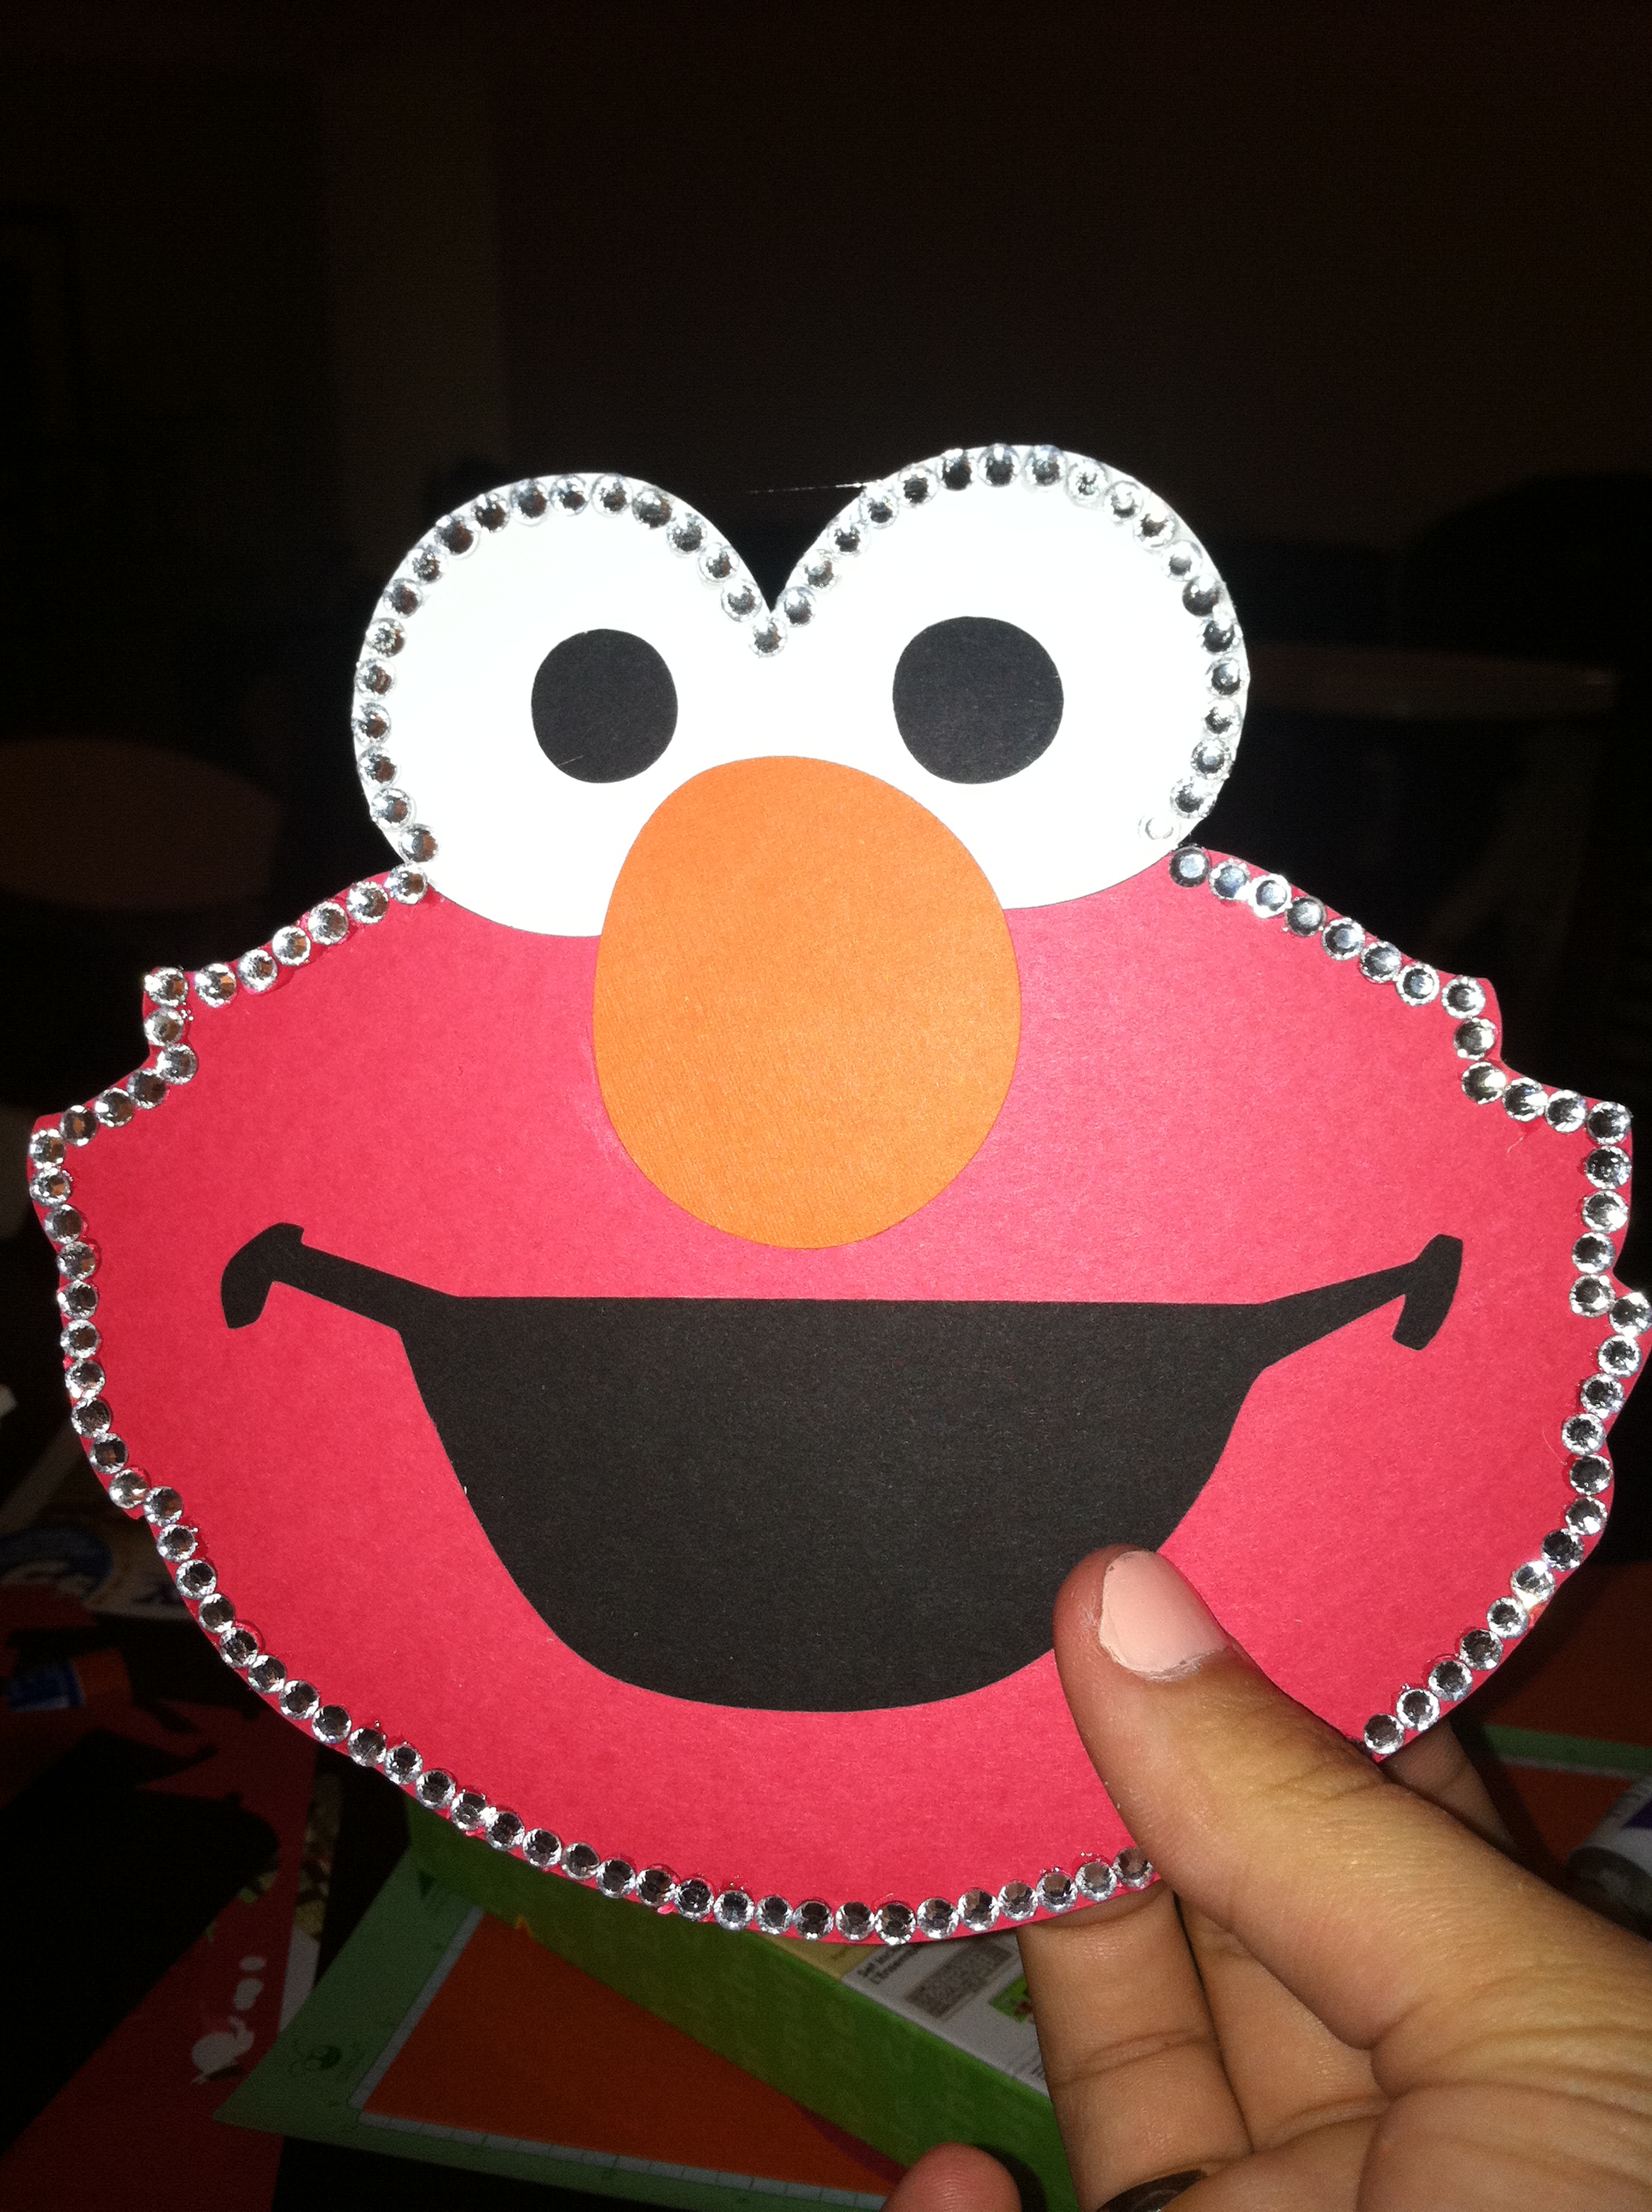
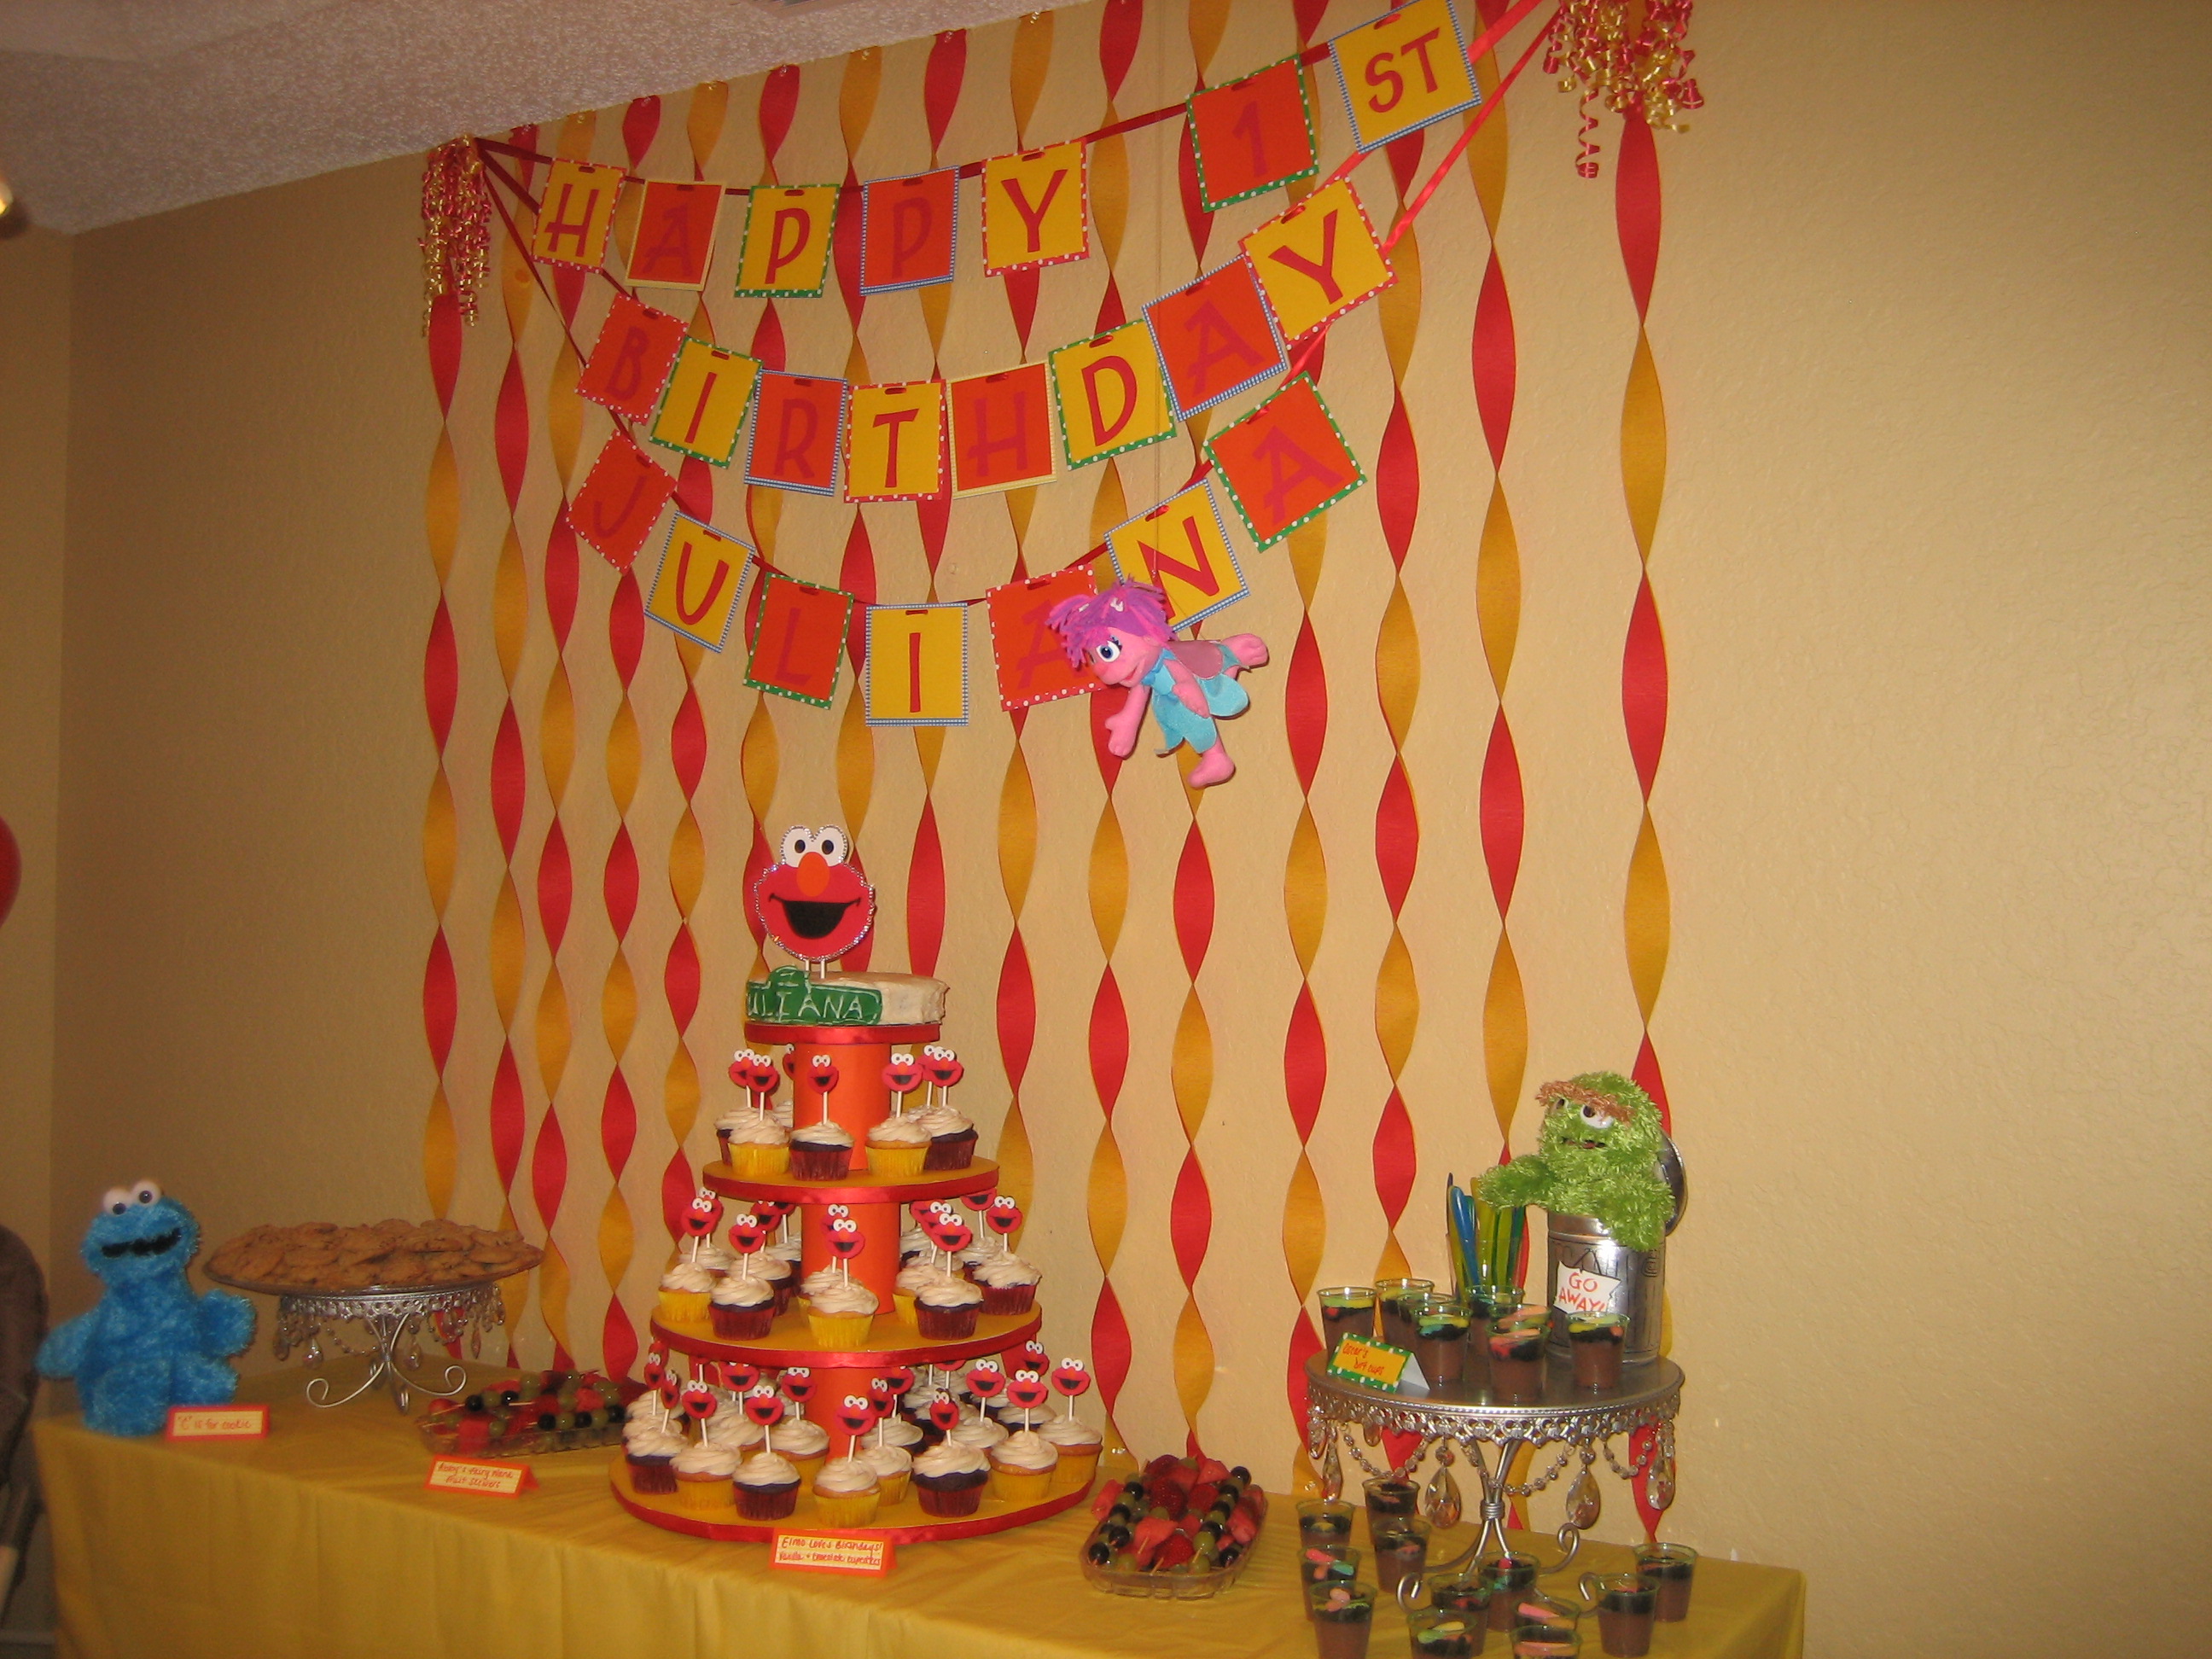
Below is a 6 INCH Elmo head cake topper. Complete with rhinestones because I am insane. I taped 2 lollipop sticks to the back and placed it right on the cake!
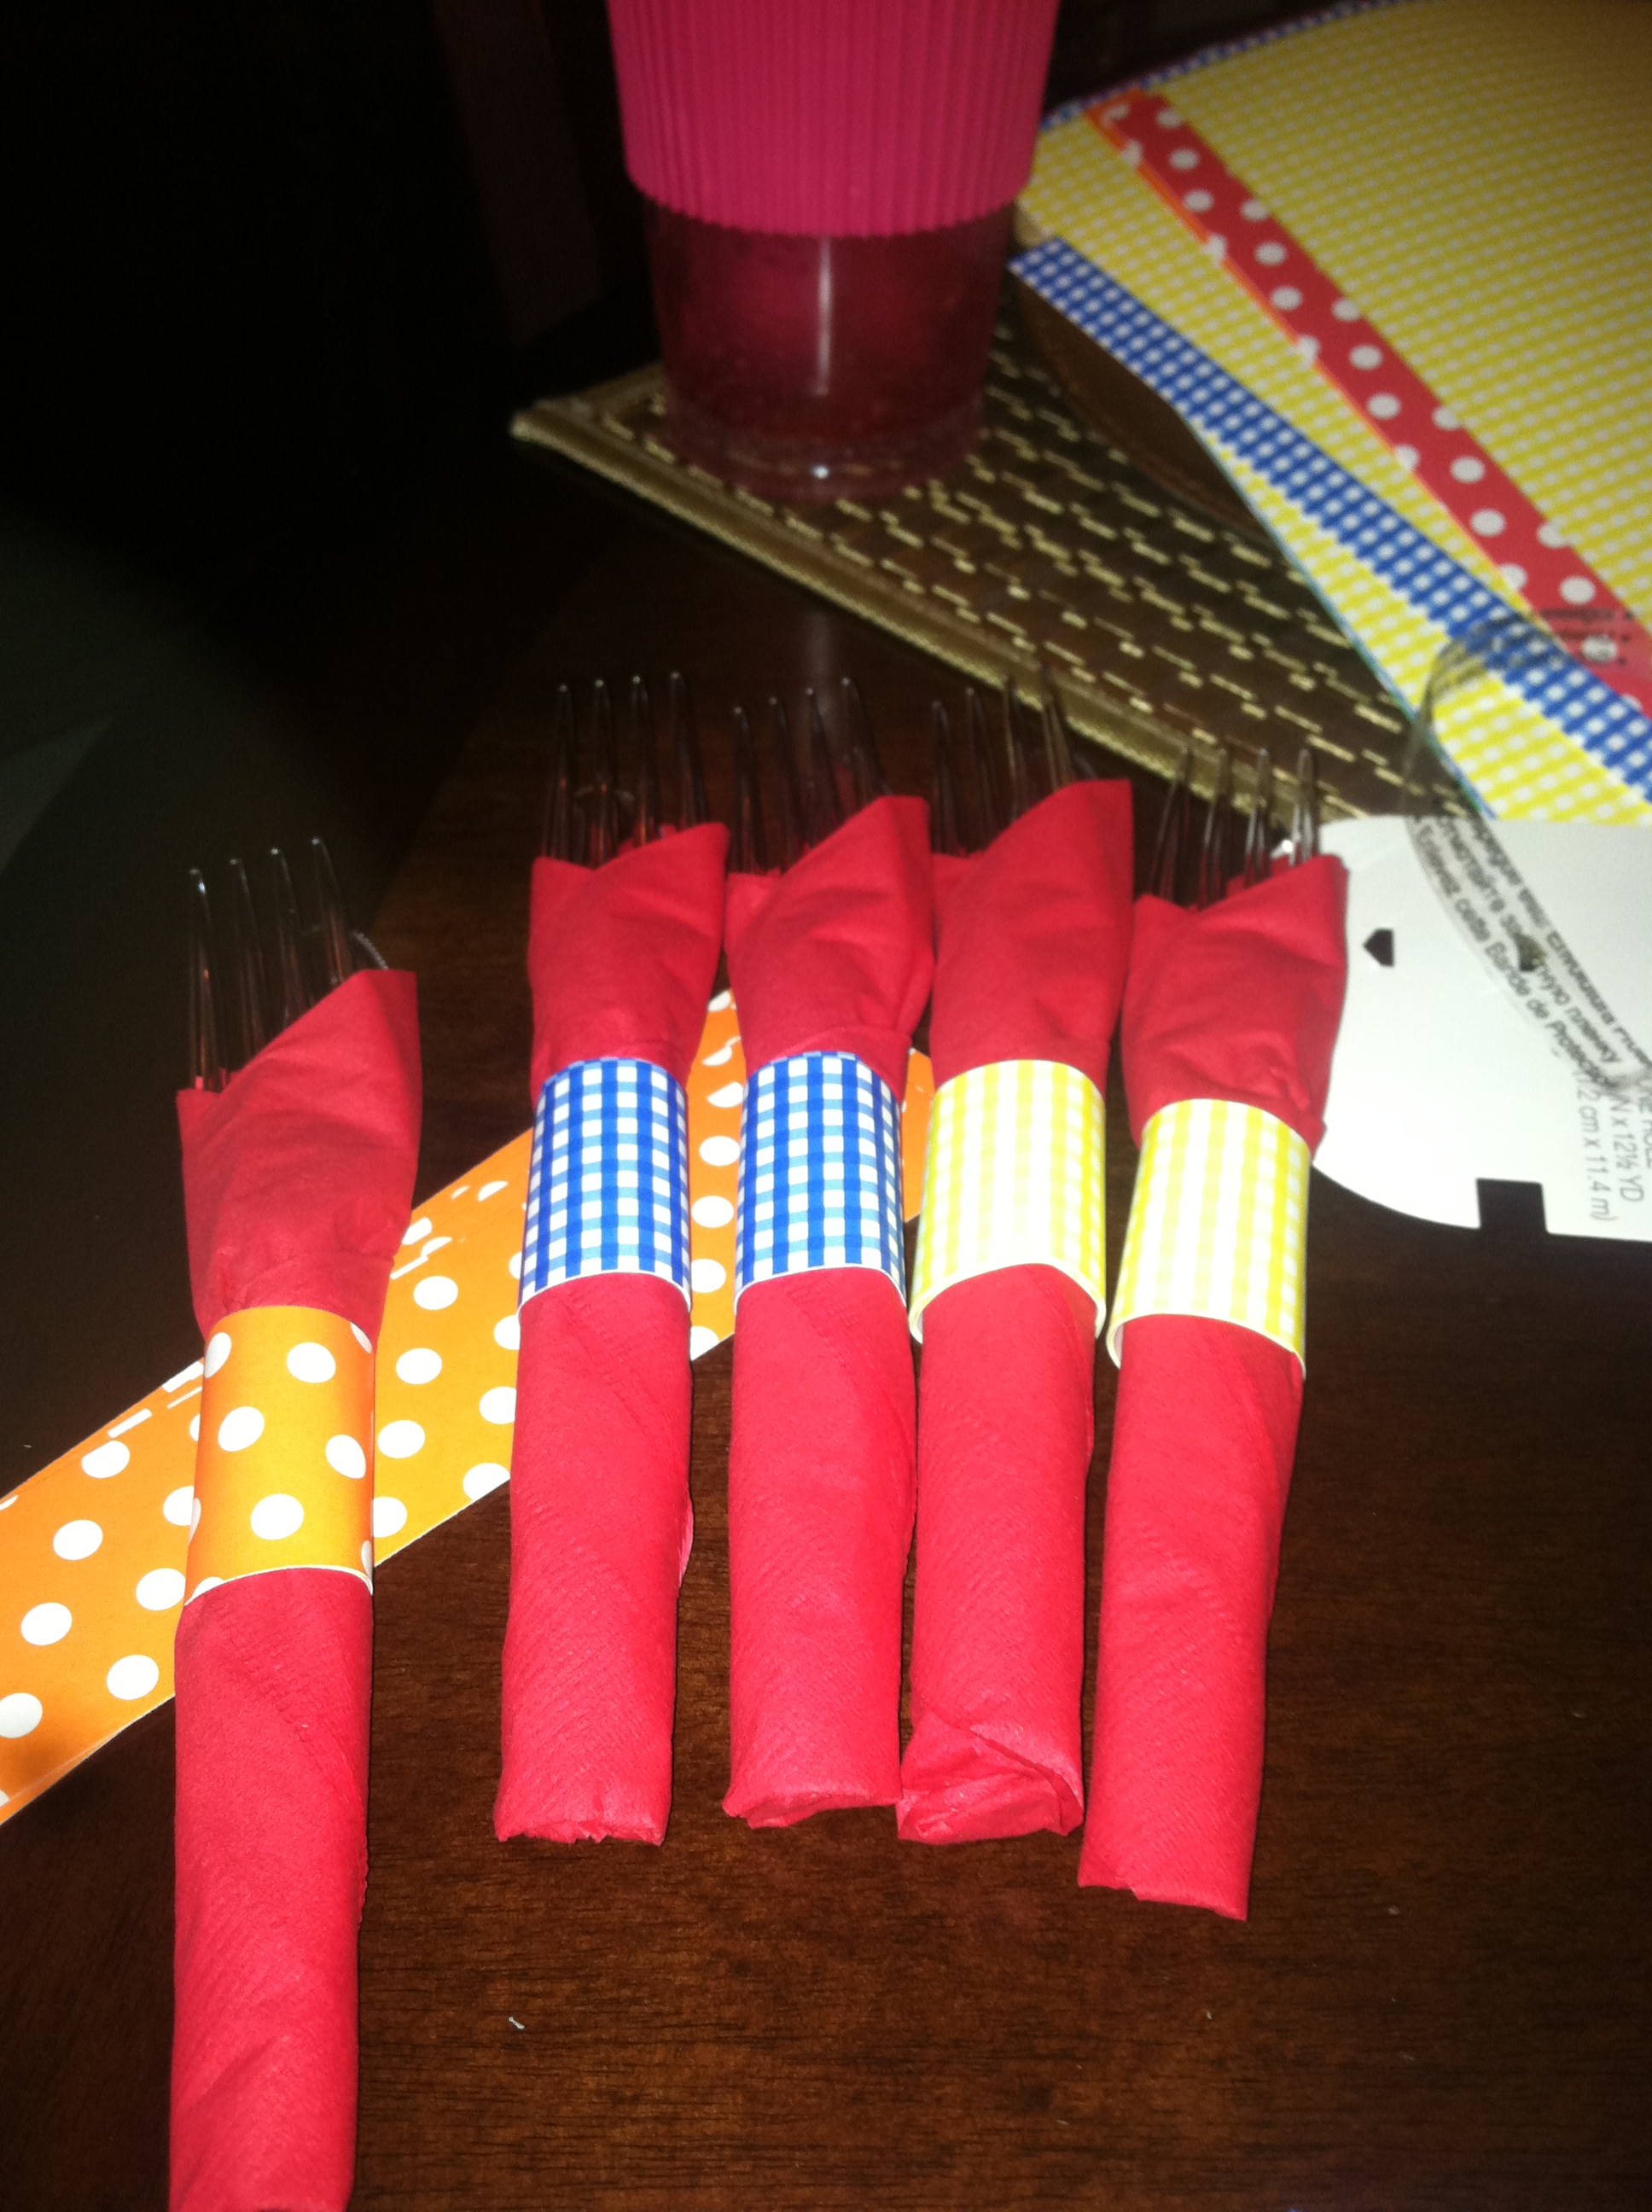
I rolled the silverware in napkins with colored paper strips to match the party. Just take a 8.5×11 piece of scrapbook paper and cut into even strips. I rolled the silverware in the napkins, and rolled a strip of paper around each one and secured it with a piece of double stick tape.
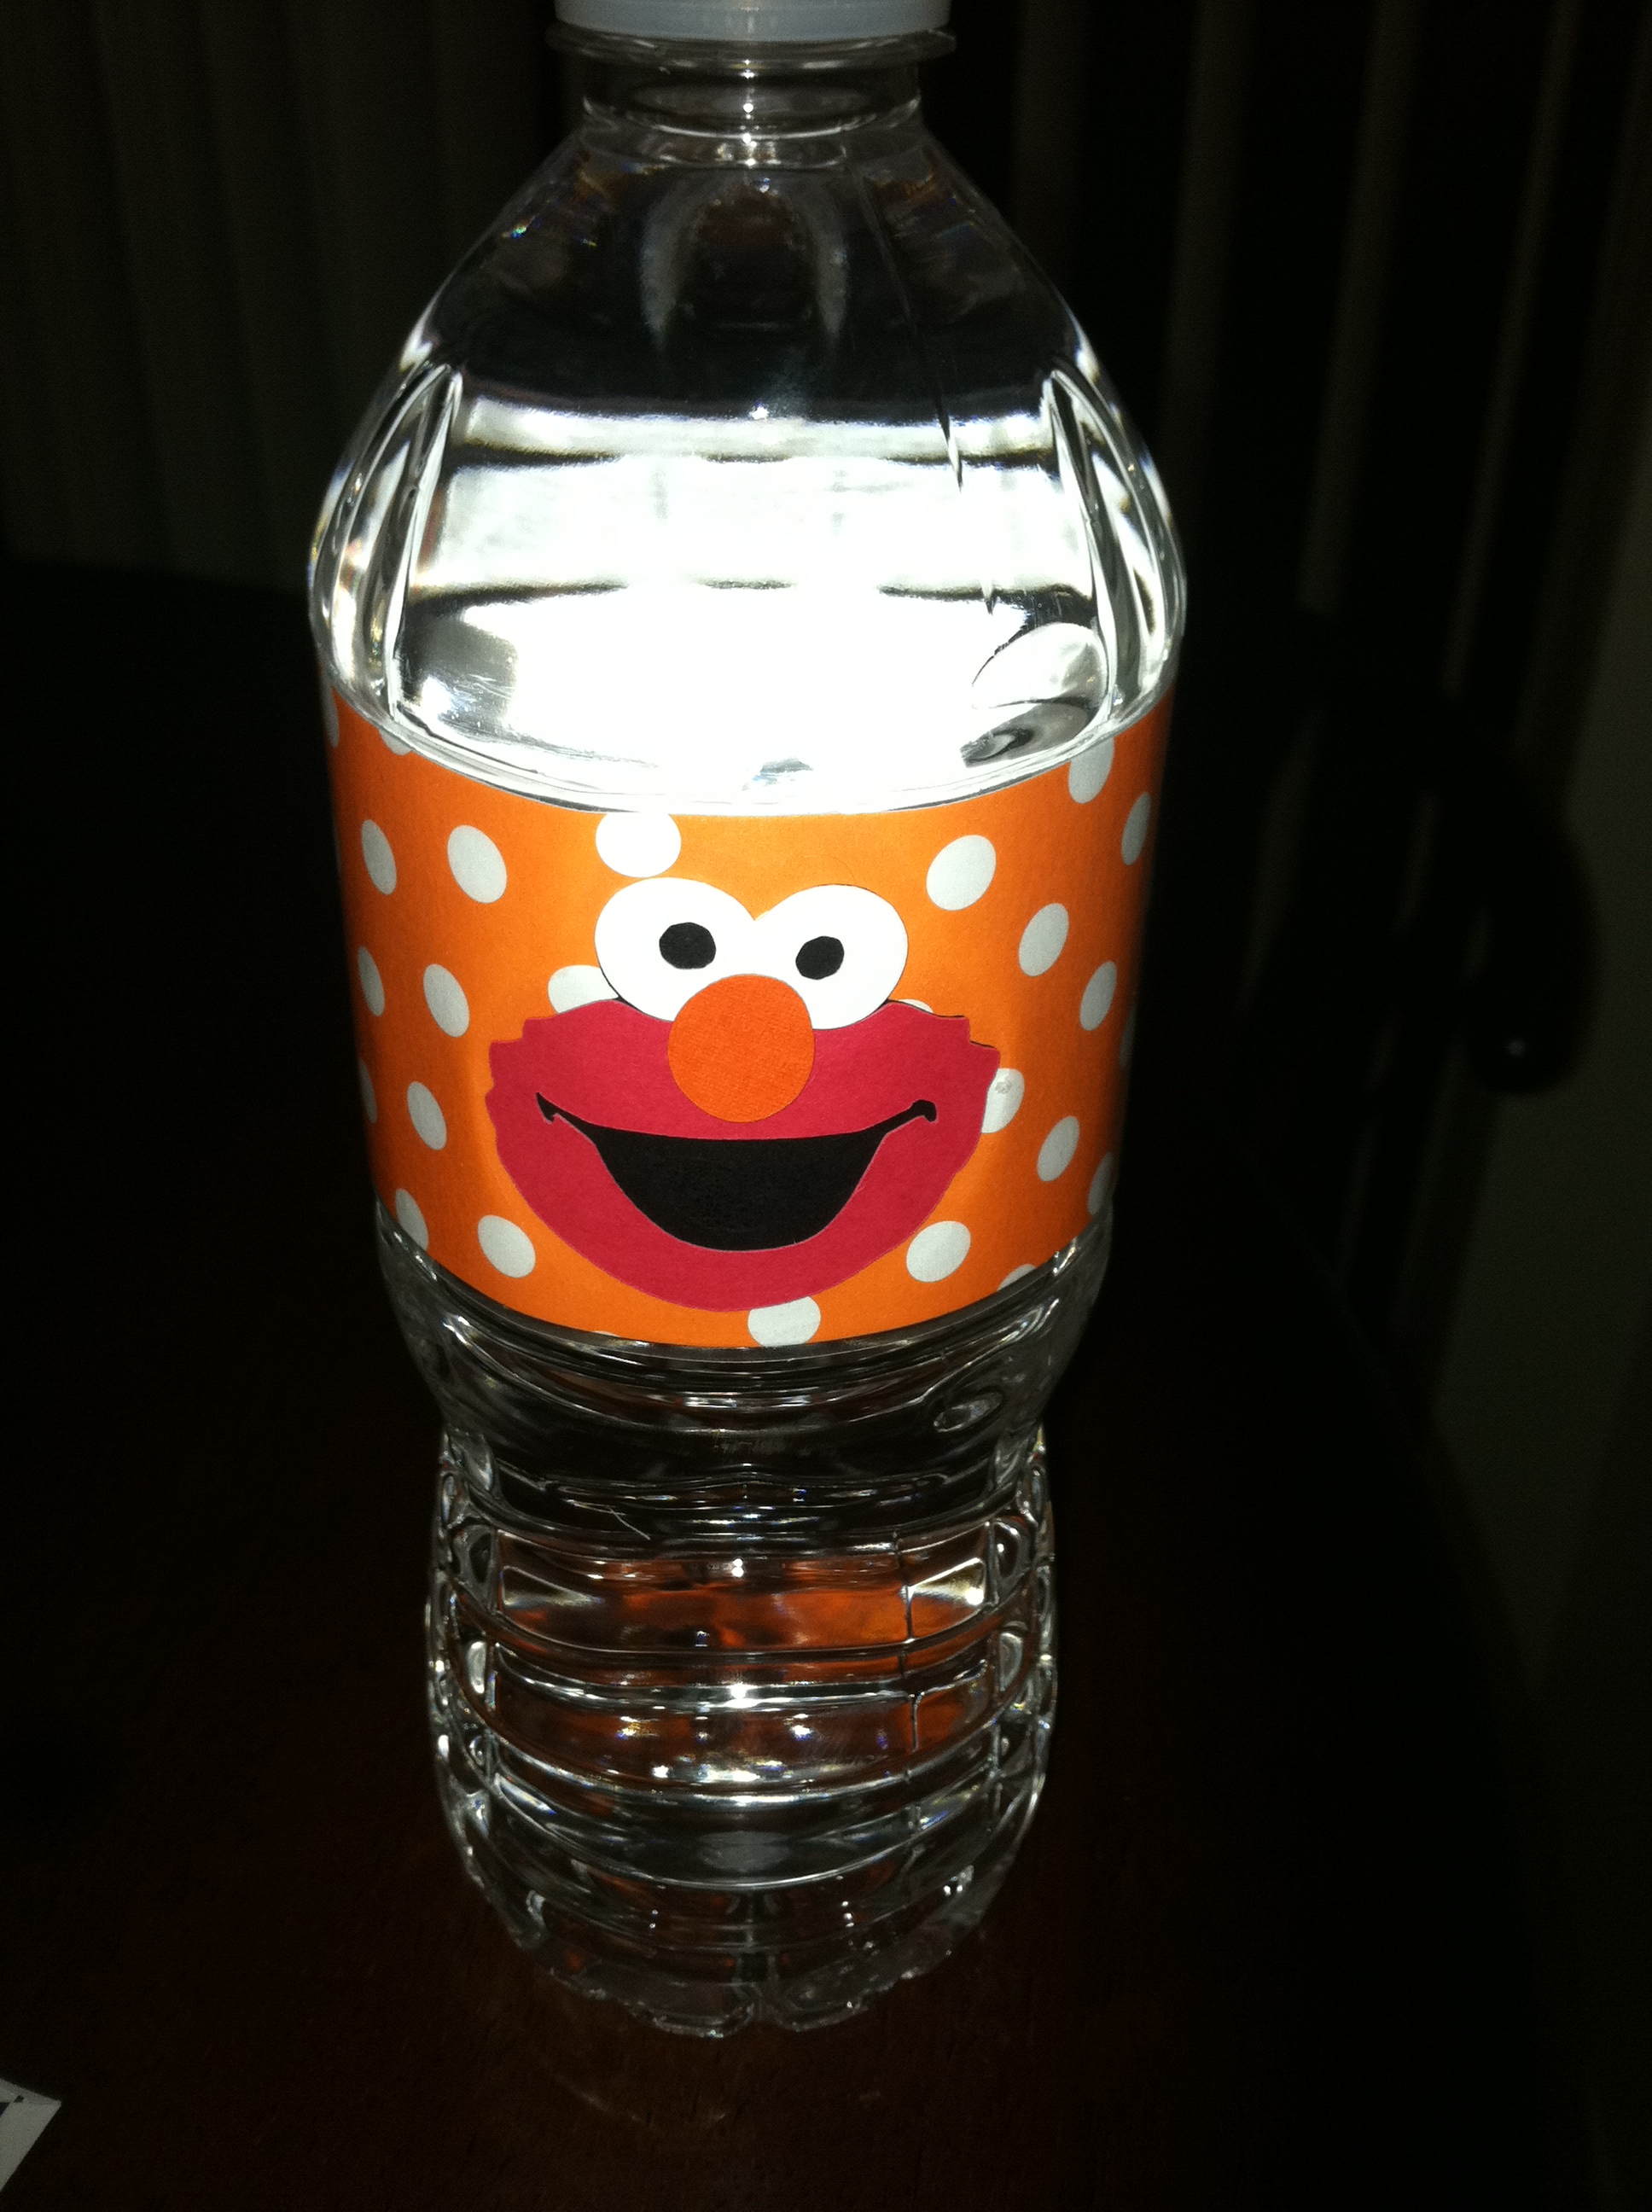
For the Elmo water labels, I took the same paper as I used for the silverware roll ups. I stuck an elmo head on each one and wrapped it around the water bottle using clear packing tape.
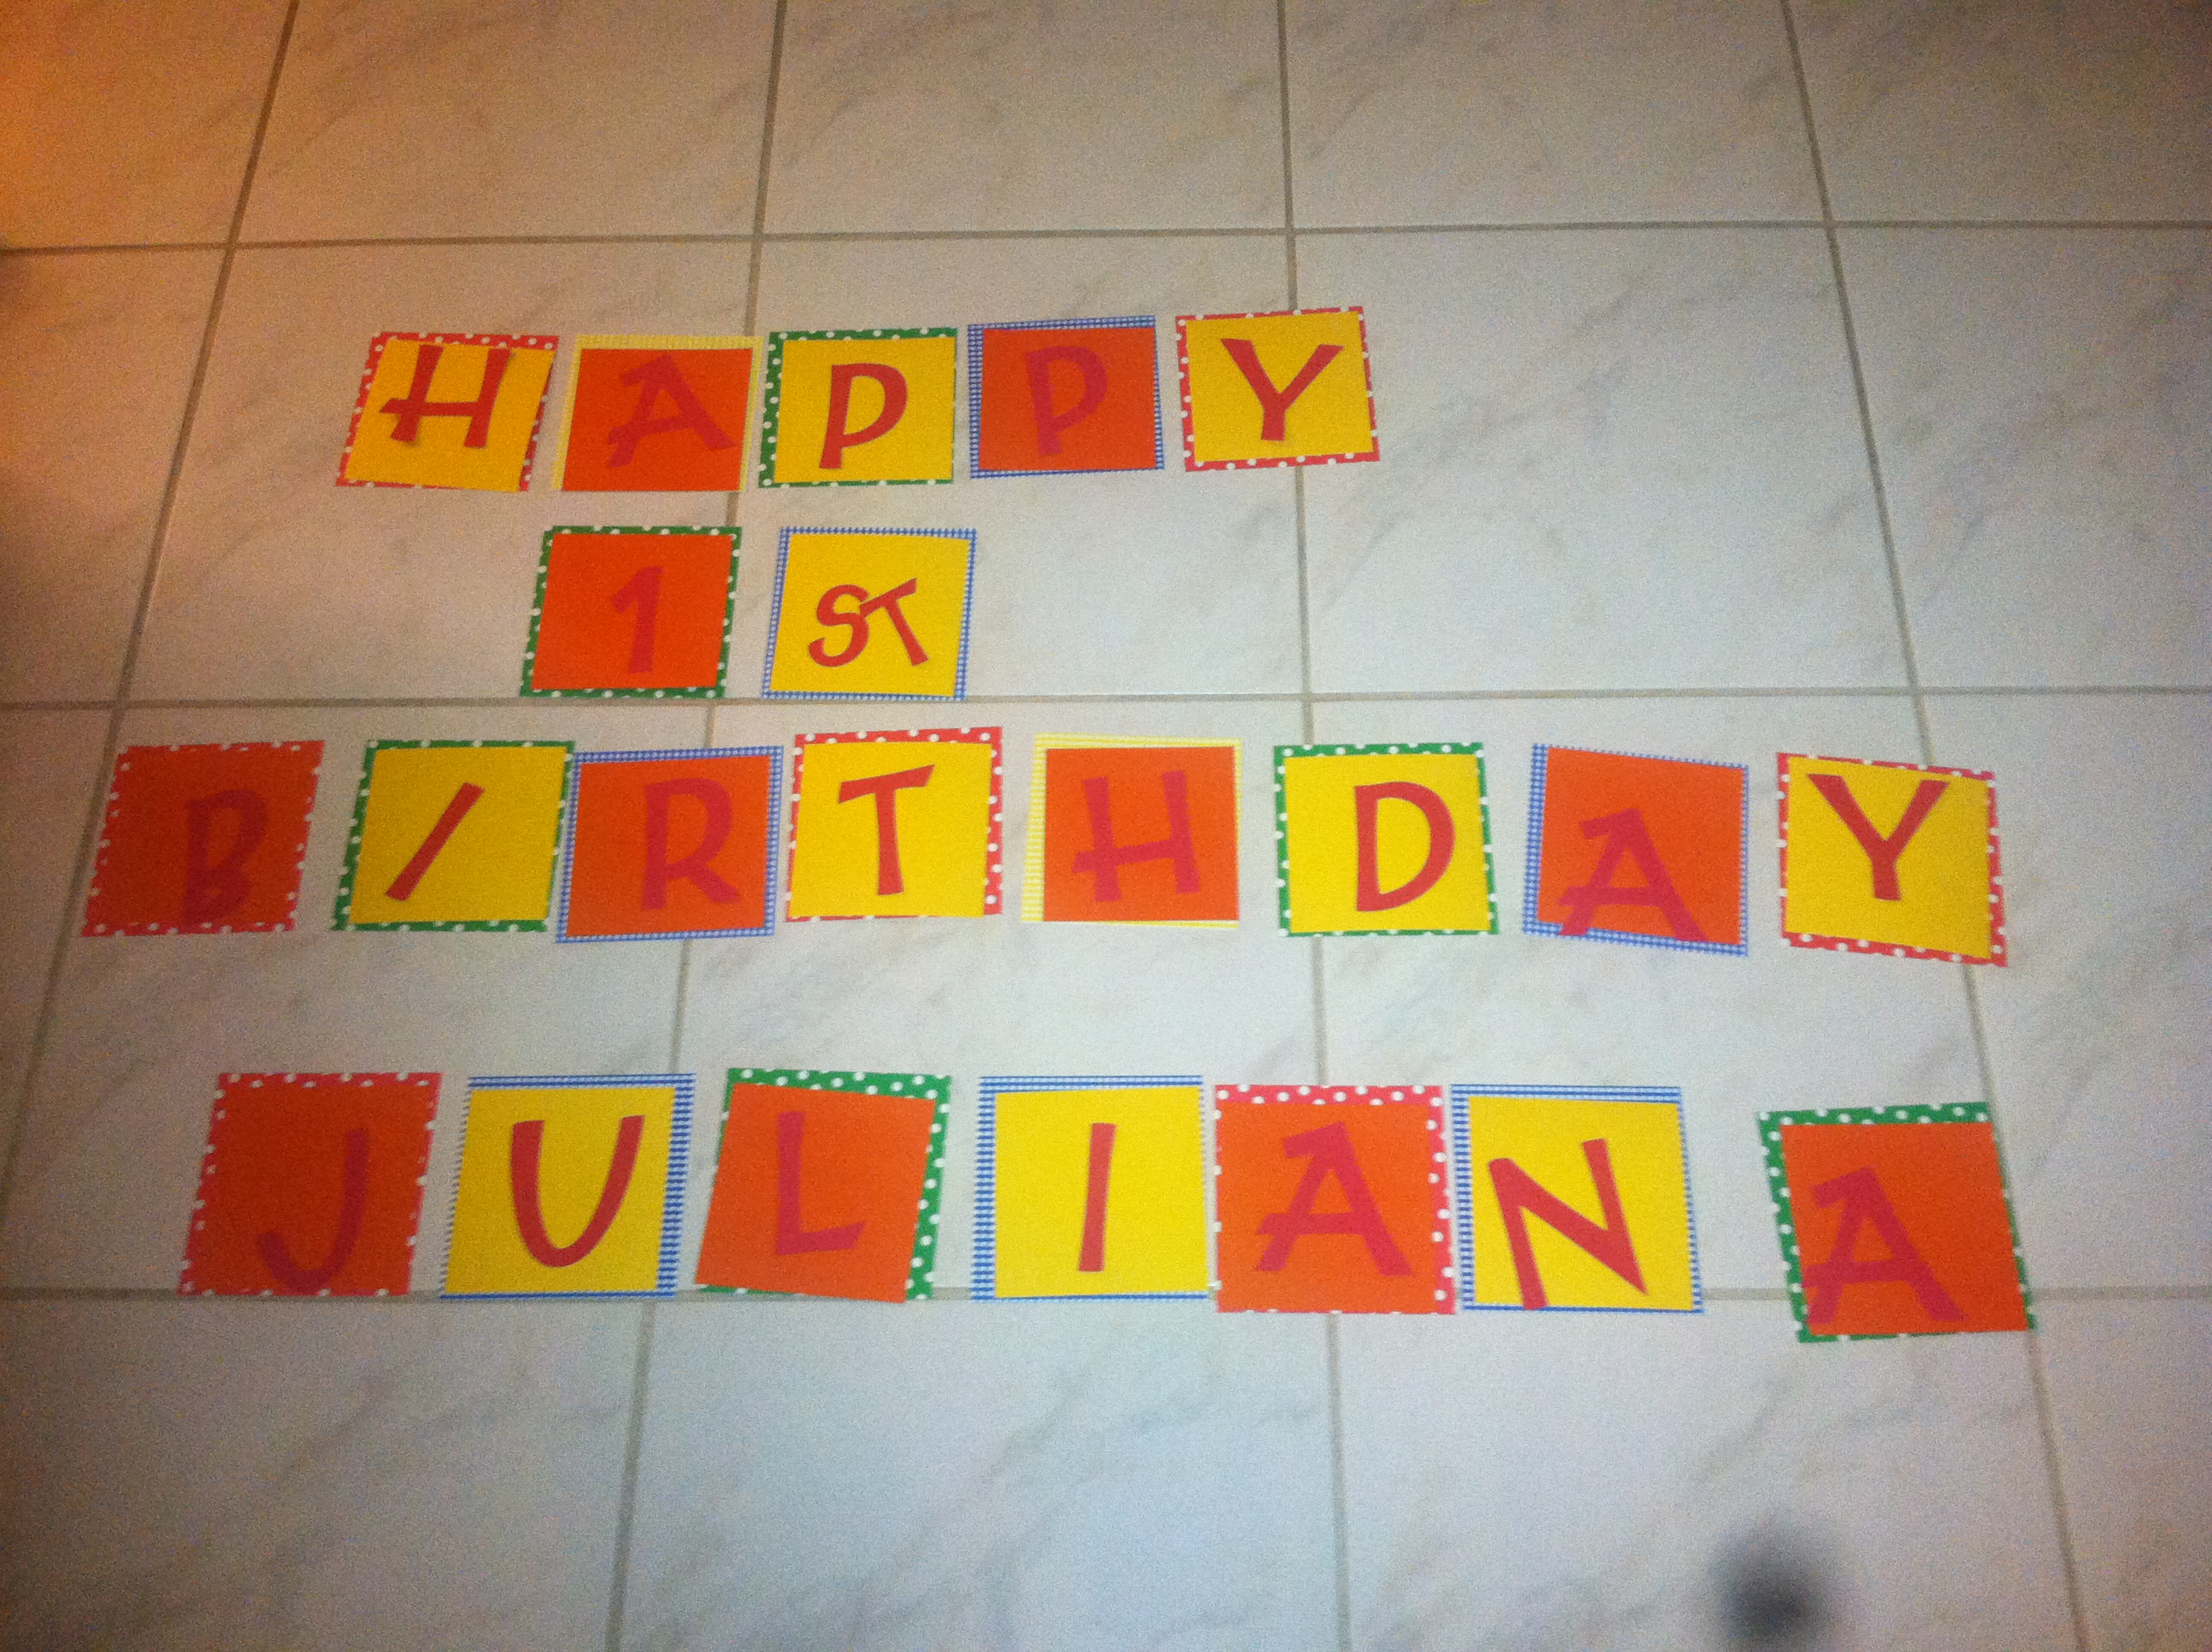
For Mini’s birthday banner I used my cricut to cut out the letters I wanted. I wanted it to look colorful and whimsical, so I used a mix of colored papers and printed papers. I laid it all out on the floor to line it up, punched holes in the top for the ribbon to go through, threaded the ribbon and VIOLA. Easy peasy and super cute!
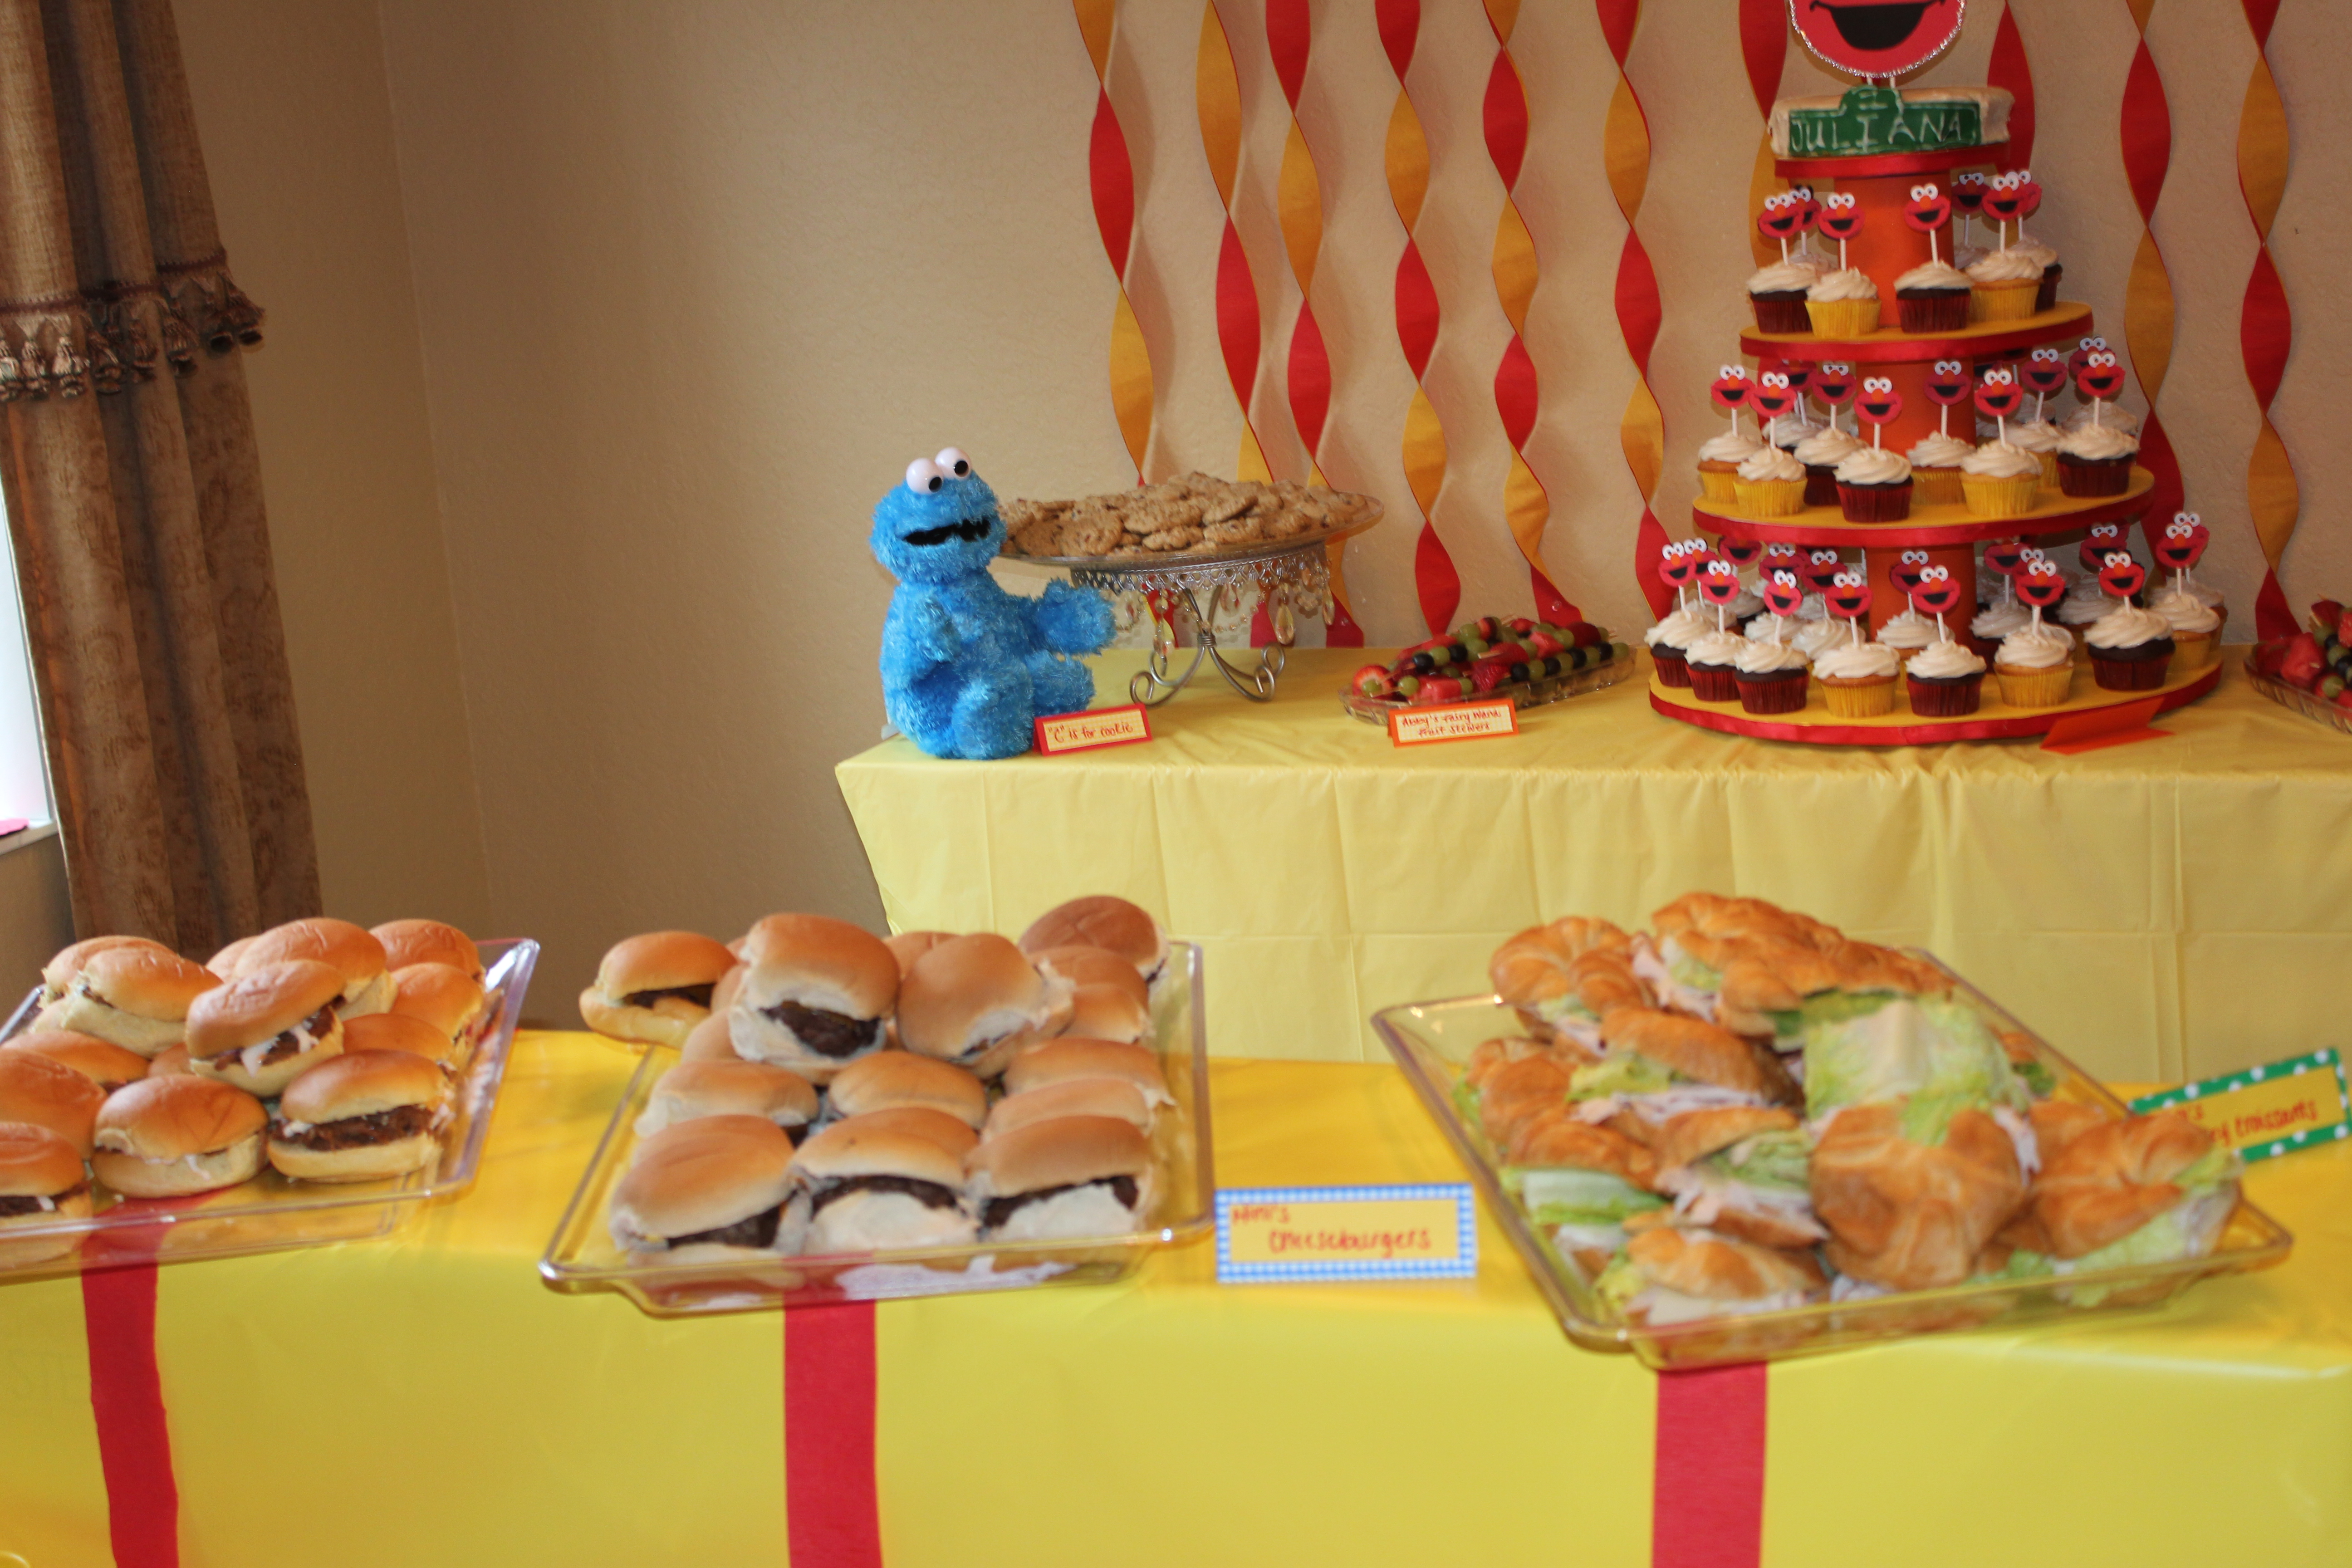
I made this cupcake stand to hold all of the Elmo cupcakes. I placed Mini’s smash cake on the top. For this project I used a Mayo container and other round shaped containers from the recycle bin, foam board, cardstock, ribbon and hot glue. It’s pretty self explanatory but if you want full directions, just let me know! 🙂 This looked adorable on the dessert table as the centerpiece.

And now that you saw all the little DIY projects that went into this party…here are some party pics!
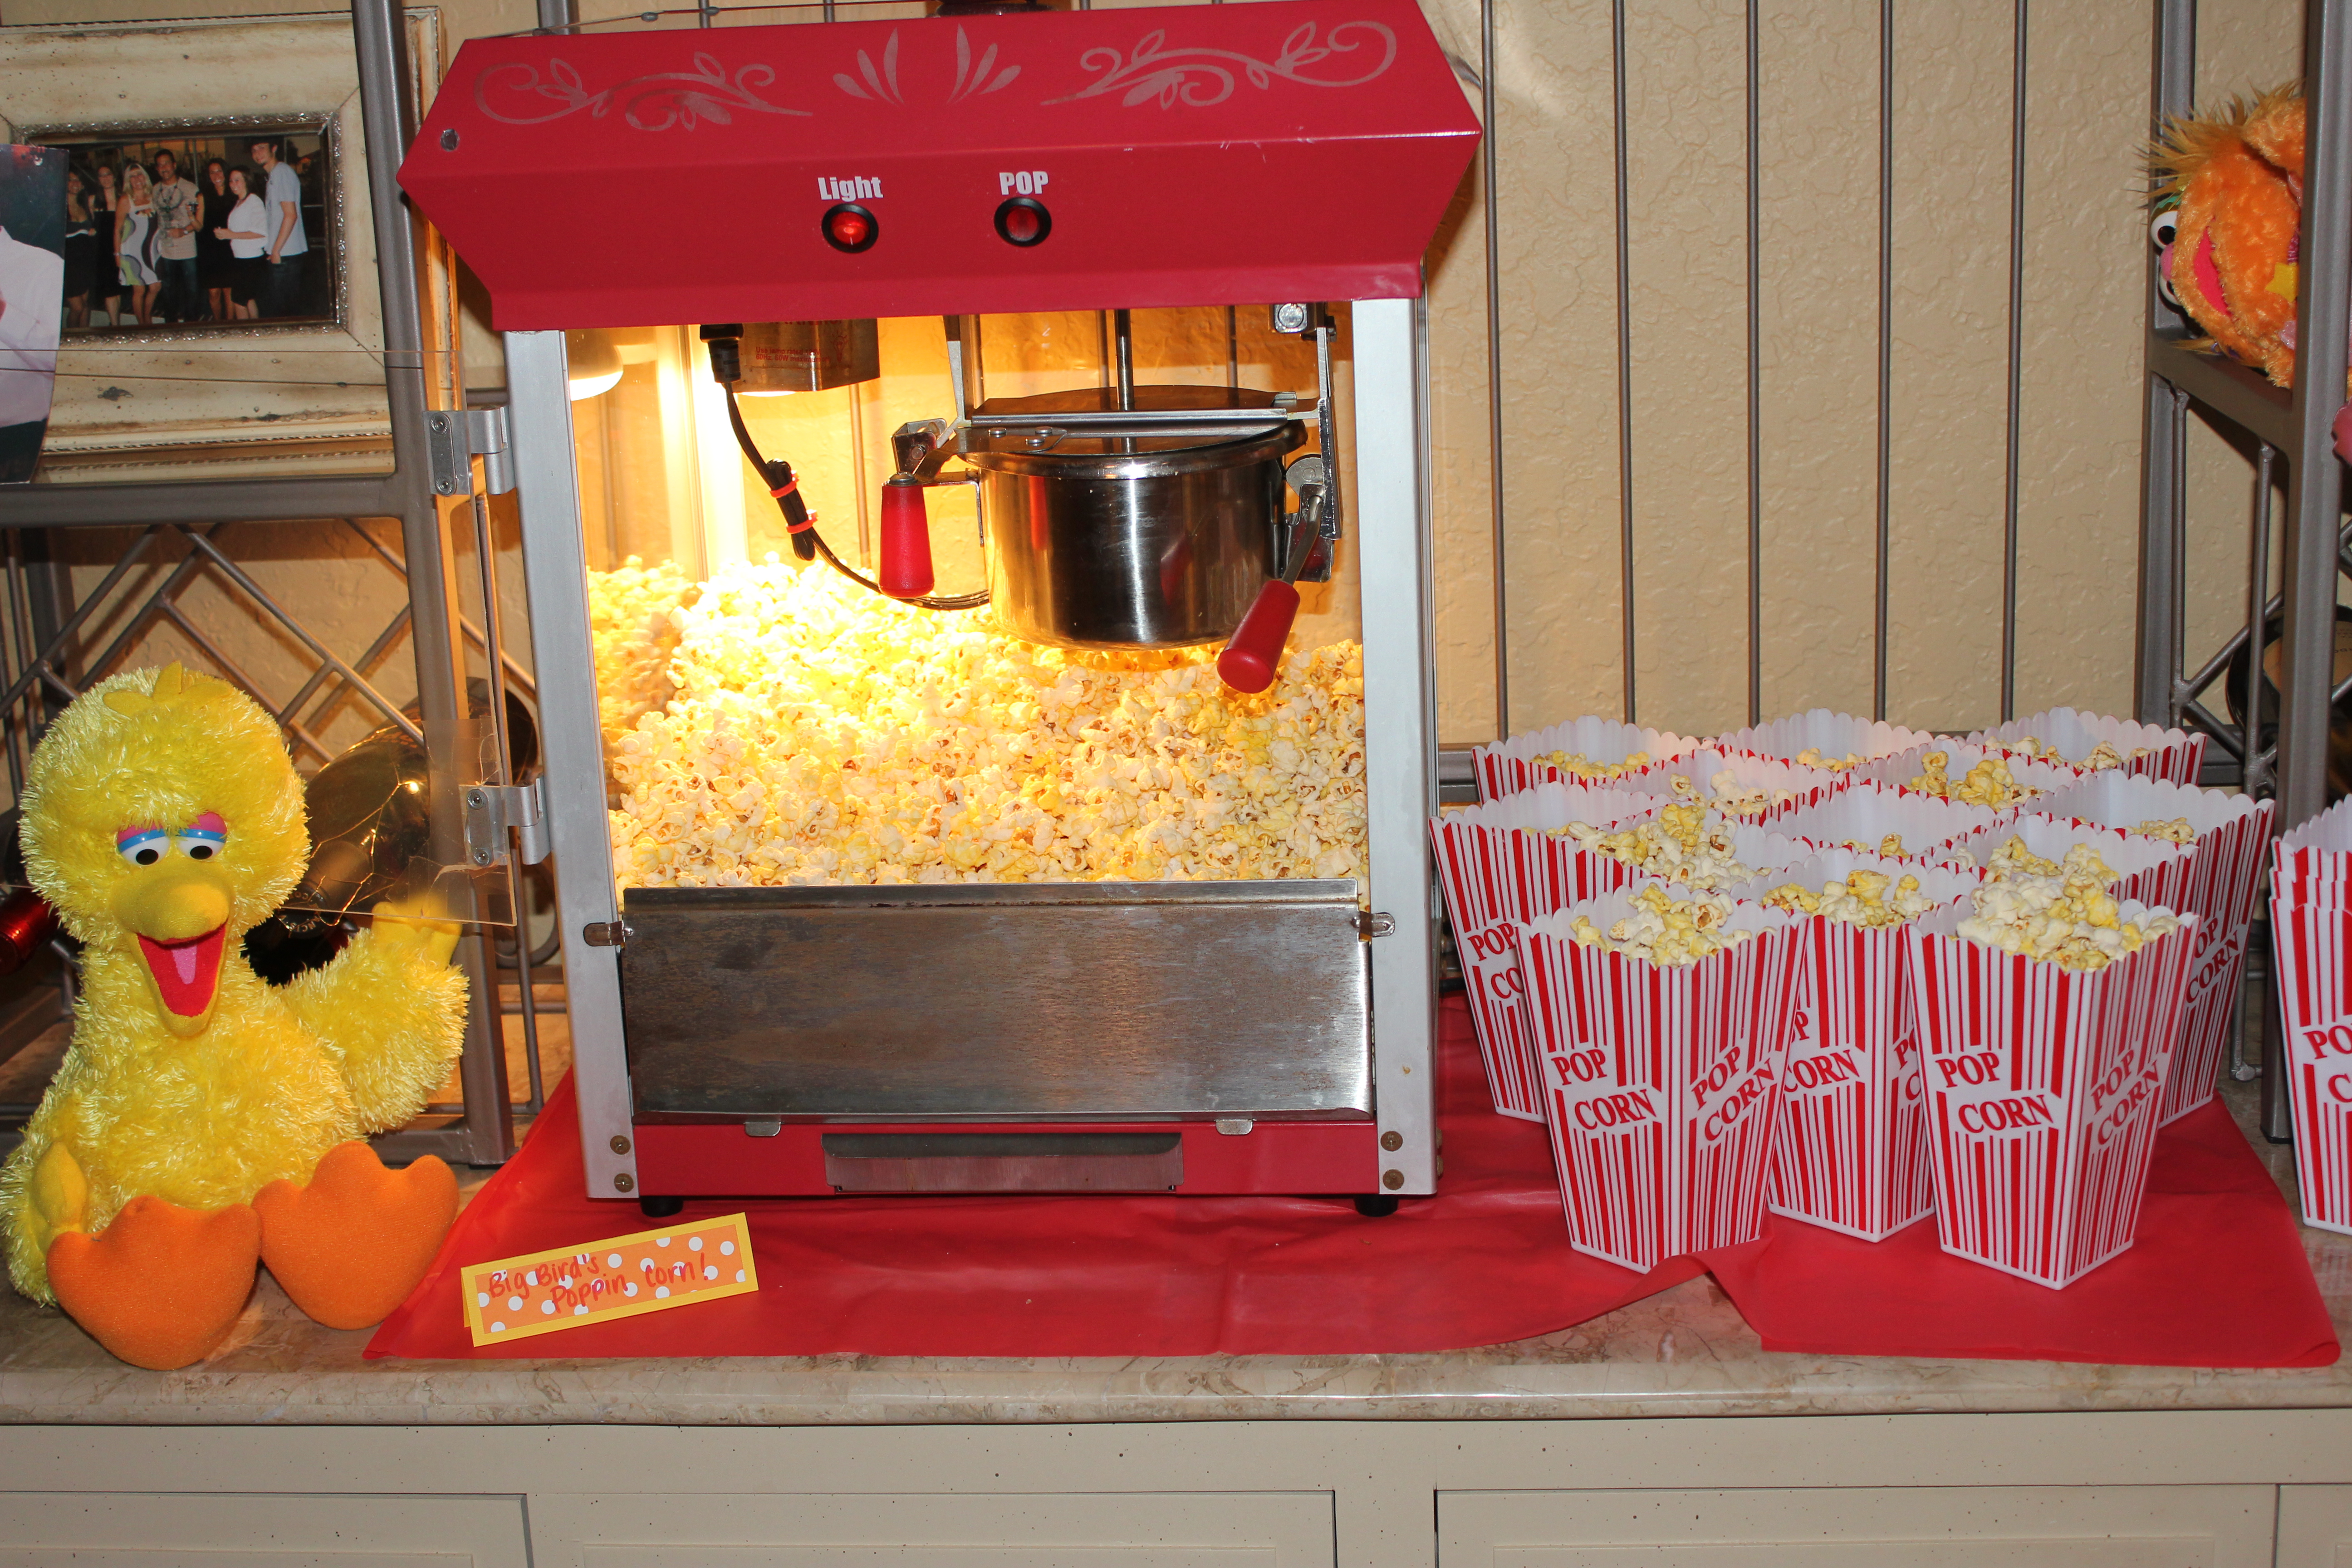
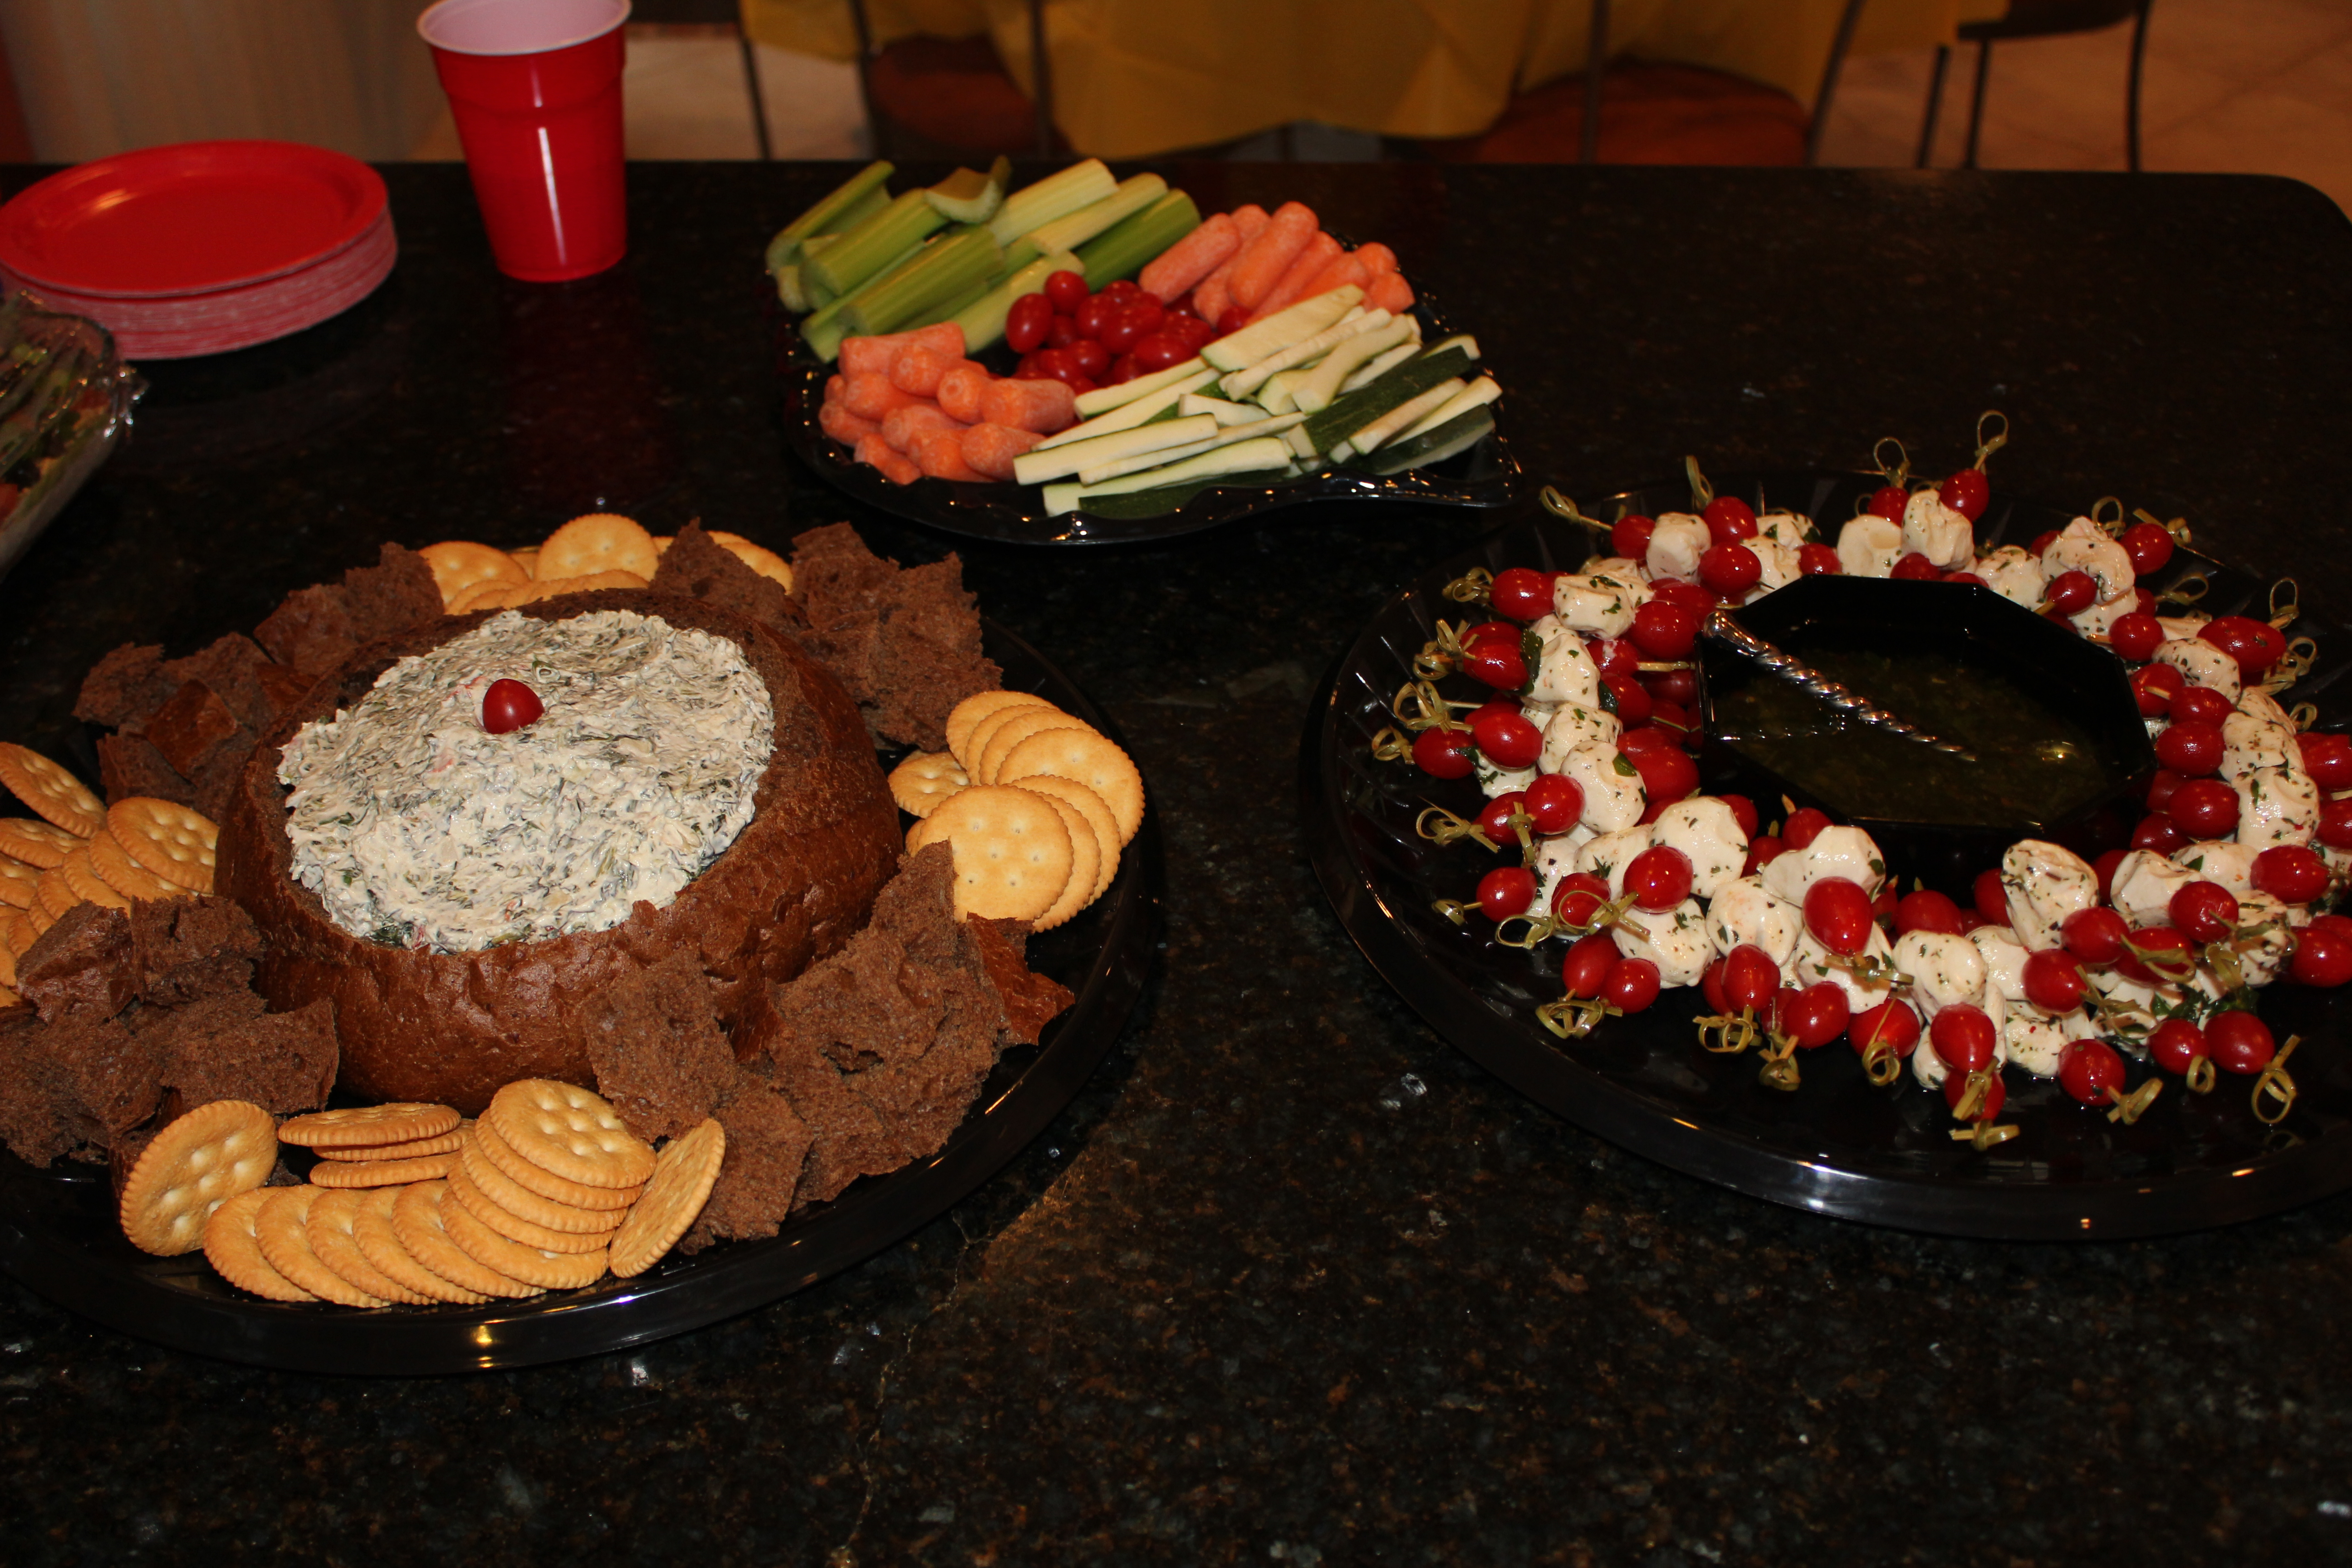


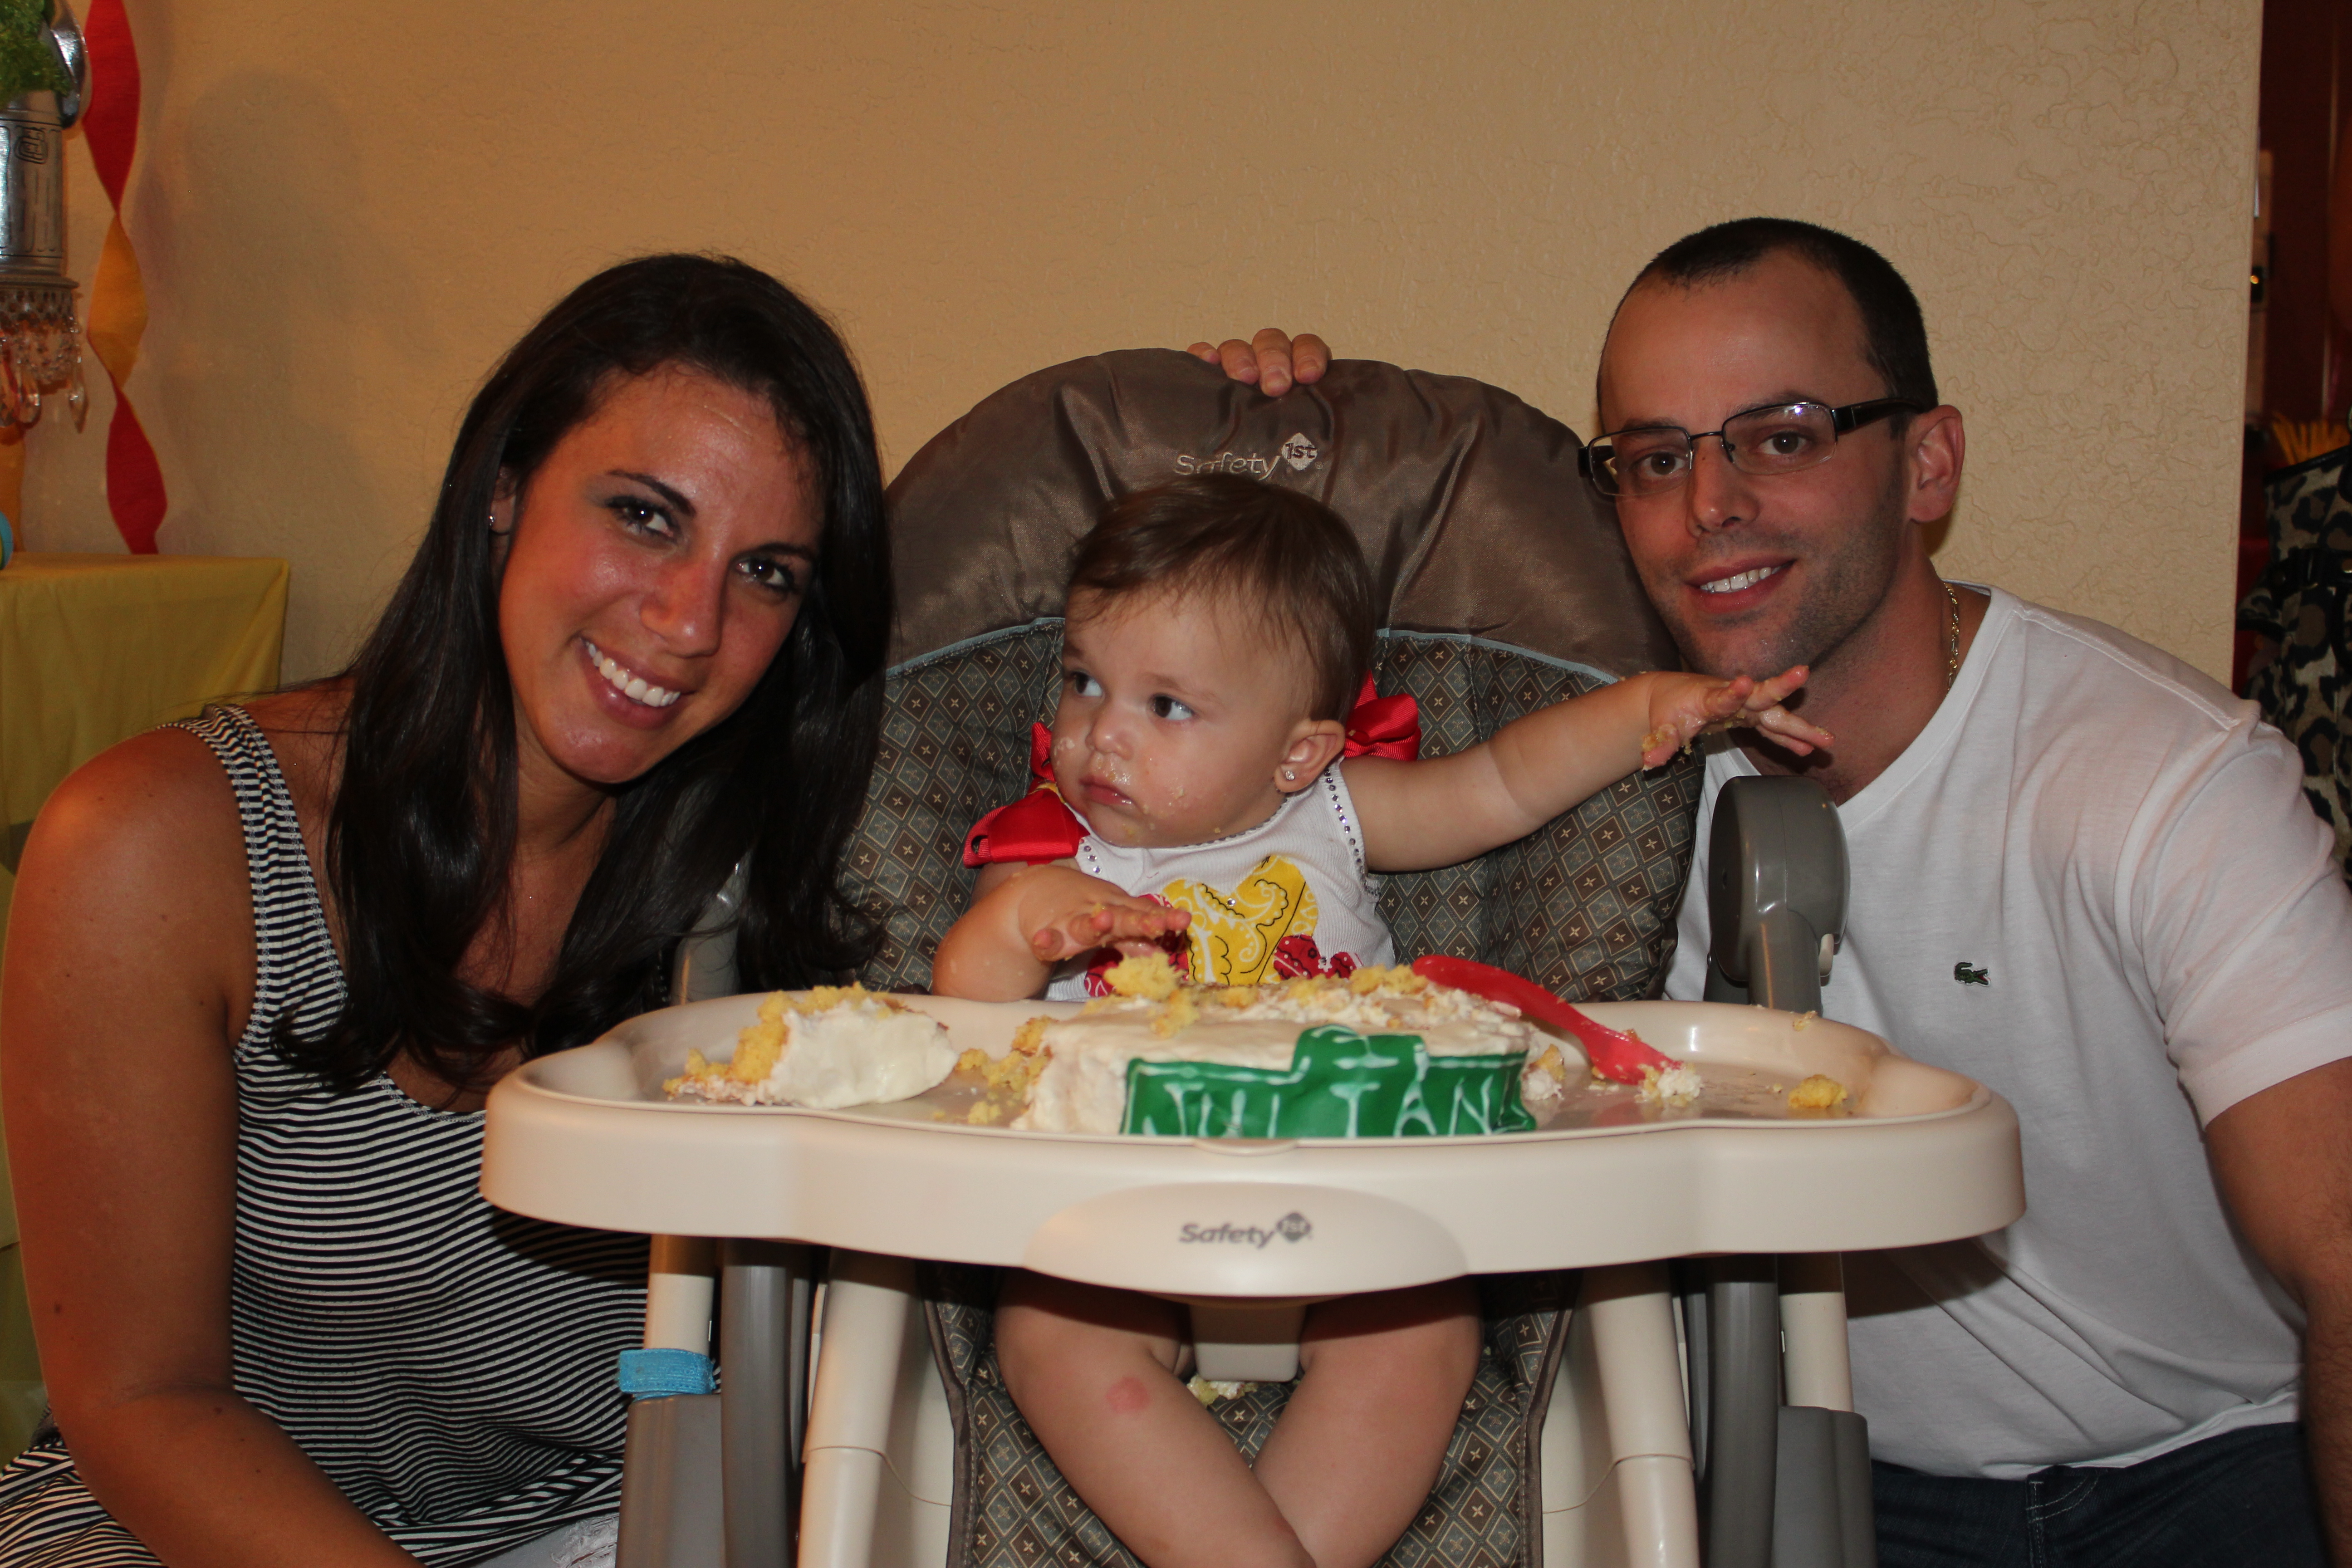
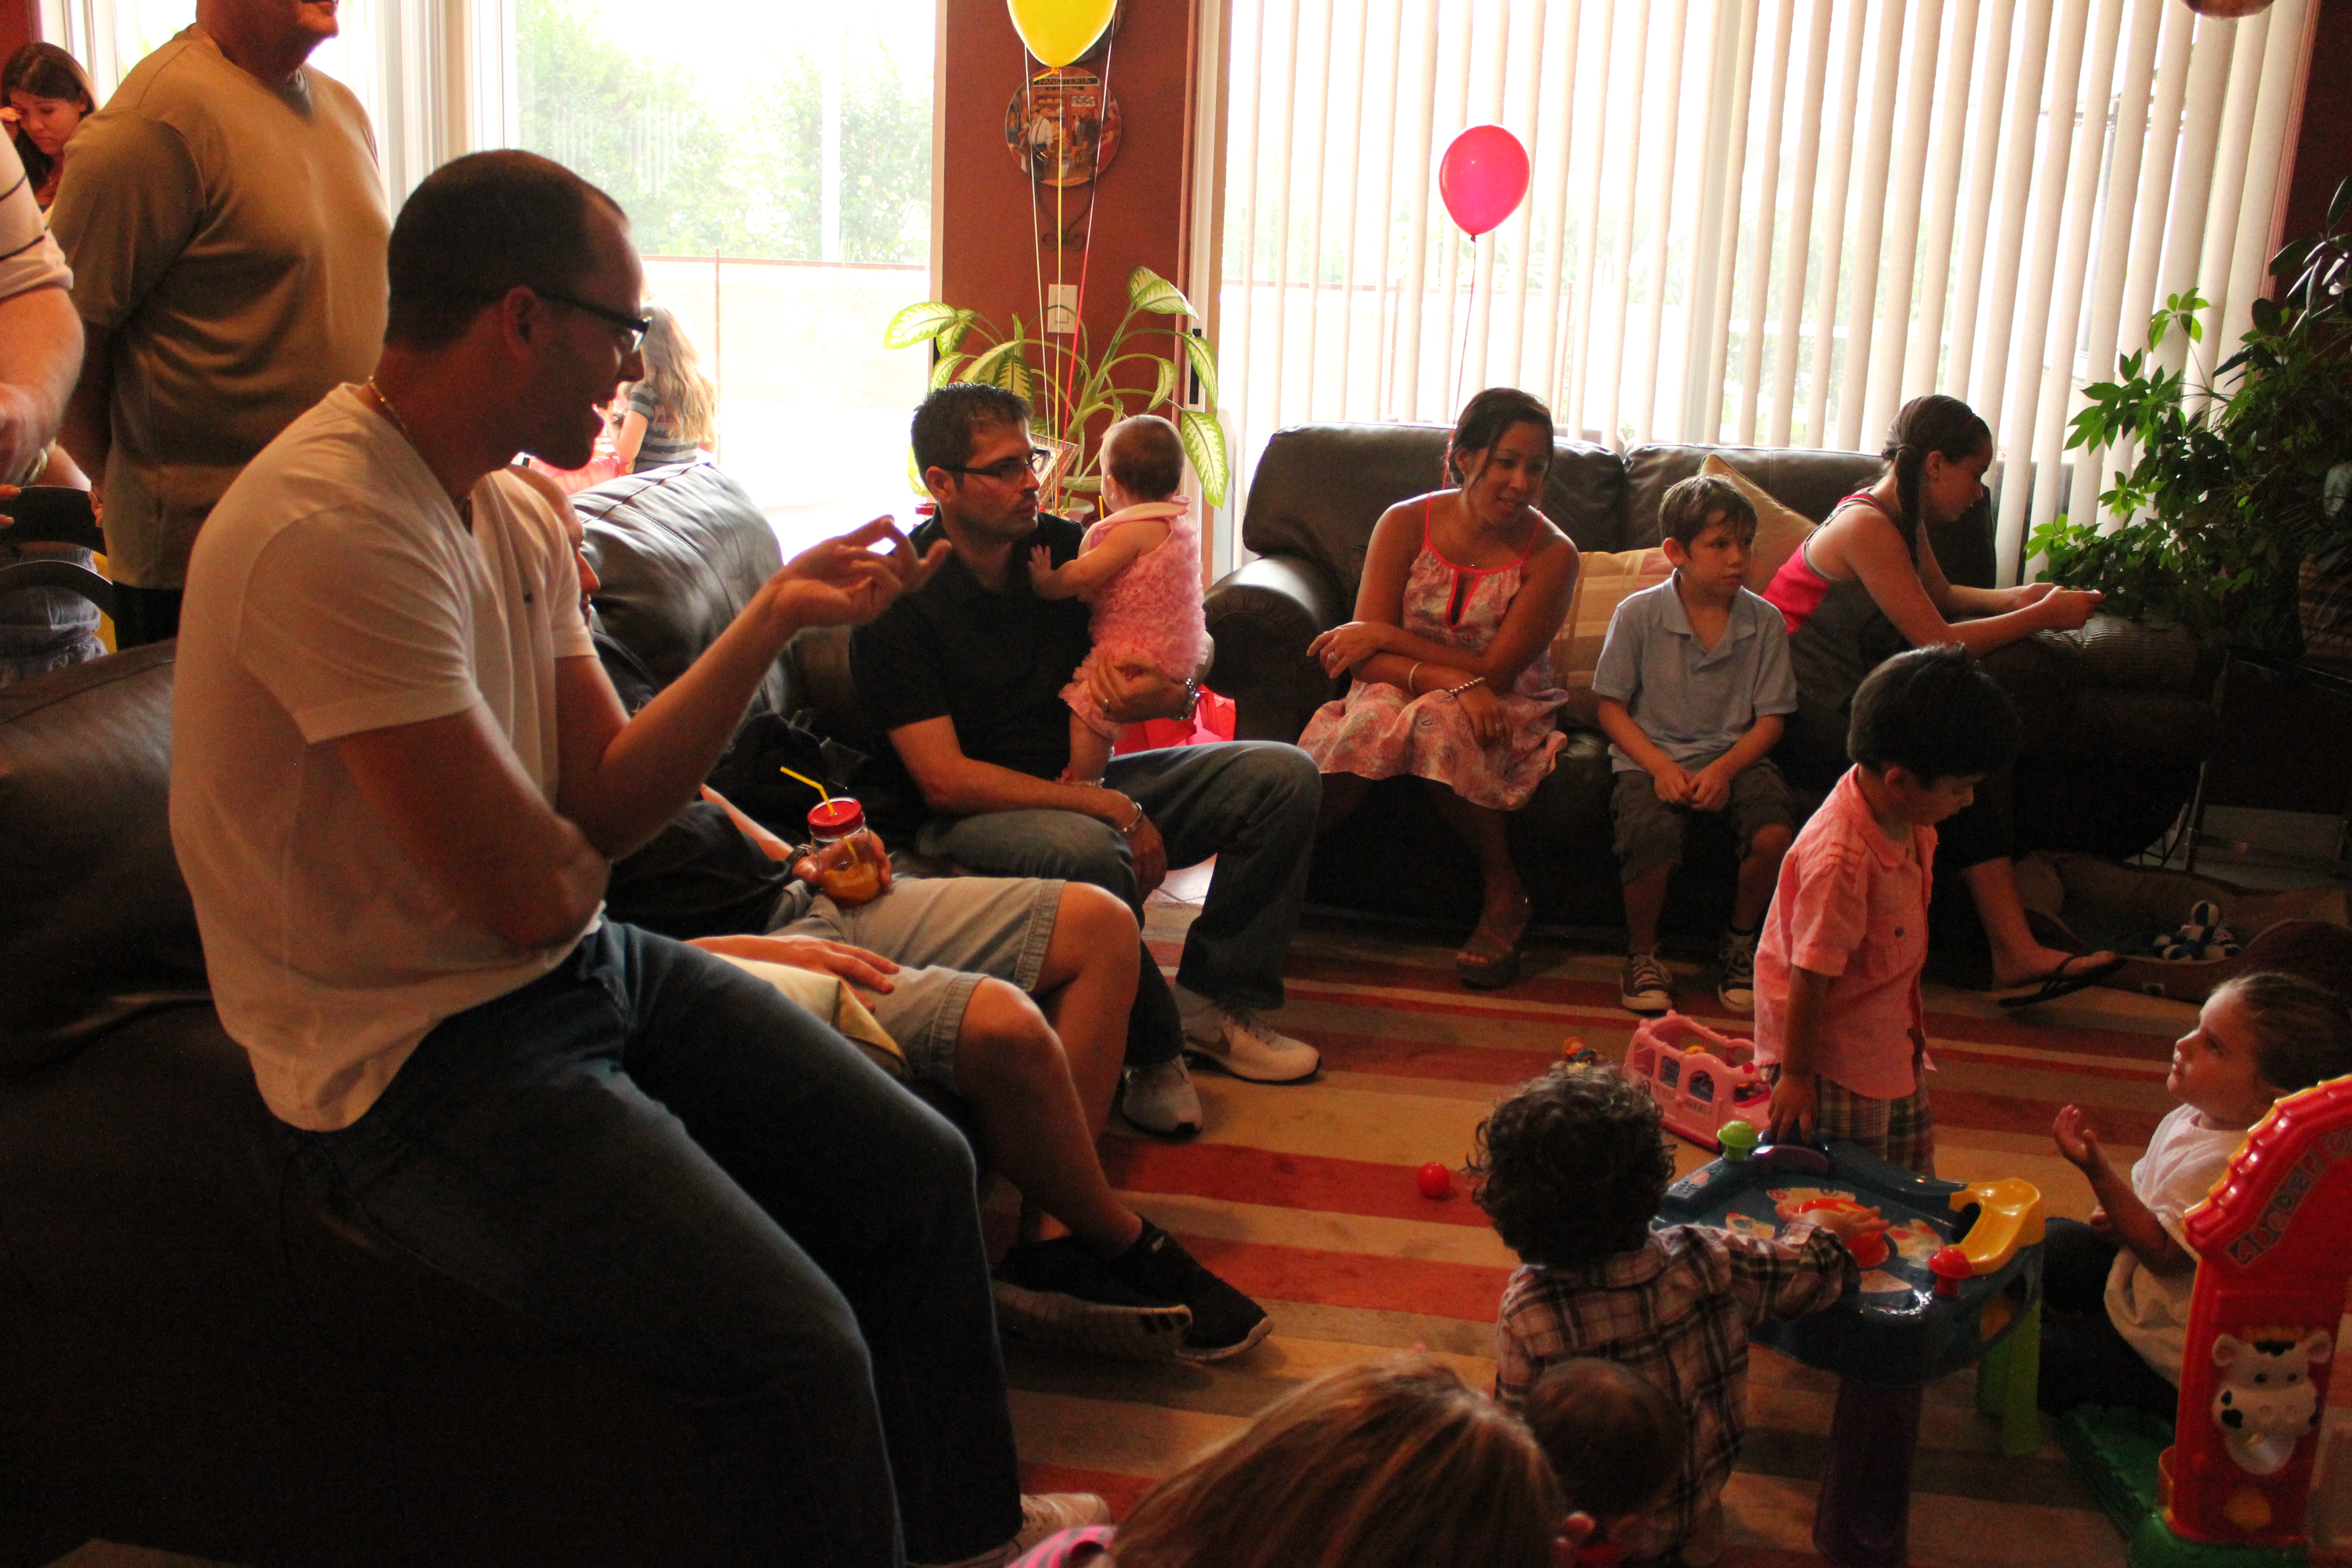


Her party was a total success! I cannot wait to celebrate her 2nd birthday in just a few short weeks! I will most likely be spending all the days leading up to this party with my hot glue gun in hand. Wish me luck….
With Mike working in the restaurant business and all sorts of long hours, I am on my own for dinner a few nights a week. It is super easy and delicious to eat pizza on the couch in my pajamas, but it can’t be good to do that all the time. Just ask the 10 stubborn lbs that are hanging onto my butt cheeks for dear life. It is not good to do that all the time.
However, it is hard to get into the mood to prepare and cook and entire meal for just one person. It seems like a lot of work when you can just throw something in the microwave or eat chips and salsa for dinner.
I decided it was time to get more prepared for cooking for one. If I streamline it and make it easy…maybe it won’t be such a chore.
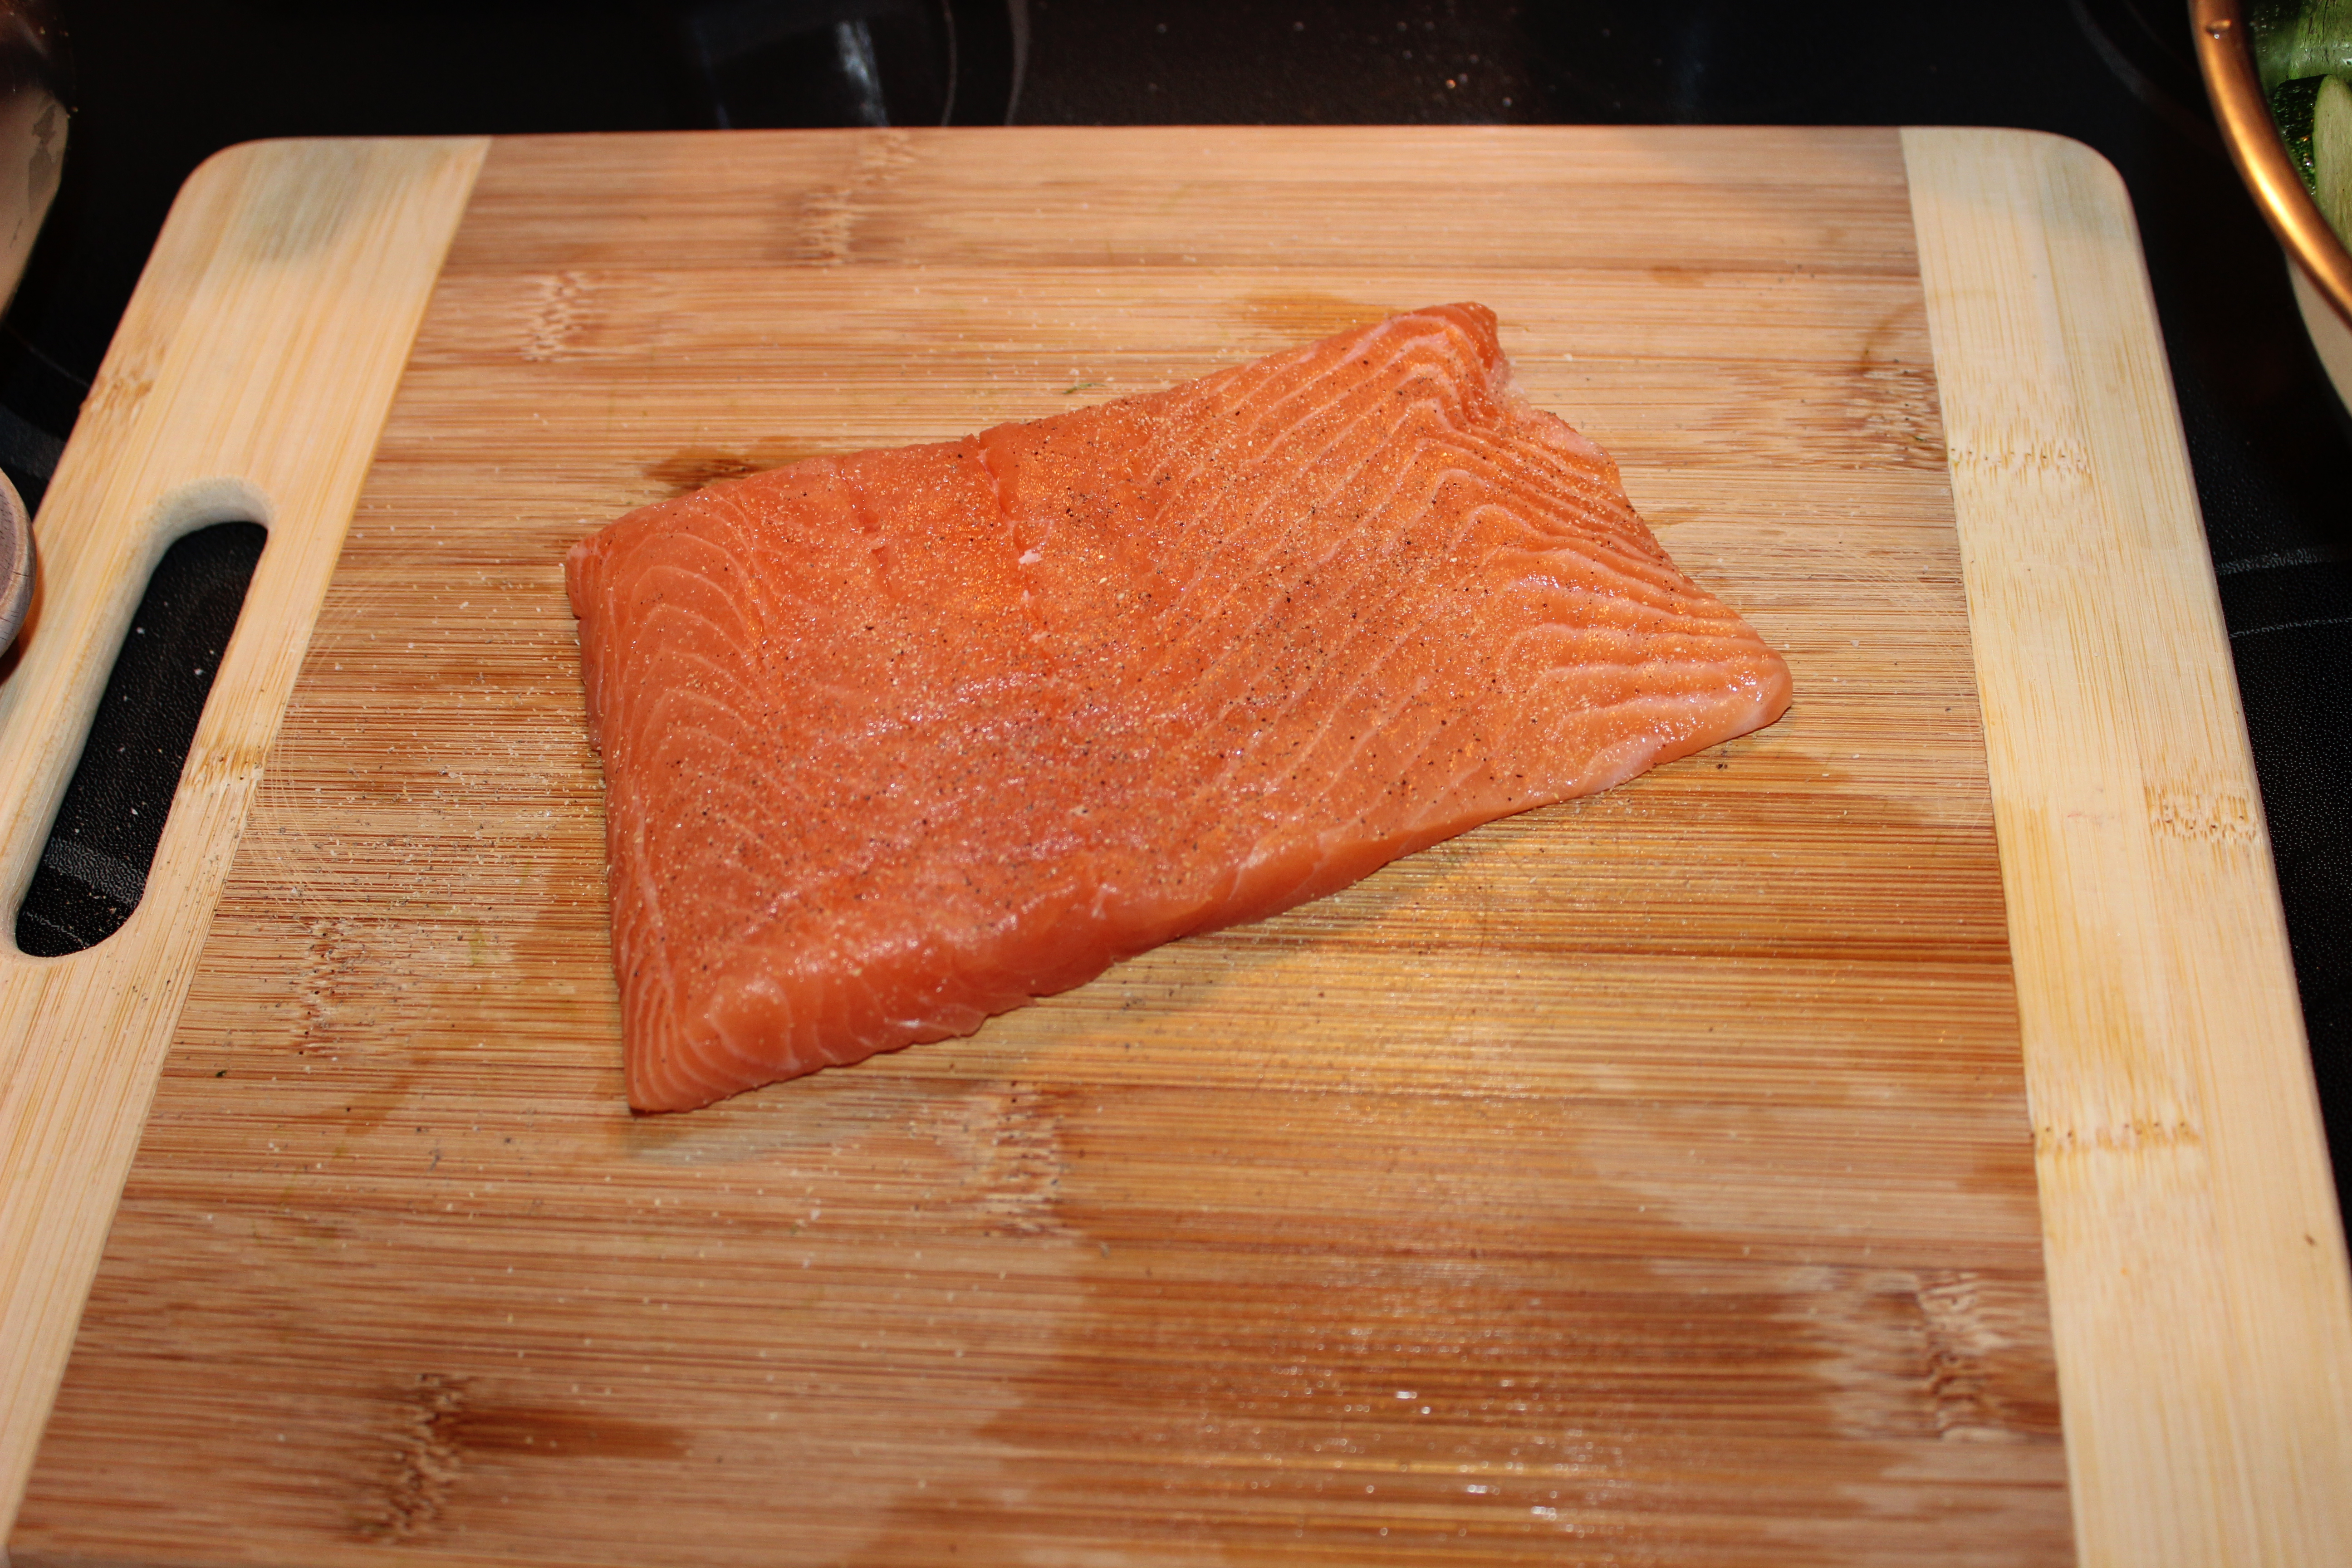
I went to Costco and bought the big slab of salmon. You know the one I’m talking about. The 2.5 pounder. We ate it for dinner one night and then I cut the rest into 6-8oz pieces to be frozen individually. I wrapped each piece in saran wrap and then placed all the wrapped salmon fillets into a large freezer bag. Then when I was thinking about what to make for dinner, I took out 1 piece of salmon to defrost. Easy peasy.

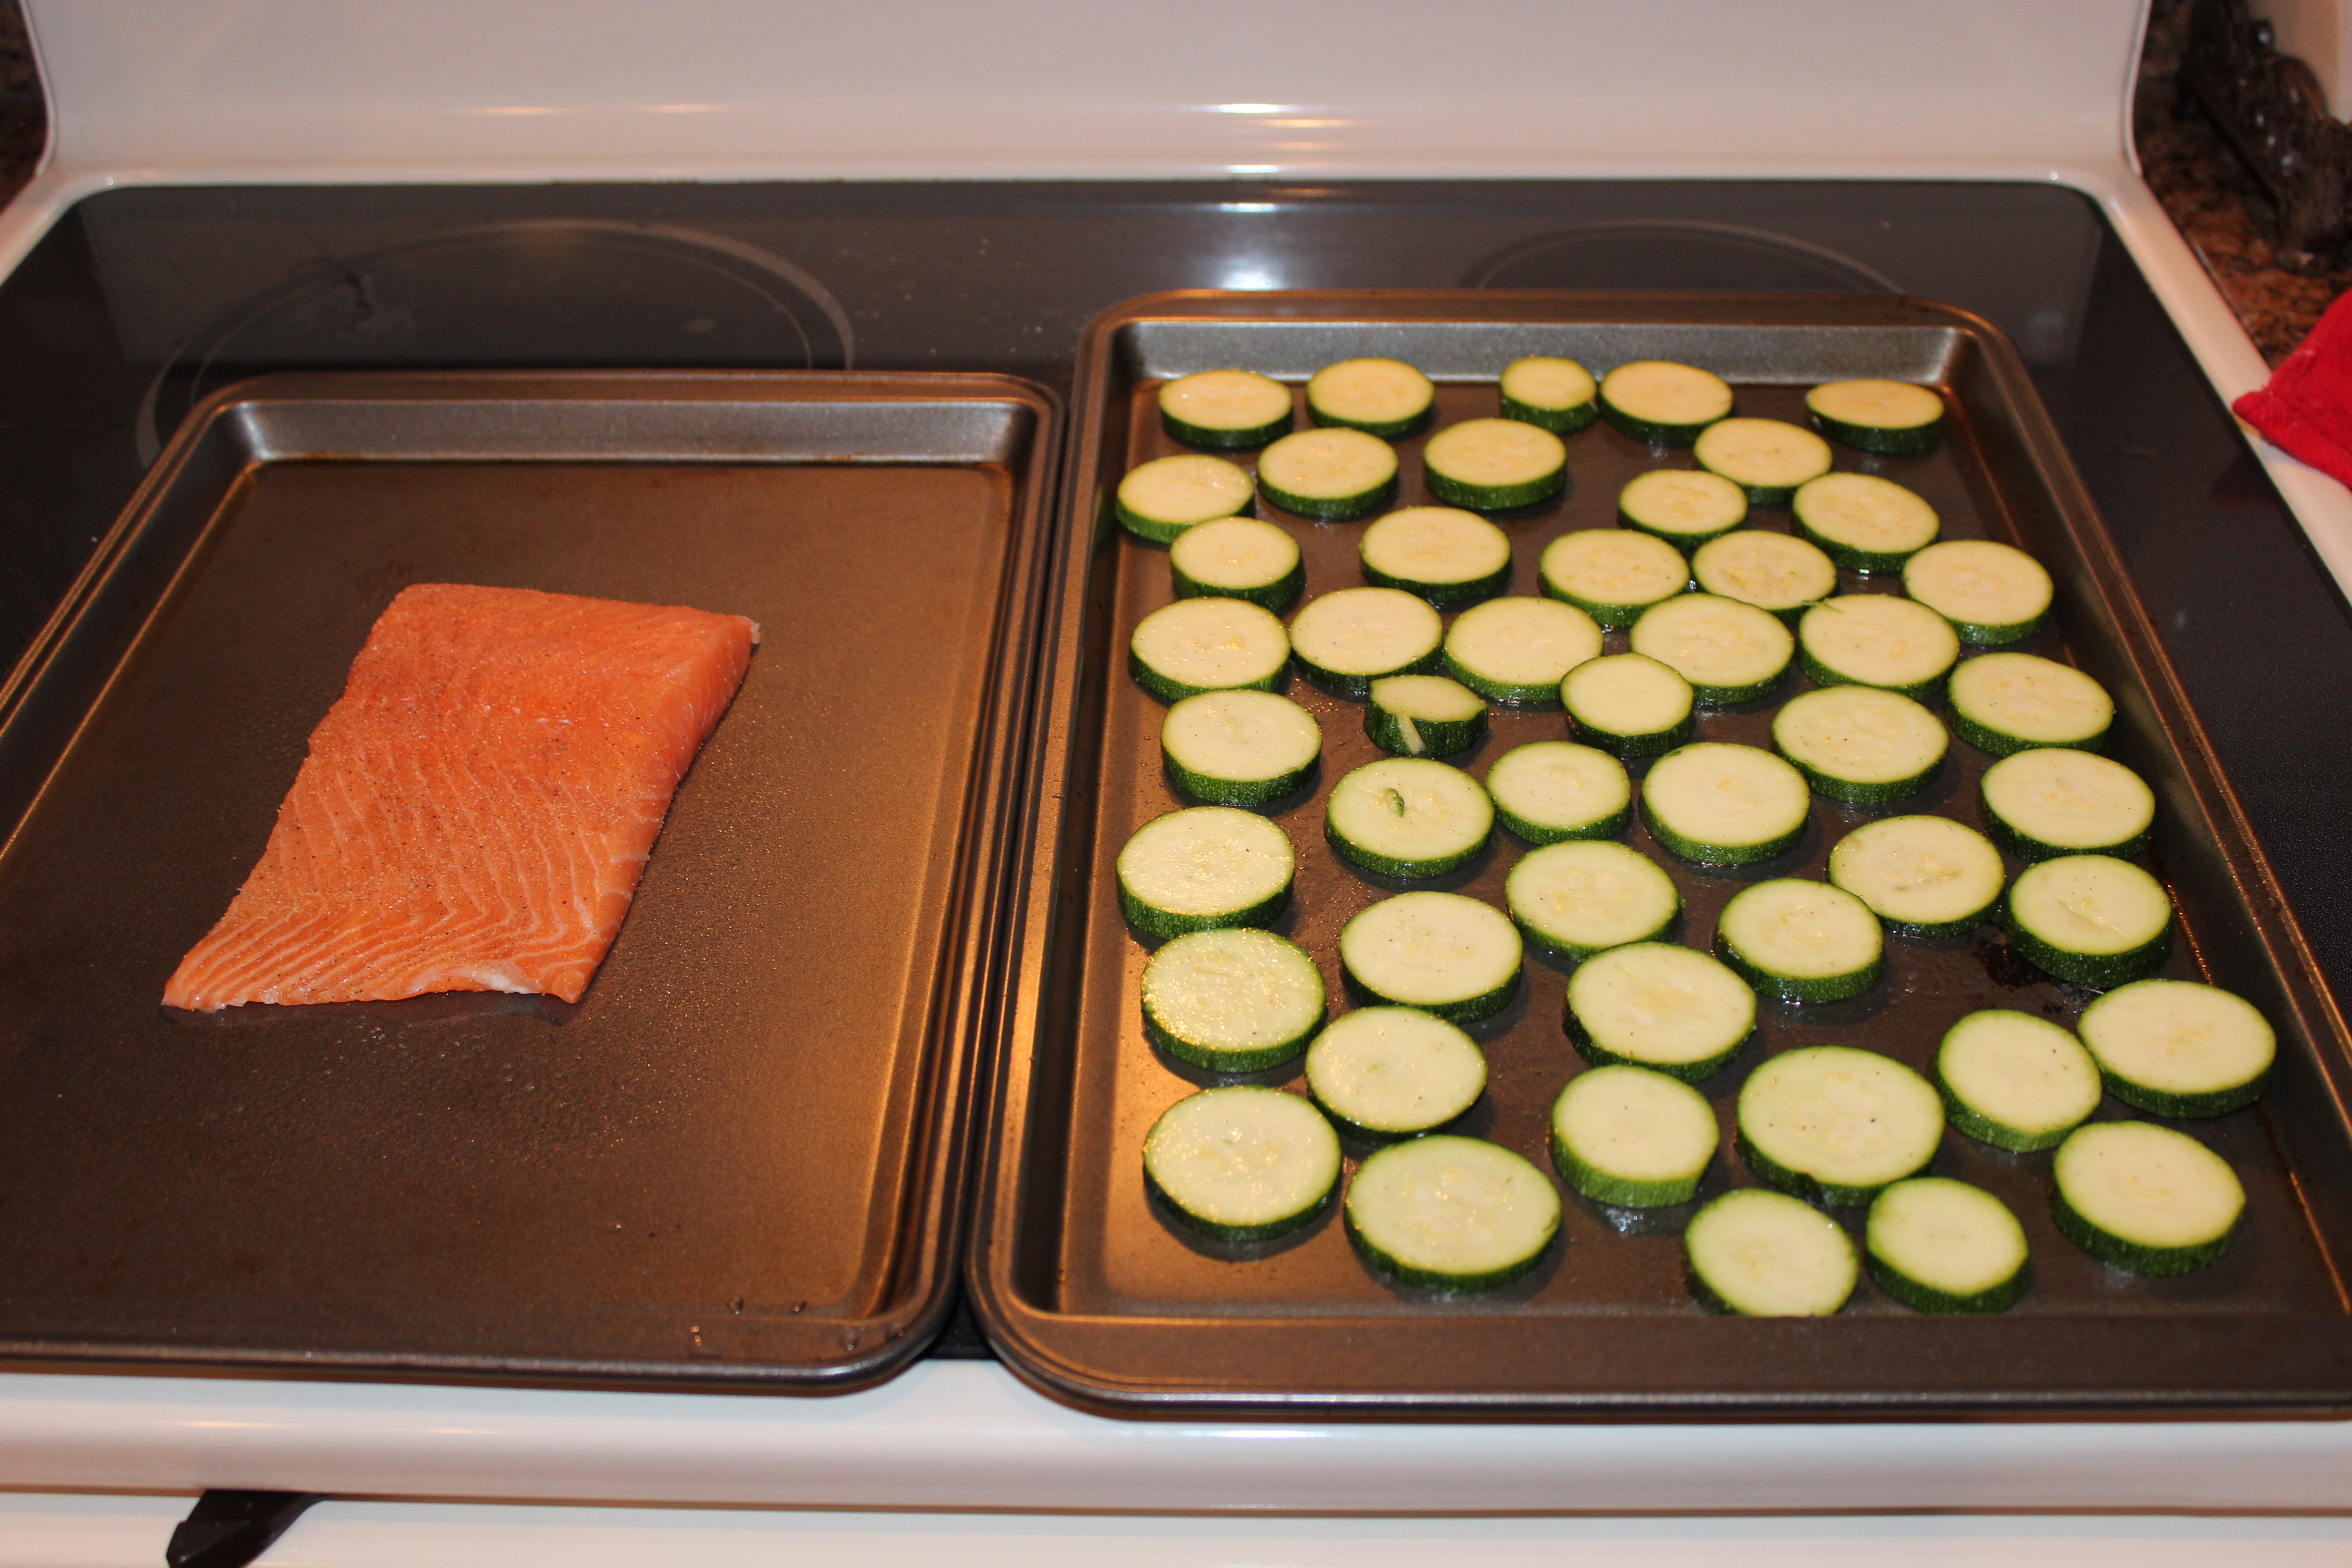
Once the salmon was defrosted I seasoned it a little bit. I like it pretty plain, so salt, pepper and garlic powder did it for me. I seasoned both sides and put it on a baking sheet sprayed with Pam.
In the meantime, I got started on the zucchini. I sliced 2 zucchini’s about a 1/4 inch thick. Placed them in a bowl with salt, pepper and garlic powder (now you know my favorite seasonings..) and sprayed them with olive oil. Yes, sprayed. Because to pour the olive oil will make them so damn greasy and it really isn’t necessary. I keep a spray bottle full of olive oil with my spices.
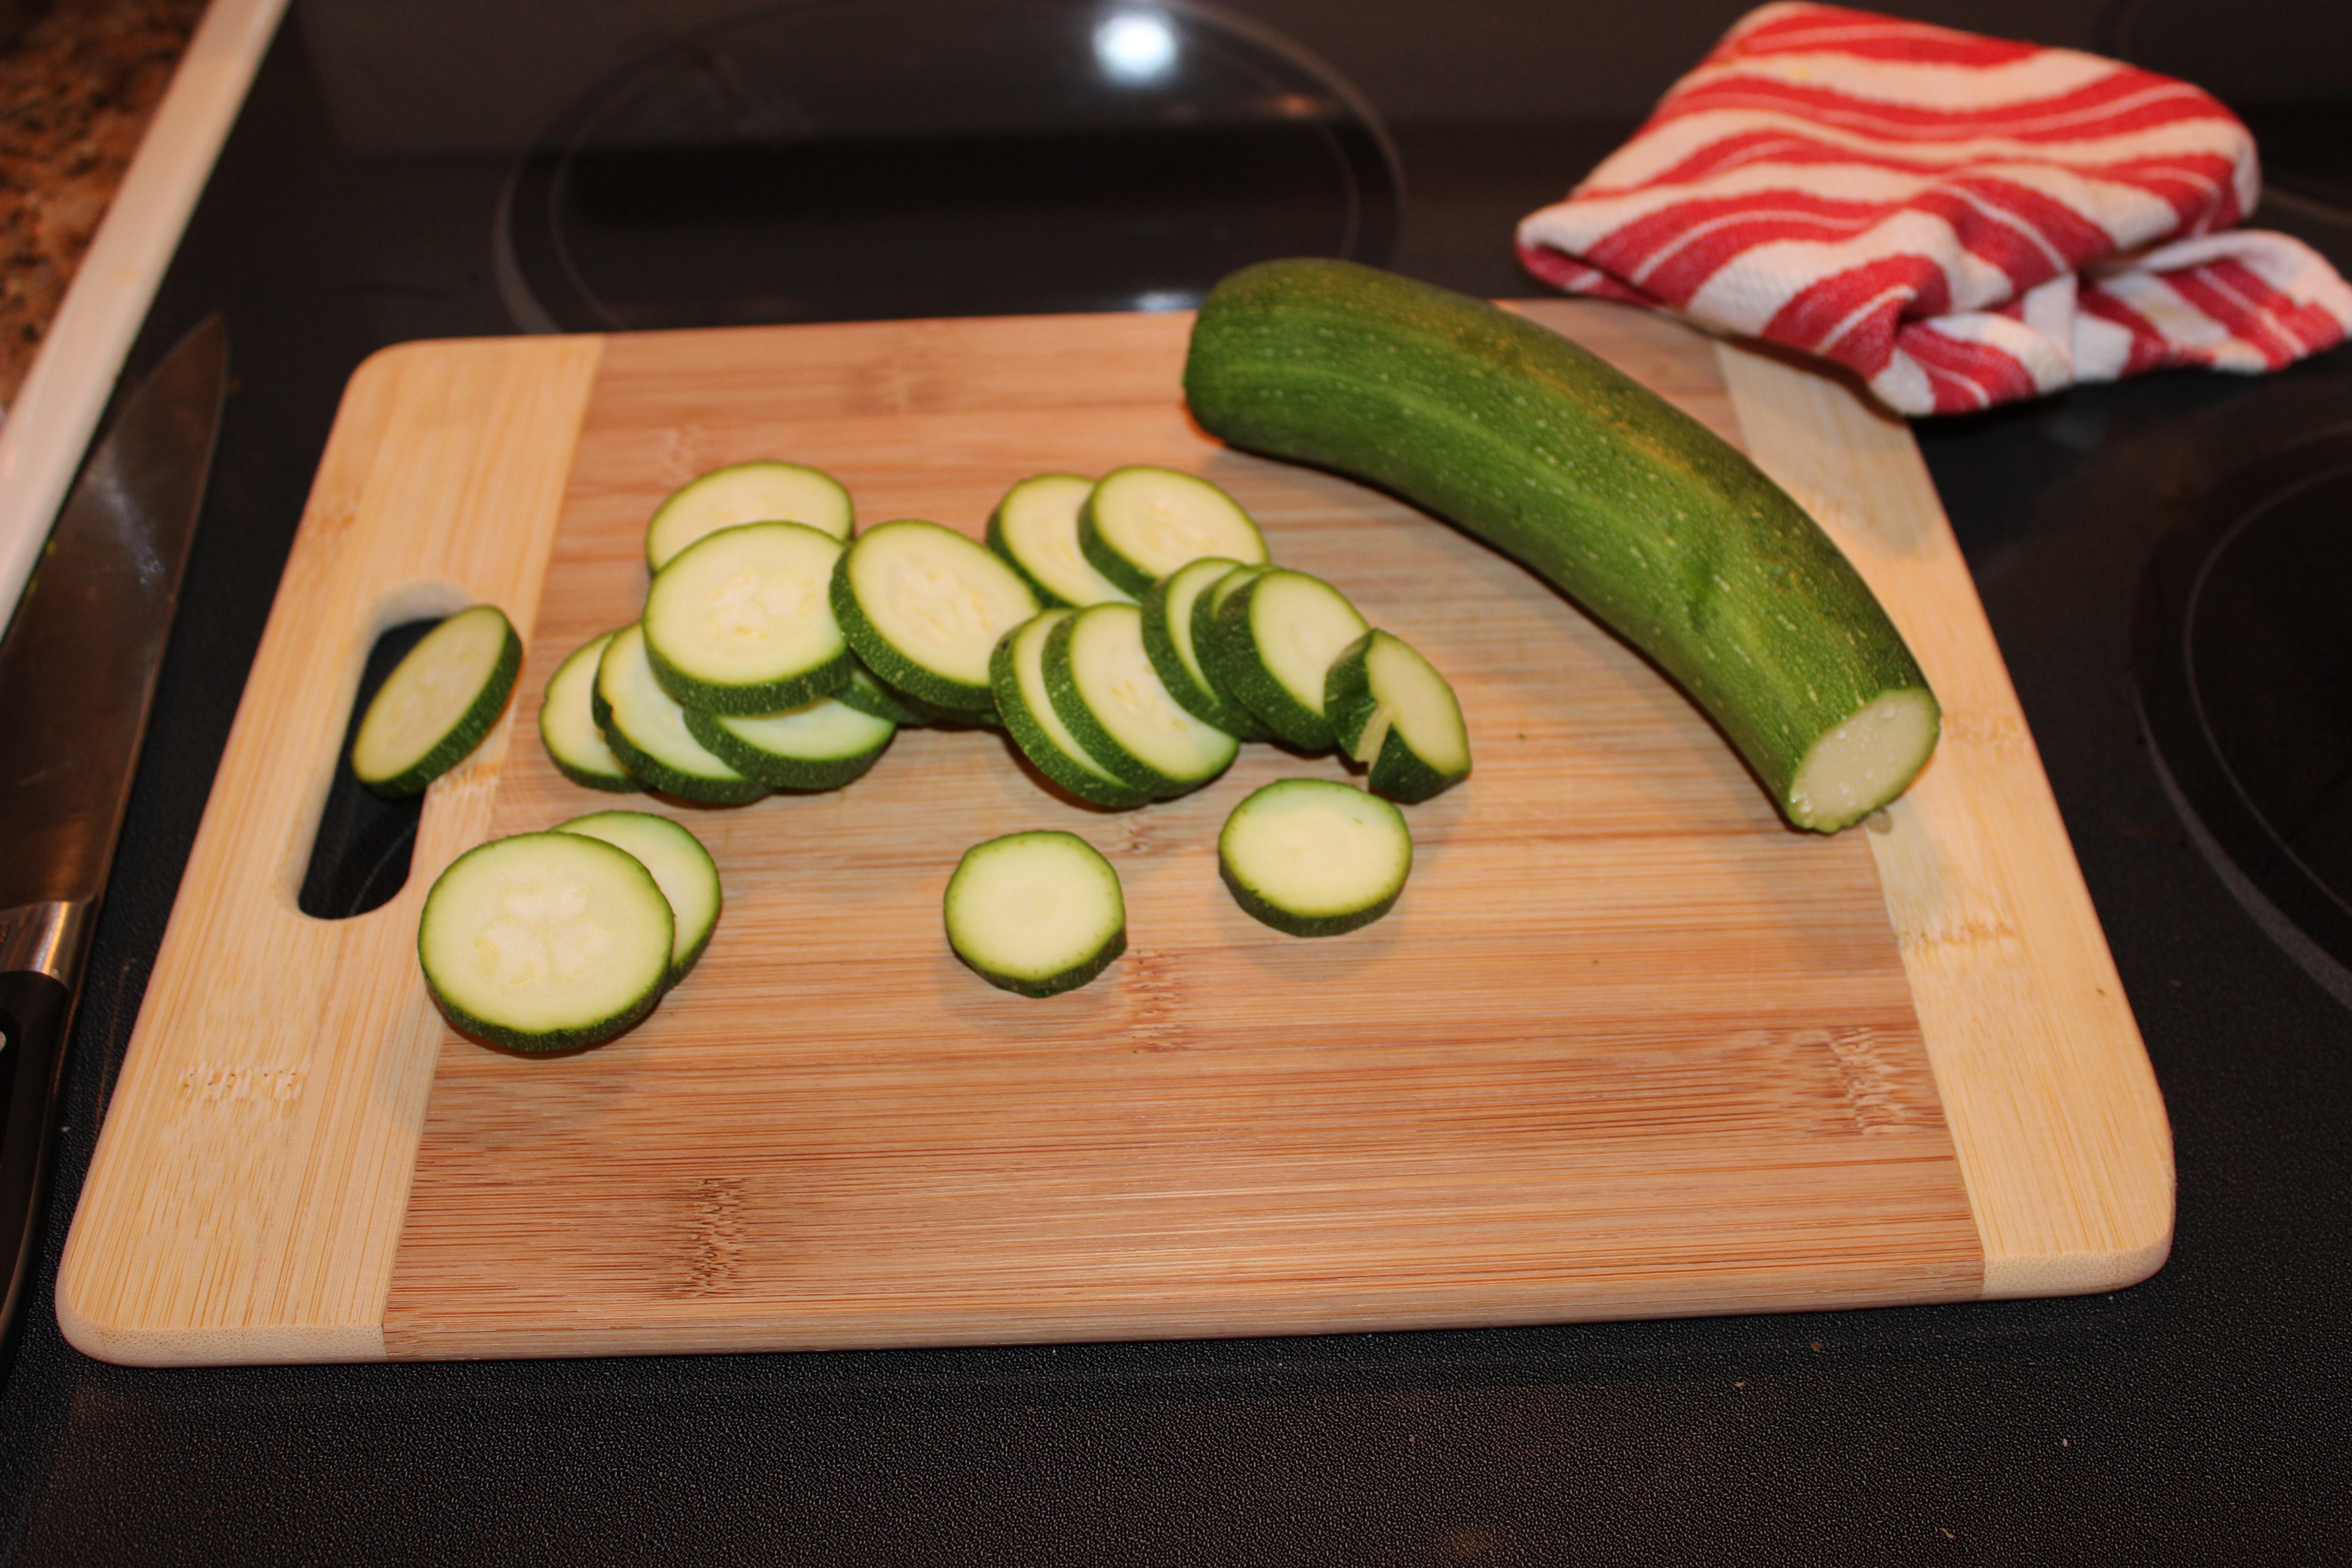

With a trick I learned from a severely smart vegetable chef, I tossed all the zucchini’s with the olive oil and spices. Then they all got spread out on the baking sheet.
I did this all while pretending I was cooking in front of a live audience.
Oh wait. I was.

Now everything was prepared to go into the oven. The prep took a total of 6 minutes. Just the amount of time it took my audience to eat her popsicle.
It was time for Miss Mini to take a bath, so I tossed the zucchini in the oven set to 250 degrees. The zucchini takes about 45 minutes to roast, so I had plenty time to go upstairs and do the bath, books, bed routine.
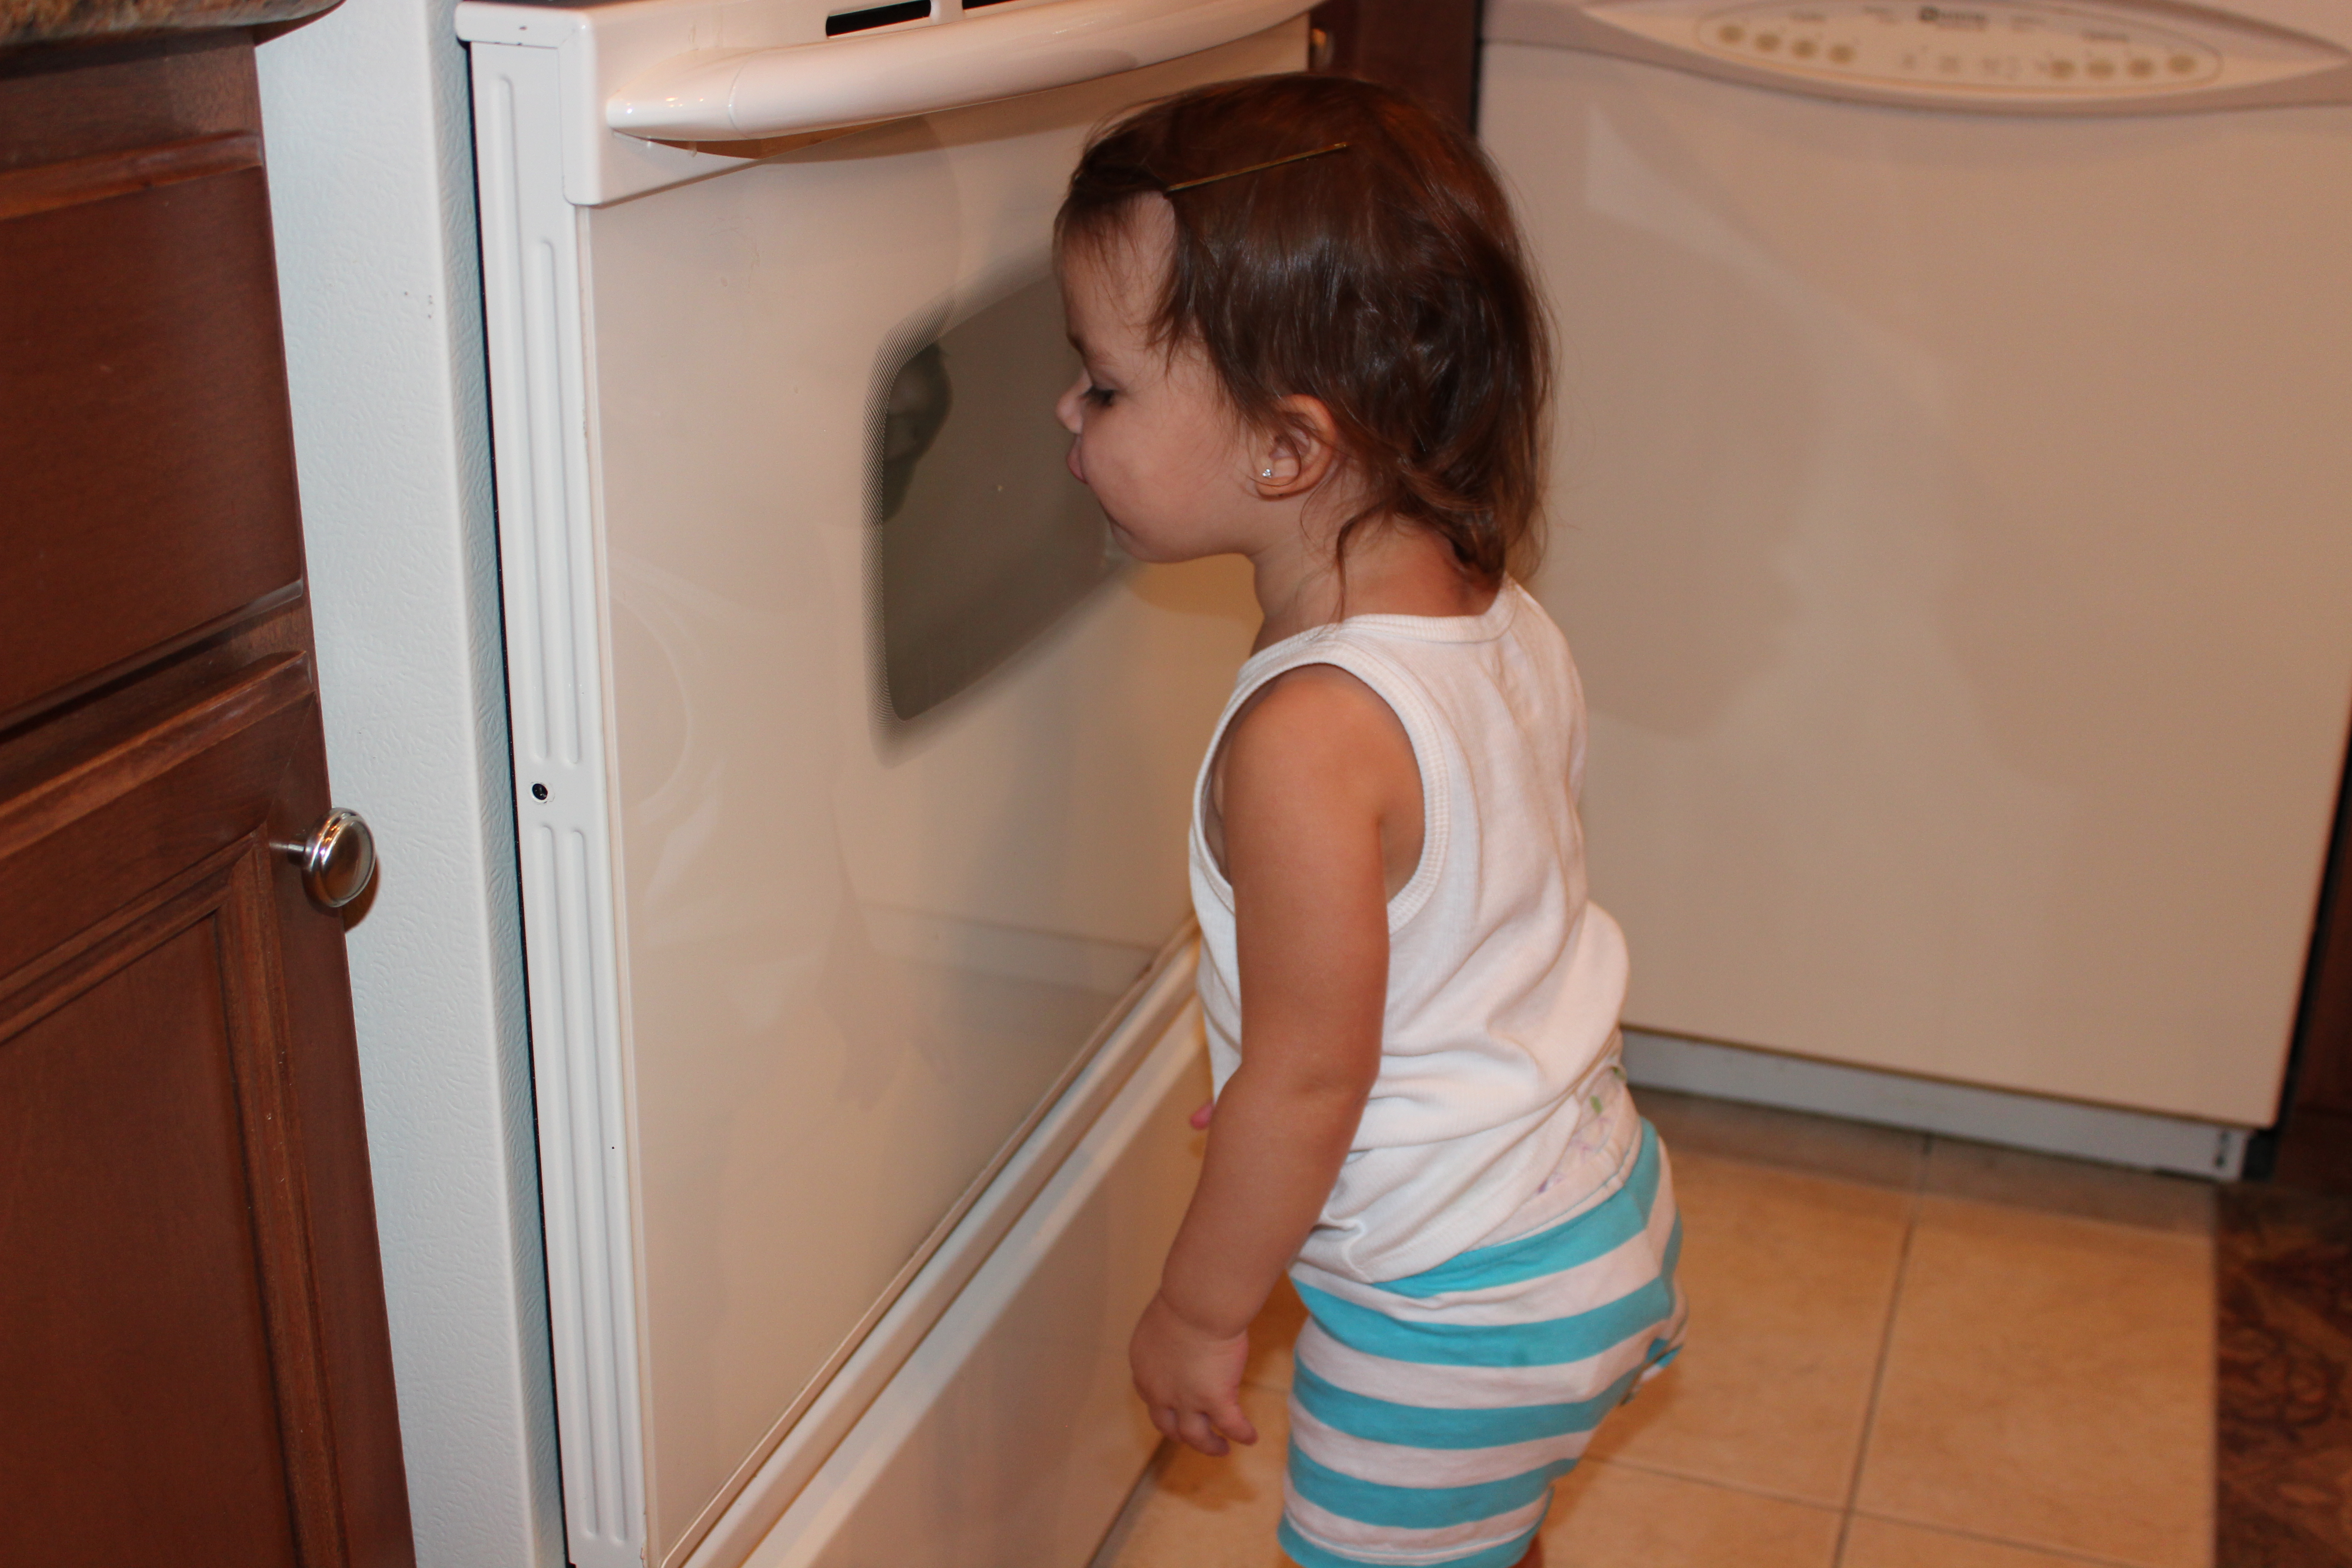
My audience member decided to go over to the over door, scream HOT, and blow on the door to cool off my roasting zucchini. Apparently I go near the oven and yell HOT all the time, so she doesn’t go near it.
Once she was all bathed and tucked away I took the zucchini out and flipped them and put the salmon in.
I upped the temp to 325 degrees. After the salmon cooked for 15-18 minutes I took it out of the oven. Then I did something truly fantastic. I sprinkled panko and parmesan cheese on top of the zucchini and broiled them until crispy. Oh my god. Delicious.

My dinner for one was served. And I ate it on the couch.
{ I also do this by freezing chicken breasts individually and by stocking up on steam fresh vegetables. It only takes 15 minutes to bake a piece of chicken and nuke some veggies. I should have no excuses }
But the pizza is so good.
It was New Year’s Eve 2012. Mike was working. It was just me and the Minster. And she was sick. A wicked, nasty sick. I think she whined for 48 straight hours. She was just miserable. Didn’t want to play with toys, didn’t want to eat, just wanted to lay on me. And whine. Did I mention she whined?
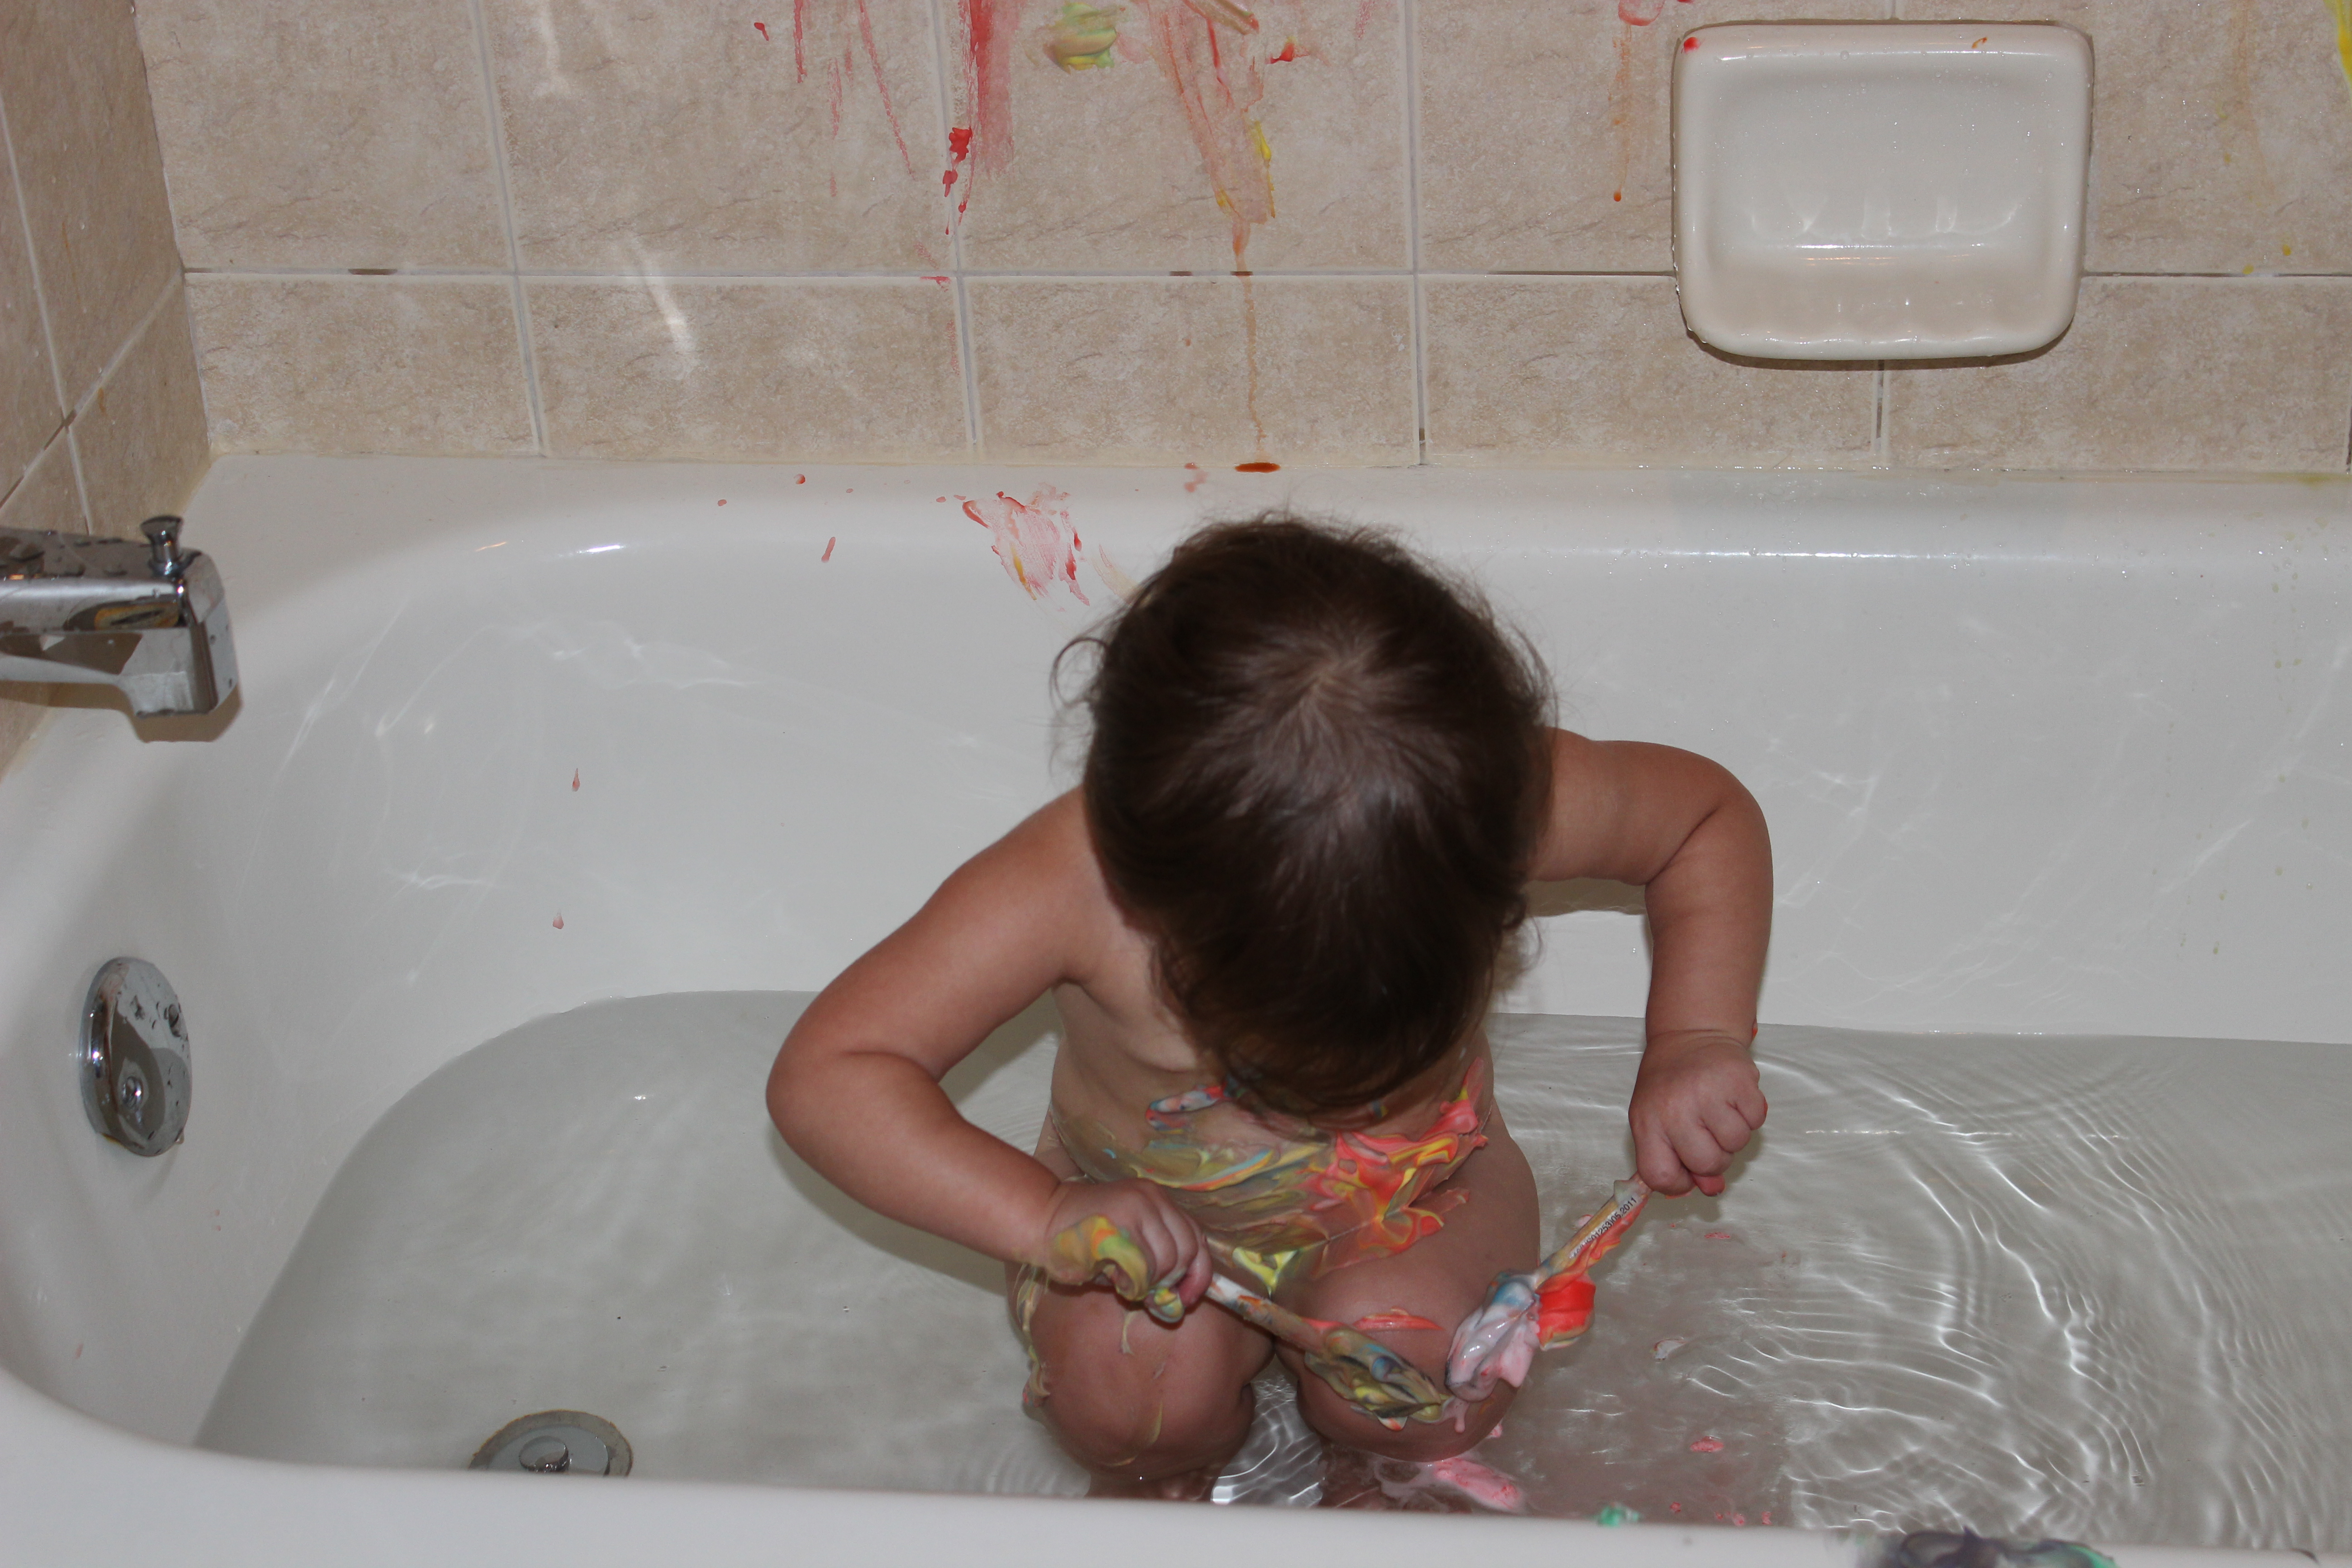
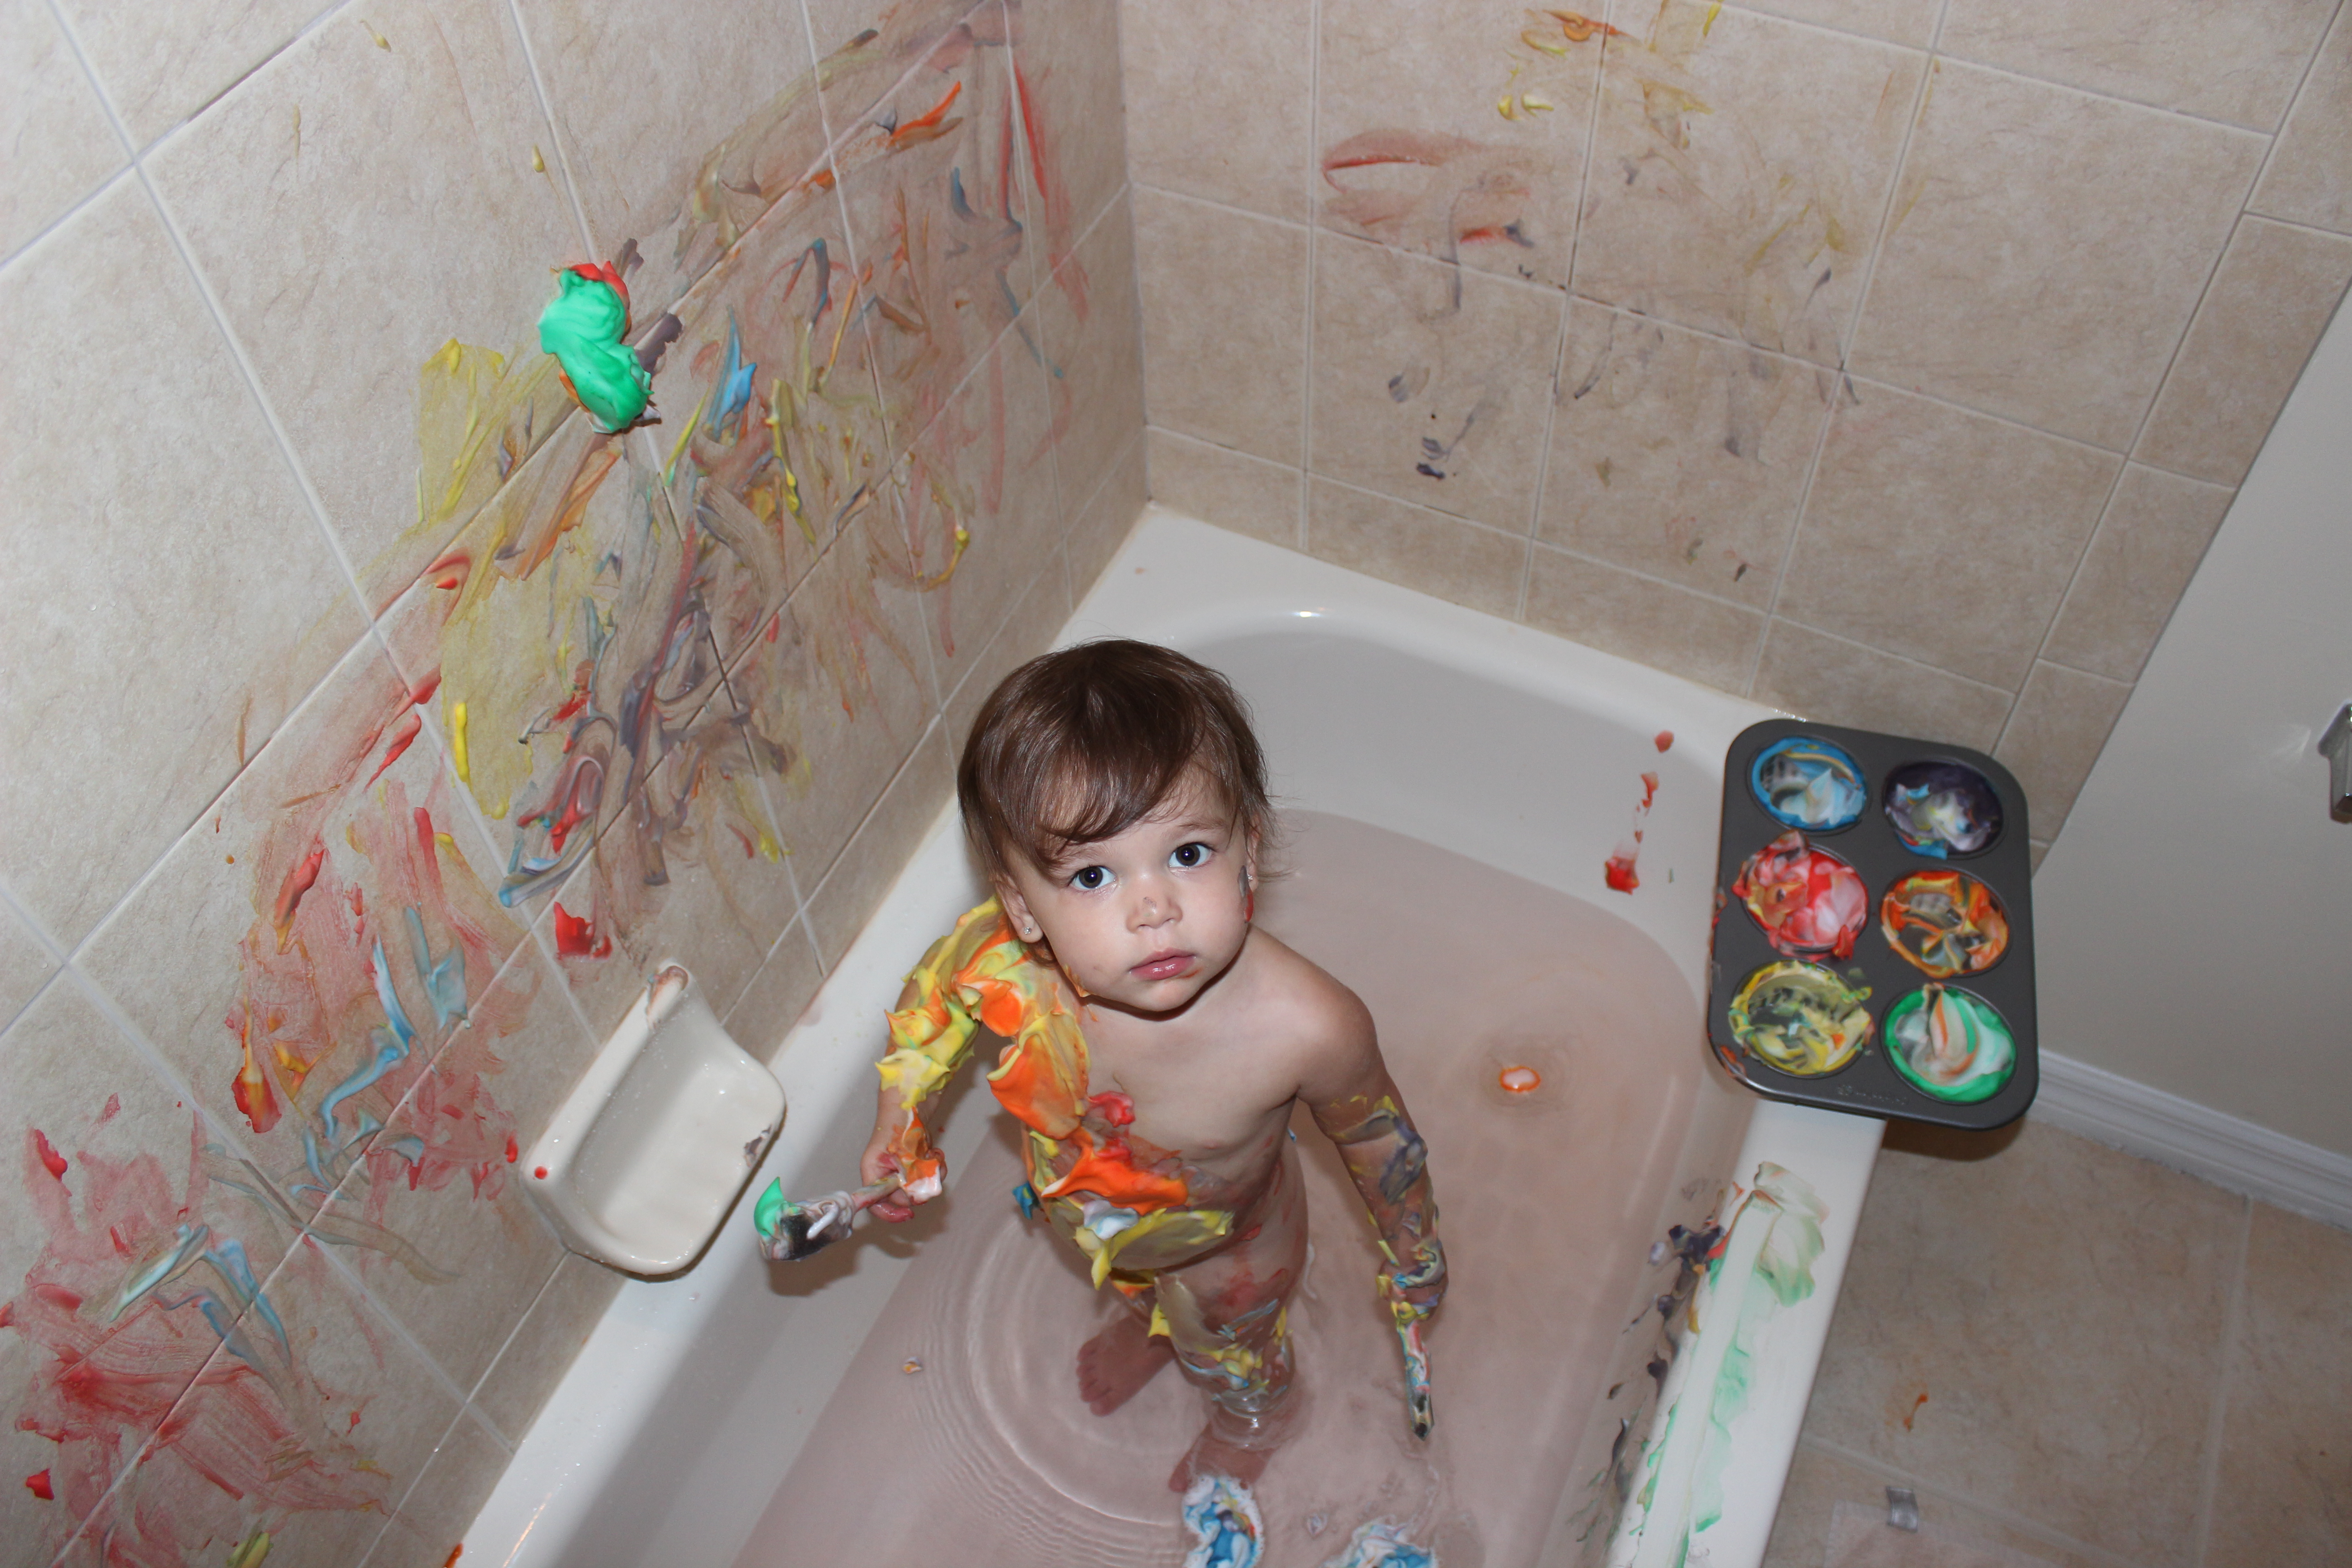
So in my efforts to make her night more enjoyable, (and mine for that matter). I introduced her to shaving cream bath paint. She had an absolute BALL in the tub. Got to paint all the tiles, and herself!
She liked it so much, that I often throw a “paint party” during bathtime. She would hang out in there forever, if I’d let her! Here’s some pictures from our latest “party”.
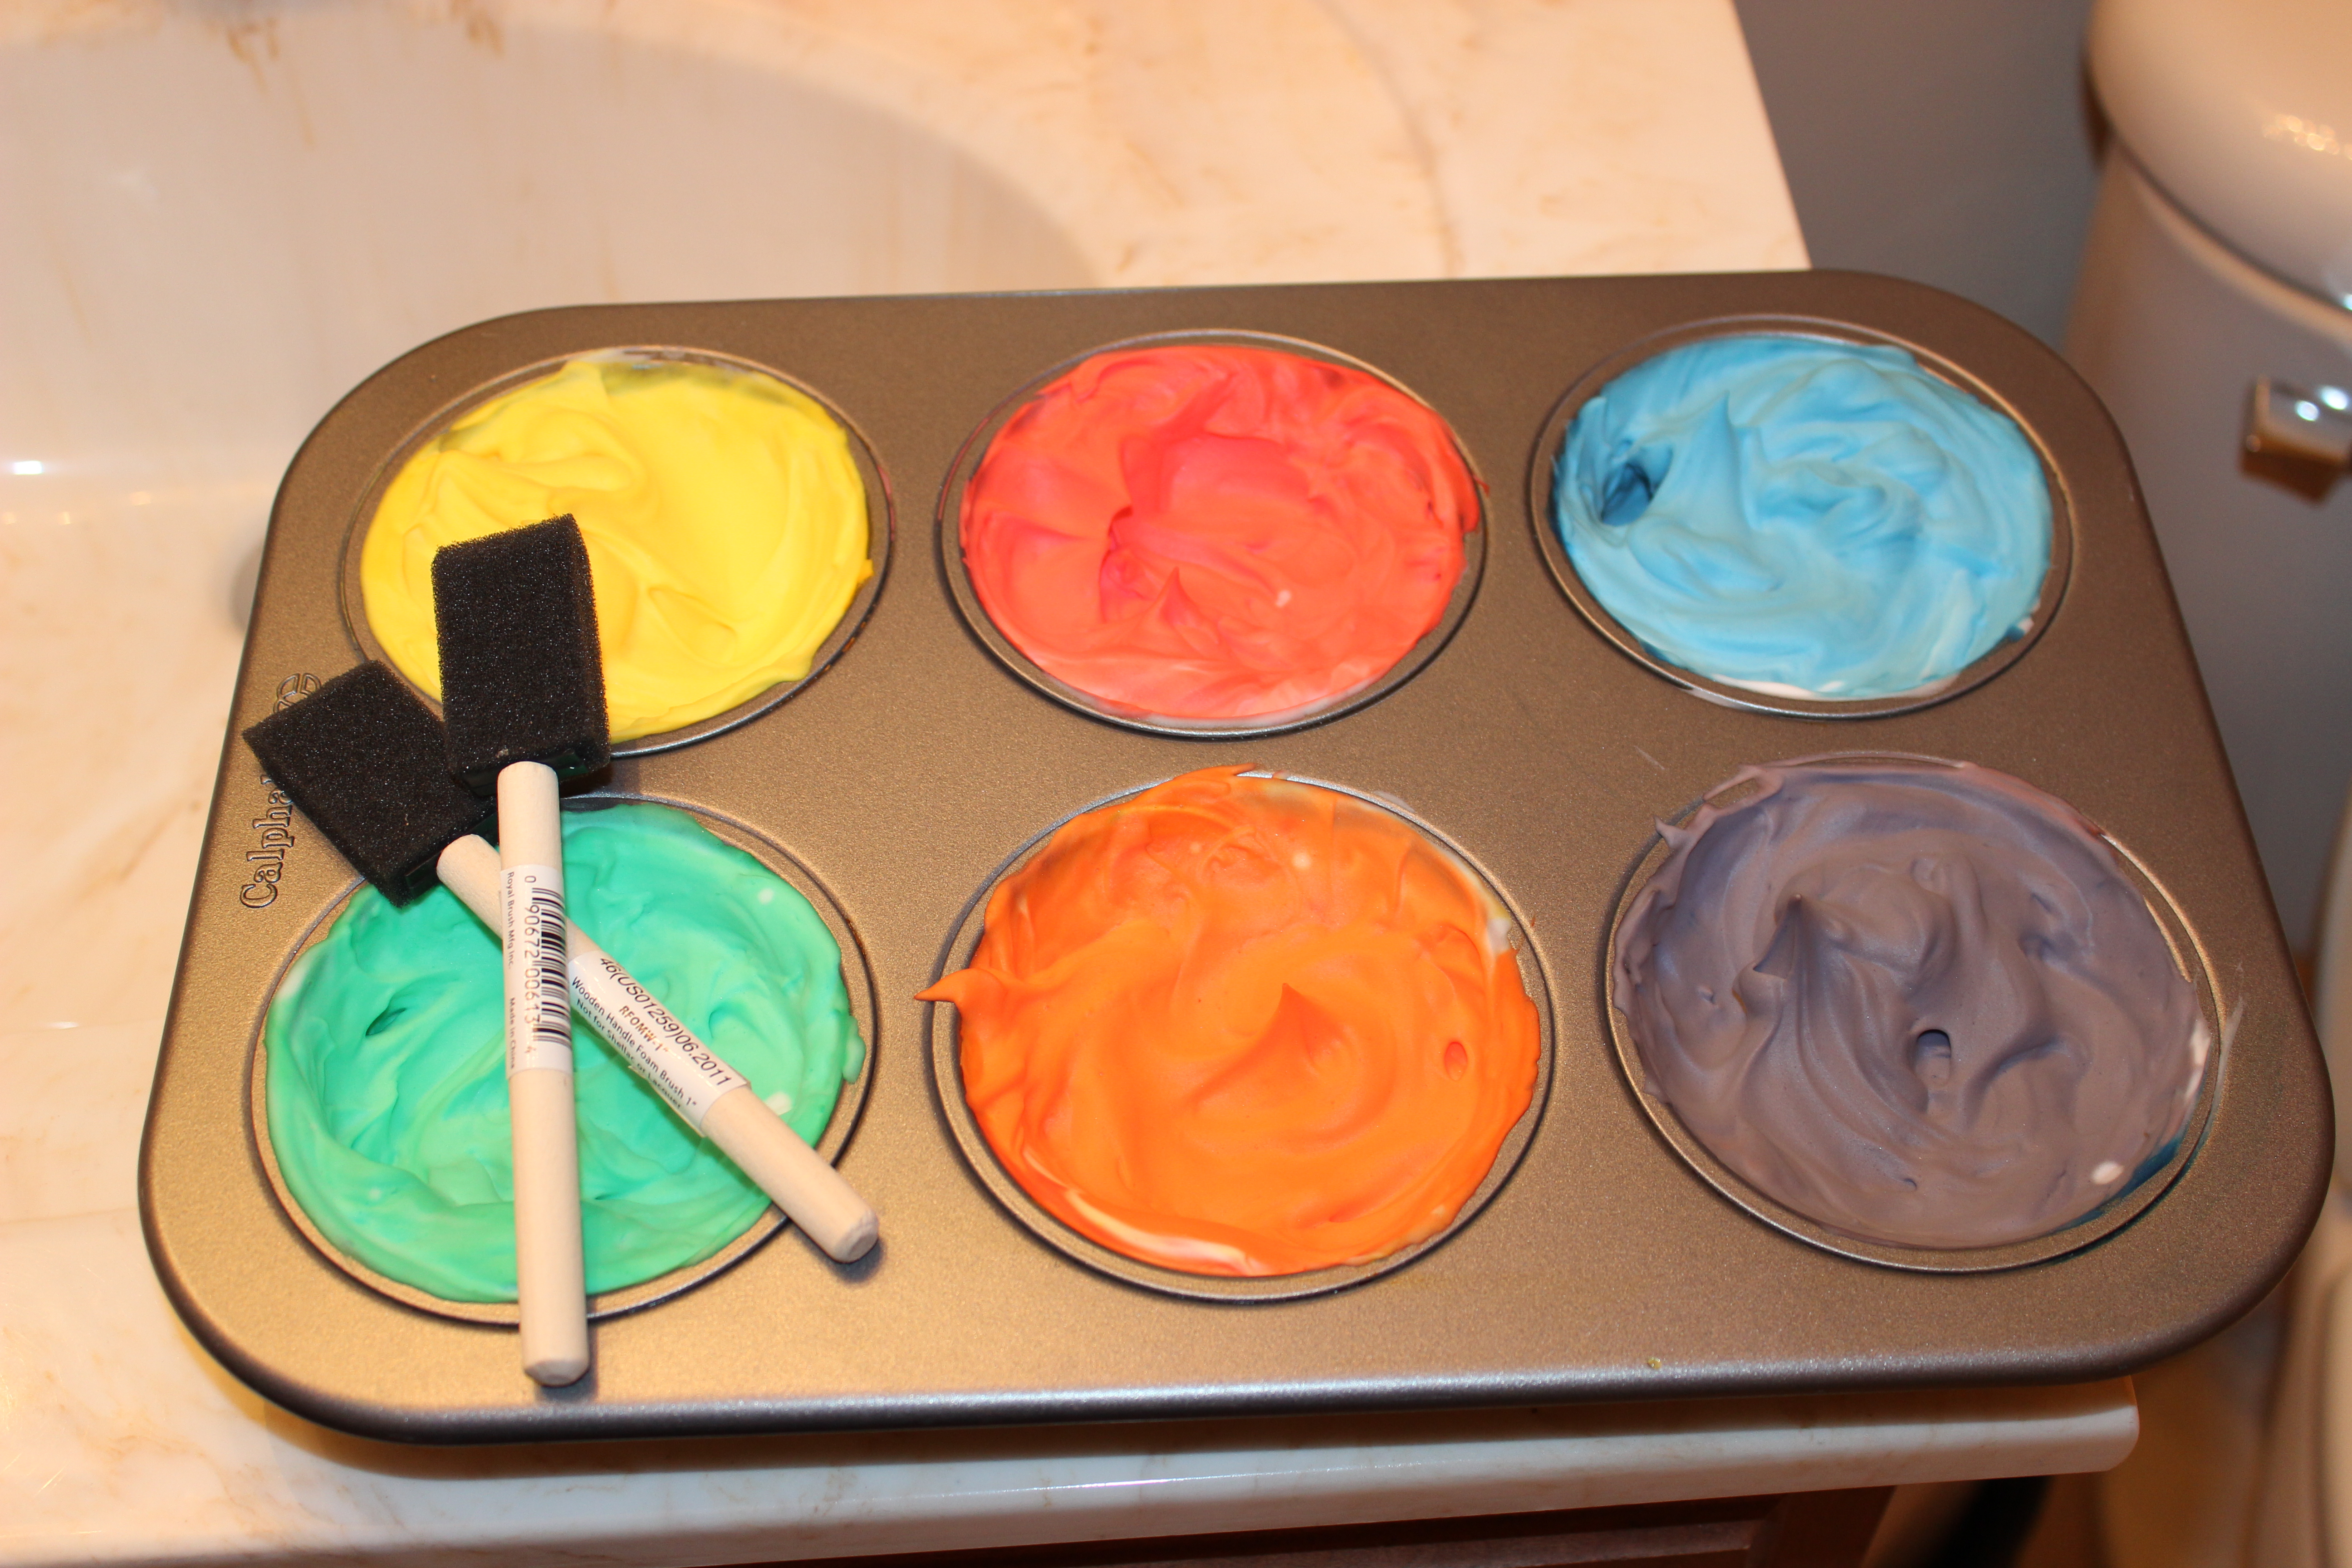


What you need:
Shaving cream (foamy)
Food coloring
Paint brushes (sponge brushes)
Squirt a good amount of shaving cream into each section of a jumbo muffin pan. Add food coloring to each section in whatever colors you would like. The more food coloring you add, the more vibrant the colors will be!
Let your child unleash their inner artist!! They will figure out what to do with hardly any instruction. Let them explore! Let them feel the texture of the shaving cream with their fingers. Teach them the colors. Draw shapes on the shower walls. So much can be done with this one activity! Including face-timing grandma so she can see the live artwork! 🙂
Have fun with this! They sure will.
And like most of our activities. I love an easy clean up, this one rinses right off and down the drain. Ta-Da! Clean shower!
