DIY The Life

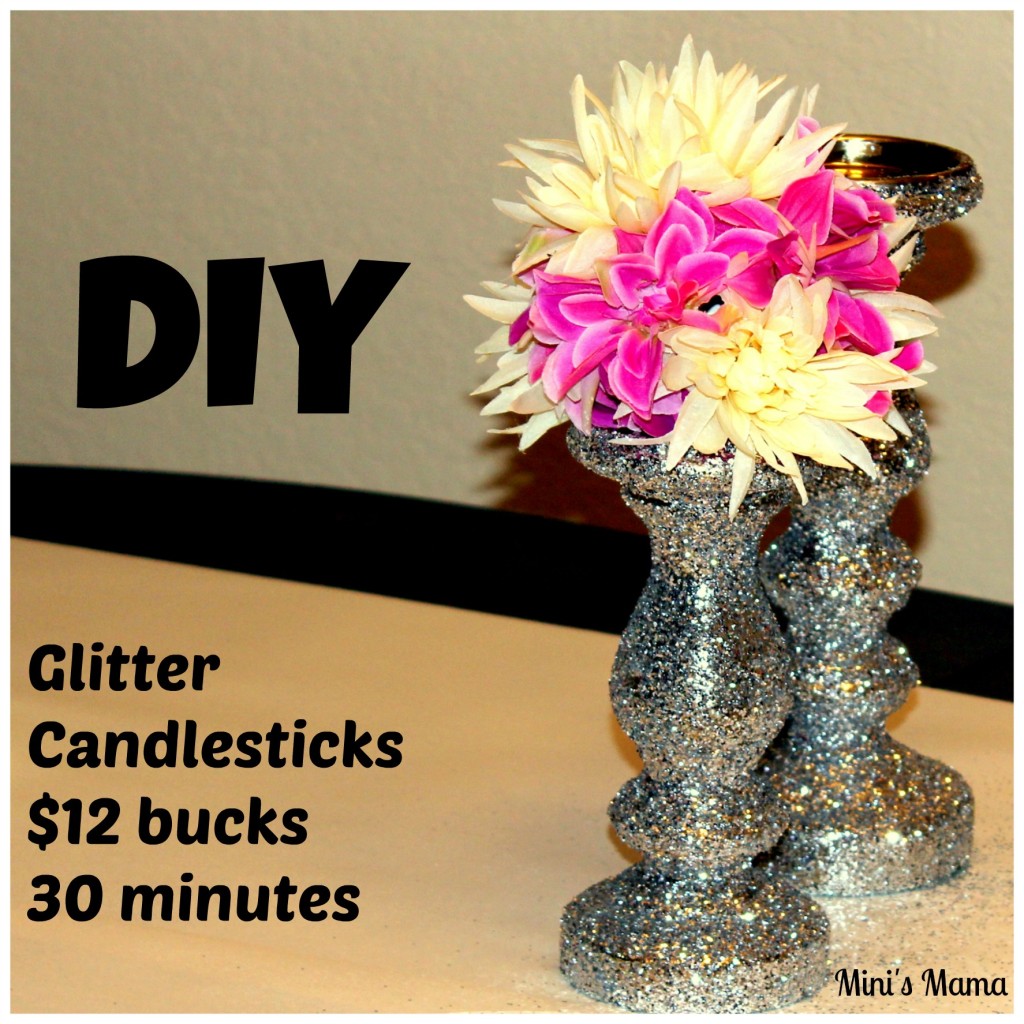
Nothing Says Bling Bling Like These Glitter Candlesticks

DIY candlestick glitter

I have a confession.  I love sparkly things.  Sequins, glitter, diamonds you name it.  If it shines, I must have it.   I have been wanting to redo a couple of gold candlestick holders to match my new grey/turquoise bedroom.   I was originally going to paint them either turquoise or silver but when I saw the container of glitter I knew what I had to do.

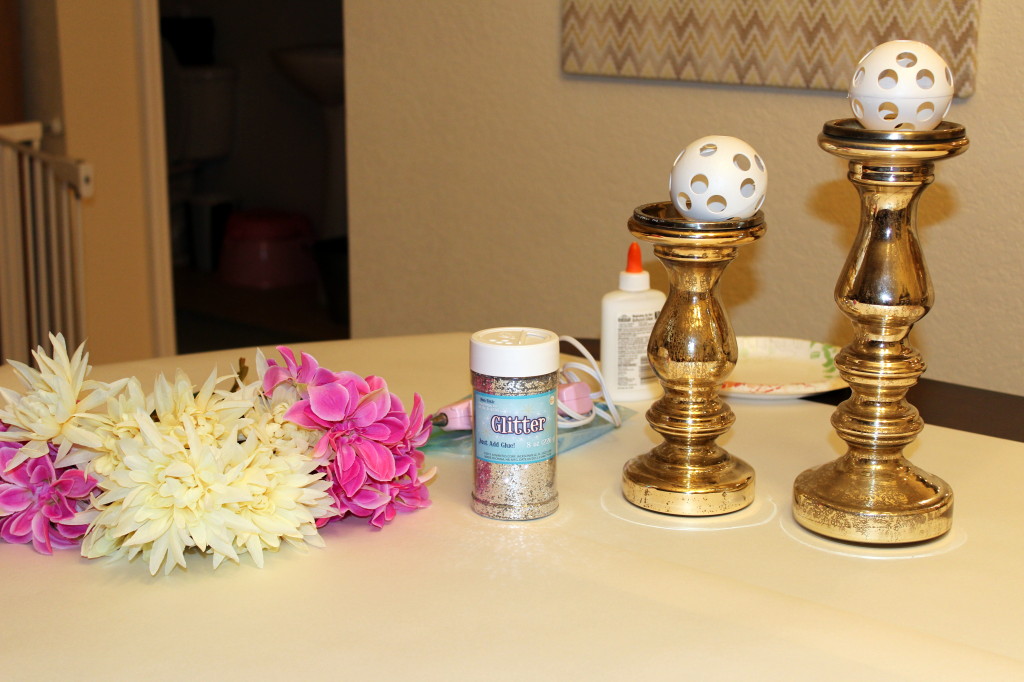
Here’s what I used:

blog 2

2 old candlesticks (free)

2 wiffle balls ($1 for 4 at the dollar store)

Glitter ($4.00)

Random fake flowers ($7.00)

Elmer’s glue

Sponge brush

Glue gun

 Line the table in paper.  Or do this project in the garage.  Glitter makes a mess.  A beautiful mess.  Not a mess Mike wants to step in.

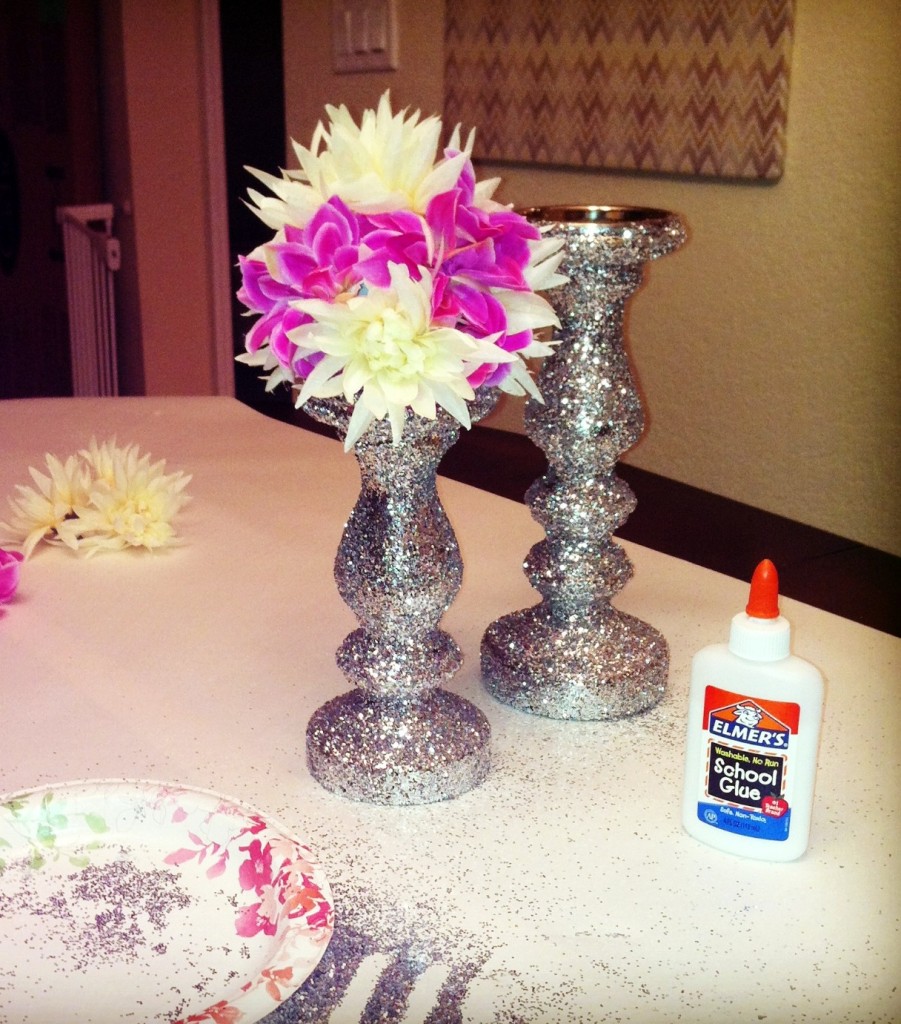
Start at the base of the candle sticks and paint glue around about 1 inch at a time.  After the glue is painted, pour glitter over the area covered in glue.  Keep moving up the candlestick until it is entirely covered in glitter.

In the meantime, convince your ever-so-crafty husband to create the flower ball.  Pour him wine.  Lots of wine.  Insist that this is a bonding experience.  Teach him how to use the hot glue gun.  Pretend not to hear him curse when he burns himself.

The flower ball is easy.  Pluck all the flowers off the stems, then hot glue around the circle openings on the ball and place the flower in the hole.

Once the flower balls are done, place them on the side.  When the glitter is all dry on the candlesticks take them outside and spray them with clear spray paint to seal the job.

Now, you can glue the flower balls to the candlestick but I am just placing them there for now.  I might change the flowers into something that is more rounded.  I might even decide to use candles.  Either way, these are going to look adorable on my dresser!

blog

Recipes

Dinner Two Ways

2013-07-14

I’m on the road to eating clean and I’m already bored.  I started the Advocare 10 cleanse and honestly, the clean eating got boring after day 2.  I knew I needed a way to spice things up but still remain in “clean eating” guidelines.  It ended up being easier than I thought.  Delicious actually.  Even better, I changed the recipe at the end to make a toddler friendly meal as well.  2 for the price of 1.  You know I love that!

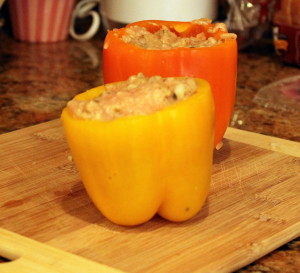
Dinner for Mama:  Stuffed Peppers

This was so simple!  You’ll need:

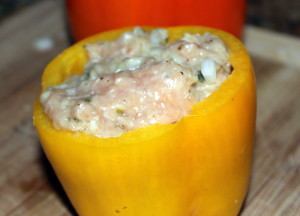
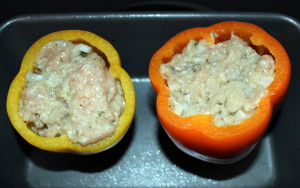
1 lb lean ground chicken, 3 cloves chopped garlic, 1 chopped onion, 2 egg whites, 1/3 cup skim milk, parsley, garlic powder, pepper, italian seasoning

Mix all of those ingredients in a big bowl.  Really mix.  Wash your hands, remove your rings and get in there.

Now I was only making 2 peppers, so after I filled the cavity of the pepper with the chicken mixture I had a lot leftover (hence, the toddler inspired meal).  This mixture will fill 4 peppers if you choose to only do the stuffed peppers.

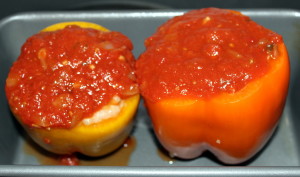
I placed the peppers standing upright in a baking loaf pan.  I then spooned homemade marinara all over the tops of them.

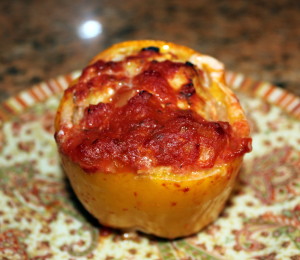
Bake @ 350 for 50 minutes.  Enjoy.

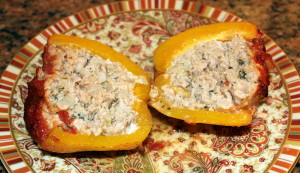
{ I did pour some extra marinara over the entire dish once it was baked and I sliced it open }

This recipe will spice up clean eating any day!  Best part?  No carbs, No cheese.  Not too shabby.

001

005

009

013

027

029


Dinner for Mini: Baby chicken meatballs

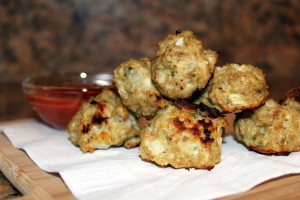
After looking at the leftover chicken mixture I decided to whip up some meatballs for the minster.  I added to the mixture 1/3 cup breadcrumbs and a healthy scoop of parmesan cheese.  Then I rolled them into little balls and placed them on a greased cookie sheet.  It was kind of difficult to roll into balls, because I didn’t use a whole lot of bread crumb to hold the mixture together.  Do your best.   Imperfection is beauty.  Even when your a meatball.

Bake @ 350 for 20 minutes.

Then pose them for your foodie photo shoot because they seriously look so delicious!   They make a great meal for toddlers as well as an adorable appetizer for any party.

018

015

021

024


DIY The Life

Chevron Artwork DIY — Easiest Project Ever!

Foam hangings 1

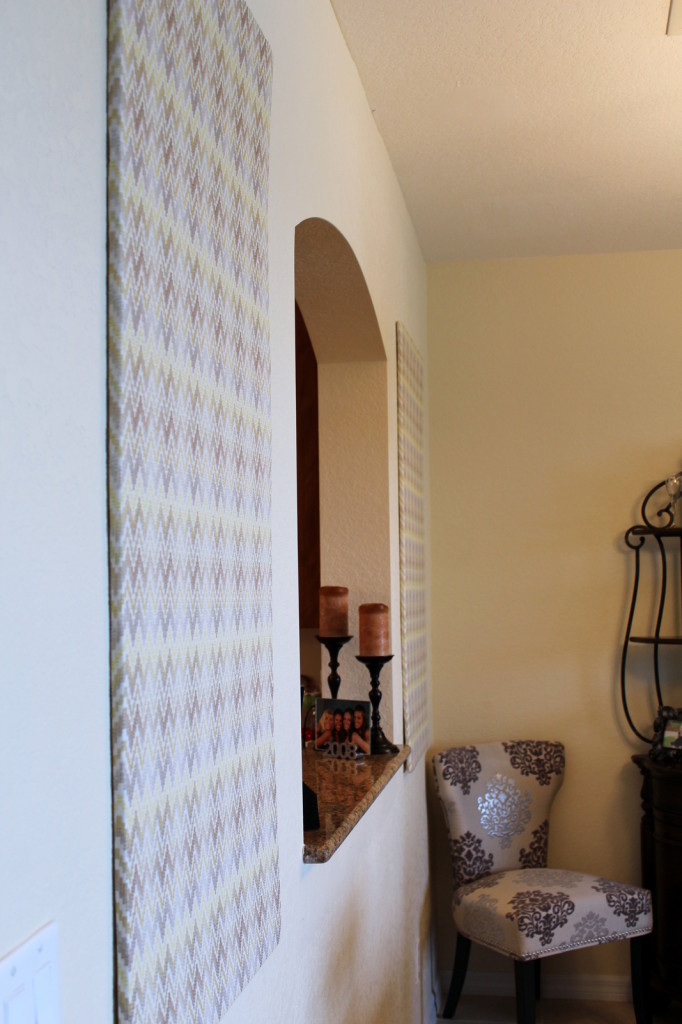
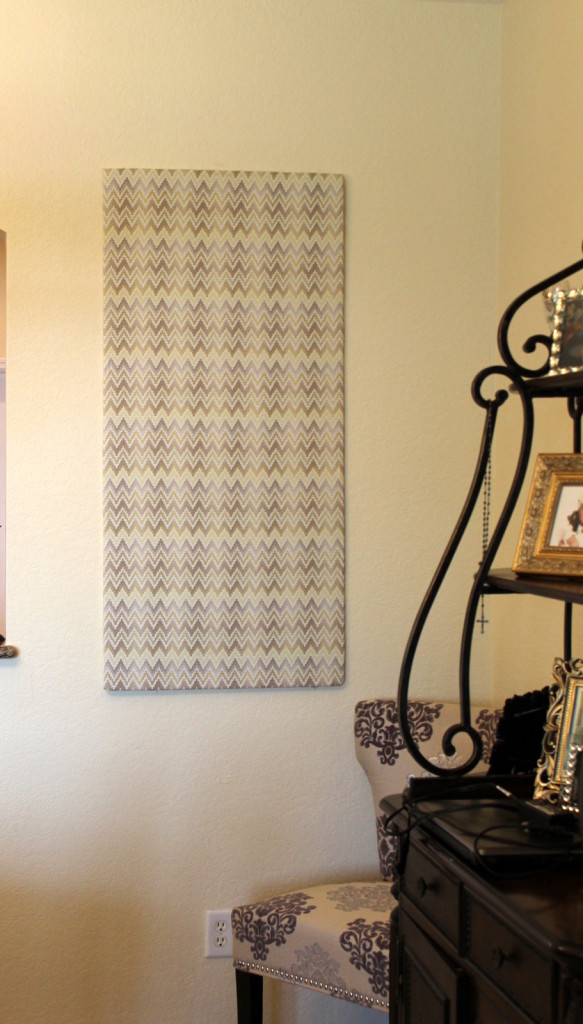
This DIY is seriously one of the easiest projects I have ever done.  It cost under $30.00 and I love the impact it makes in the house.

The best part about this is that it is completely removable.  When we leave the West Coast, my artwork gets to come with us.  I think projects like this are such a great way to dress up a rental property.   The thought of painting walls, and then having to paint them back to their original color makes me nauseous.  By creating large, removable wall hangings of any type, you can easily add color and pattern to any space.

The basic list of materials is as follows:

Foam board  4 feet x 8 feet

Elmer’s spray adhesive

Fabric of your choice (I went to Joann’s and there were tons of great prints to choose from, all different color schemes, textures, etc.  They can run up to $50.00+/yard, so make sure you bring a coupon!)

Those were the only things I had to purchase for this project.  I already had a staple gun.  If you do not, you will need to get one.  It will change your life.

*Beware of buying the foam with a toddler.  A toddler who is still wearing her Easter dress because I decided to stop at the store for the piece of foam “real quick” after I took her to see the Easter Bunny.

Here’s how this went down…Miss Mini (who refuses to sit in a shopping cart) followed me all the way to the back of the store to pick out the foam.  Once I selected it, I had to carry it back to the front while making sure she stayed next to me.  I ended up having her just hold the back end of the foam as if she was helping me carry it.  Seriously the foam weighs like 2 lbs.  She probably could have carried it herself.  If it wasn’t 4 x 8 feet big.  This foam was massive.  Every person I walked by offered to help.  Nope, this proud Mama’s got it.  All bad ass, with my tremendous piece of foam and pink tulle covered toddler.  Got this.  Thanks anyways.  We were doing great.  They opened up a separate line for us so we could pay and get out quickly.  We were causing quite a scene.  Not sure if it was Mini’s dress or the foam.  Turning down help left and right I took a step out the front doors.  I told Mini to grab my hand while we walked the 50 feet to the car.  I was totally unprepared for what happened next.  With the foam in one hand and Mini hanging on the the other, a big gust of wind blew by.  And there I was, in all my proud glory, holding on to my foam for dear life, watching it buckle over my head, with my arm streched upwards, and praying it would not snap in half.  Because I am not sure what is more mortifying, having to literally wind surf my foam to my car, Mini in tow, or have it break.  At this point, a kind older lady comes over and says, “Sweetheart, I’ll hold your daughter’s hand and walk next to you.  You better hold that puppy with 2 hands before it gets away from you!”  We finally get to the car, and the next thing out of the ladies mouth is, “did you measure this to make sure it will fit?”.  Shoot me.  By now, Mini is spazzing out in her party dress in the middle of the parking lot, I am standing there like an asshole with a piece of foam that is larger than life and the helpful lady is slowing backing away muttering “good luck sweetie”.   Thank goodness for the kind mother and son that came to my rescue and offered to follow me home with the foam in the bed of their Ford F250.  I will not go into detail about how the foam did fly out on the first attempt of leaving the parking lot and soared 3 rows away.  The son was absolutely cursing me and his mother the entire time he helped.  And if he wasn’t, he should have been.  Regardless, thanks to the nicest of folks here on the West Coast 😉  I finally got home with my foam and my daughter.  All safe and sound.  Moral of the story, go to the store alone.  Better yet, make your husband deal with picking up the supplies.

So you wanna know how I made it???  That’s the easy part!

Cut your foam board to the size you want.   (I cut mine 2 feet wide x 4 feet long)

Place a piece of foam onto your fabric and cut the fabric around the foam leaving approx 2-3 inches of extra fabric around the entire perimeter.

Once all your foam and fabric are cut, start with once piece.  I had Mike help me actually because I wanted it to be lined up right and I needed an extra set of hands.   Who am I kidding, he loved using the staple gun.  I sprayed my foam board with the spray adhesive and quickly and carefully laid the fabric right on top of the foam.  I pressed down evenly to get out any bubbles that were created.  Then we carefully flipped the foam and took the excess fabric and folded it over and stapled away.

I was able to hang these with command hooks because they are so light.

Seriously easy.  Even easier because Mike was so helpful.   Do it.  You wont be disappointed.  I think it would be great to even cover 10×10 canvases with different prints of fabric to make a wall collage.  You can come up with a ton of ideas.  I love the impact it has on my walls, and you will too.
foam hangings 4


The Life

What’s on my mind…

This should be interesting.  Mike always asks what I am thinking about when he talks to me.  I must give a dead blank stare.  Which I continue to give when asked what I’m thinking about.   He says that given my look, he can only assume I am thinking of things like cotton candy, snow flakes and fairy dust.  If only he knew.

So here’s what I’m thinking today…

Is there a service that comes and takes toddlers to teach them how to use the potty?  If not can someone start that?  I’ll give you the plan.  Rent a big space.  Buy lots of potties.  Buy lots of M&M’s.  Get a van.  Paint it with all sorts of bright colors.  Name your business “Poopy Playhouse”.  It will be like a week long sleep-away camp.  Pick up the kids.  Throw out the diapers.  Deliver the kids back trained.  Charge an armload.  I would pay an armload.  To not have to be bothered.  Absolutely.  Just give me credit for the idea when you’re successful.

Will Mini ever develop a steady appetite?  It’s like she eats one day and her little body feasts on the remains for the next 3.  Some days I swear she eats a piece of cheese and a bite of a French fry.  That’s it.  I’m getting better at not stressing about it.  She eats when she’s hungry I guess.  She’s also loving green smoothies 🙂  And on the bright side I’ll continue to save money on kids meals when we go out to eat.  She will probably eat squeeze pouches until she goes to high school.  How embarrassing.

This cleanse that I’m doing is going fairly well.  I am on day 4 of the Advocare 10 day cleanse.  It is just so damn boring.  What do people do if they are not eating pizza and chips??  And on top of it, I am about to get my monthly gift.  Awesome.  Now is when I need chocolate and vodka.  I will have to settle for salmon and broccoli.  Again.  More on the cleanse another day.  I’ve got details for ya.

Am I ever going to fit into the rest of my pre-mini wardrobe.  I mean most stuff I can fit into, but I have some really nice expensive jeans that refuse to climb past my thighs.  What gives?  I am going to have to slather my legs in oil if I ever want to wear those again.

Summer TV totally sucks this year.  If anyone is watching anything good, let me know.  Because I have been bored stiff.   No good food, no vodka, no TV.  Is there a reason to keep living???  Ok a touch dramatic, but seriously…

So there.  That’s what I’ve been thinking about.  Tell Mike its not all sunflowers and skittles.  Although sometimes it is.